Introduction
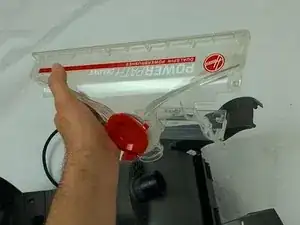
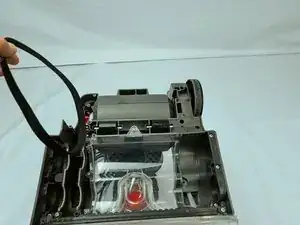
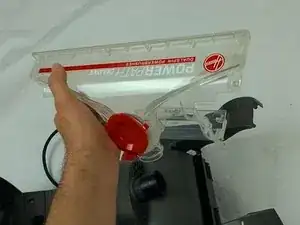
If your Hoover Power Path Deluxe FH50951 is having suction issues such as water and debris not being sucked into the dirty water tank, you can replace the nozzle using this guide.
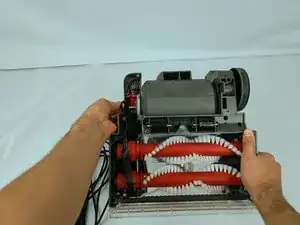
The nozzle vacuums debris dislodged by the brushes and water dispenser. Before using this guide, if you are experiencing low or no suction, work through these troubleshooting guides in order to isolate the nozzle as the culprit. Cracks, deformation, punctures, or severe blockages are reasons the nozzle needs to be replaced.
Before replacing the nozzle, make sure the device is turned off, unplugged, and the dirty water tank is removed.
Tools
-
-
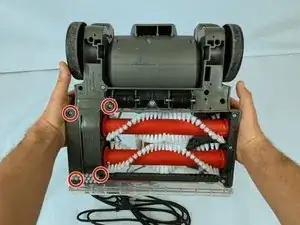
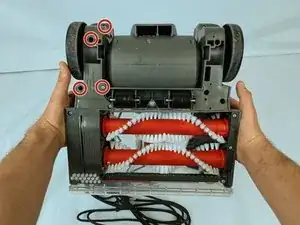
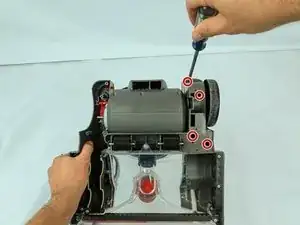
Remove the four 18.6 mm screws labeled 1-4 using a Phillips #1 screwdriver.
-
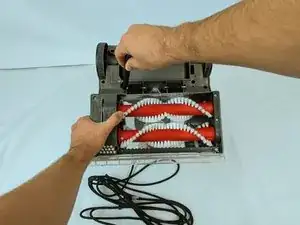
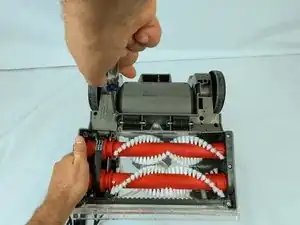
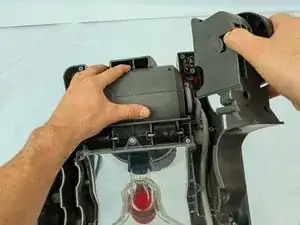
Remove the piece that was being held down by those screws.
-
-
-
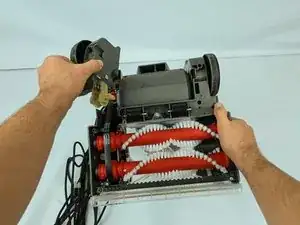
Remove the four 18.6 mm screws with arrows listing 5-8 using a Phillips #1 screwdriver.
-
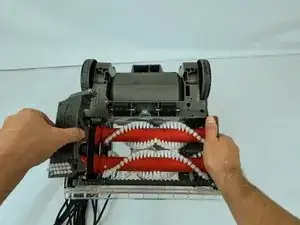
Remove the wheel assembly on the left side of the vacuum.
-
-
-
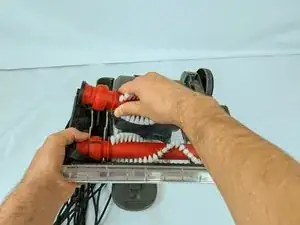
Lift up the belt to give enough slack to allow the brush roll to come out.
-
While lifting the belt, pull/push upward away from the cleaner to pop it out.
-
-
-
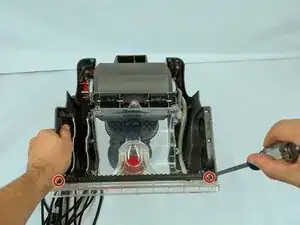
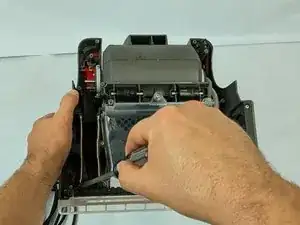
Remove the four 18.6 mm screws using a Phillips #1 screwdriver.
-
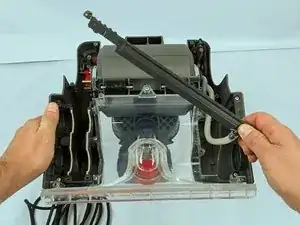
Remove the wheel assembly on the right side of the vacuum.
-
-
-
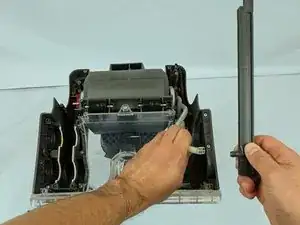
Hold the dispenser in one hand and the tube that is attached to the bottom in the other hand and pull.
-
-
-
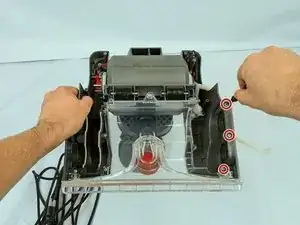
Remove two 18.6 mm screws and one 12.6 mm screw from the right side of the vacuum.
-
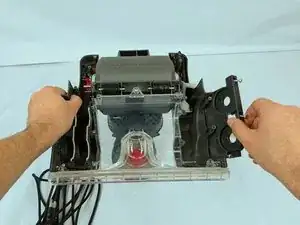
Lift the right brush roll housing away from the device.
-
-
-
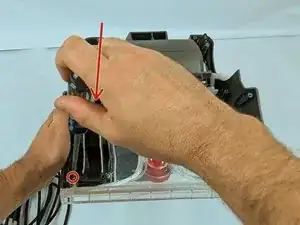
Remove the two 12.6 mm screws from the left-side brush roll housing and belt guide using a Phillips #1 screwdriver.
-
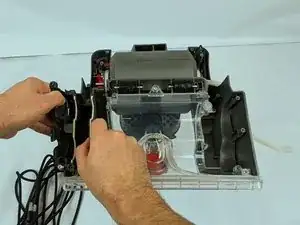
Lift the left-side brush roll housing and belt guide away together from the device.
-
-
-
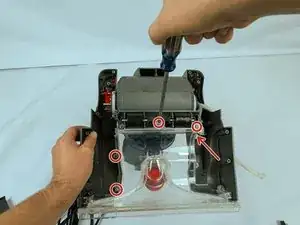
Remove the five 18.6 mm screws securing the nozzle to the vacuum using a Phillips #1 screwdriver.
-
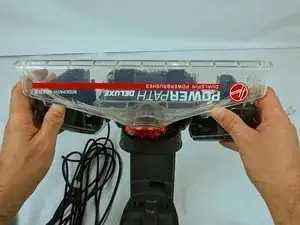
By gripping the base of the device with your hands and pressing with your thumbs on the nozzle, press the nozzle away from the device.
-
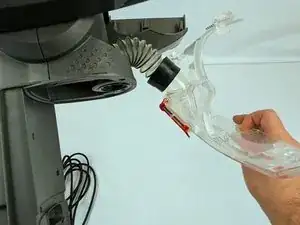
Pull the nozzle away from the base to make removal easier.
-
-
-
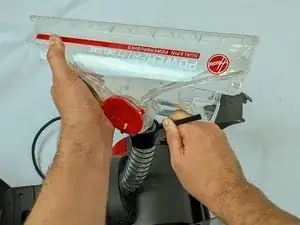
Carefully use the sharp end of a spudger to separate the hose gasket from a flange on the nozzle.
-
Use a circular motion around the edge of the flange to separate the gasket further.
-
With enough of the gasket lifted away from the flange, the nozzle can be pulled away from the hose.
-
To reassemble your device, follow these instructions in reverse order.
