Introduction

If your camera is wet, it is crucial to not turn the power on. Allow the camera to dry before assessing damage. Use this guide to access internal components to aid in the drying process.

  1. aTZ5mJQovkoJTFay
    • Identify the battery port on the underside of the camera.

  2. B1fYLoM2QeeEYN3H
    B1fYLoM2QeeEYN3H
    GnVZsMHrZlZkIXIV
    • Using your thumb, slide the port to the right and release.

  3. hpTBeiHsn5CxAH65
    • Remove the battery.

  4. IjaBPUfK1LoEKuhJ
    IjaBPUfK1LoEKuhJ
    IX2PQJvuHIunPFMy
    imXquGuoi56sHZTo
    • To avoid severe electric shock do not remove or tamper with internal camera flash components. An electrical capacitor is attached to the flash that can discharge if contact is made.

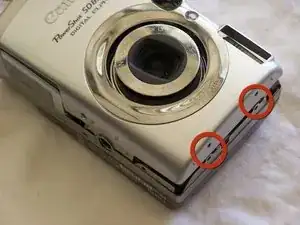
    • Remove the two side screws, indicated by the red circles, using a Phillips #00 screwdriver.

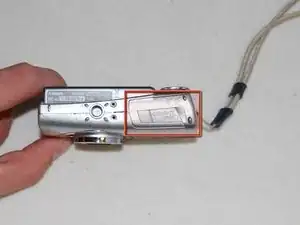
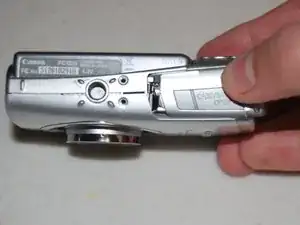
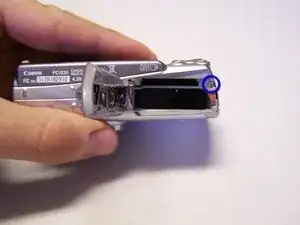
    • Remove the screw in the battery port, indicated by the blue circle, again using a Phillips #00 screwdriver.

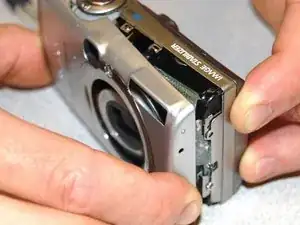
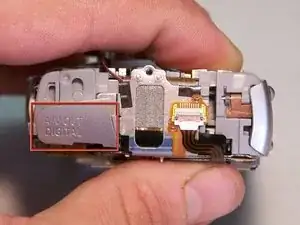
    • Remove the front face by gently peeling the housing away from the camera.

    You also need to remove the two #00 screws on the bottom (next to the tripod mount threaded hole) and the small screw under the AV Out door on the side.

    Eric Tiffany -

  5. oSiKmvnyIRpZDxKt
    oSiKmvnyIRpZDxKt
    Xymqol2cIoLQD5l4
    BJAysPrEpmVxVVMF
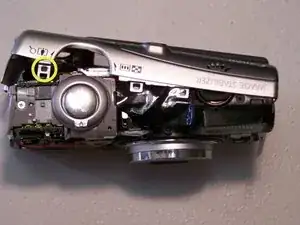
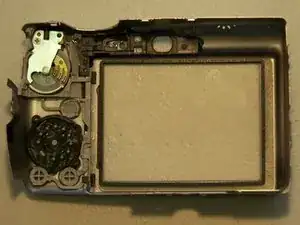
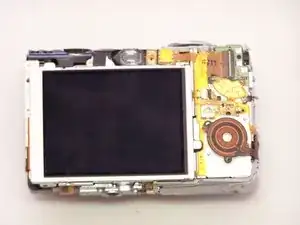
    • Remove the back face by using a spudger to lift the tab highlighted in yellow

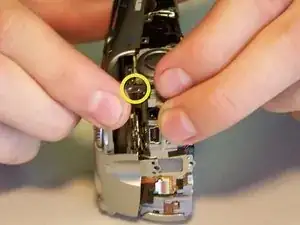
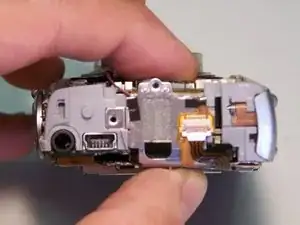
    • Pivot the back face clockwise as seen in the second photo.

    You need to remove the #00 screw on the side holding the front back panel (shown in the second image already removed)

    Eric Tiffany -

  6. qeHiLxcION3PHST6
    qeHiLxcION3PHST6
    SGbGUgLP3TCnWMTj
    • Remove the A/V port cover [no tools are necessary]

  7. YUeoGNdOnPBBByAB
    YUeoGNdOnPBBByAB
    6DGxZqVxrvCndwxx
    • Use compressed air to dry off camera's internal components.

    • Use caution when performing this step. Compressed air could possibly damage components if sprayed directly at connections or other sensitive areas.

Conclusion

To reassemble your device, follow these instructions in reverse order.

iDeleted

Member since: 07/07/10

2101 Reputation

0 comments