Introduction

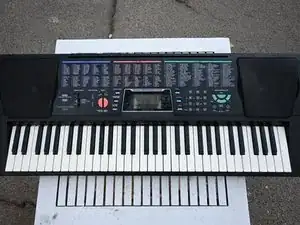
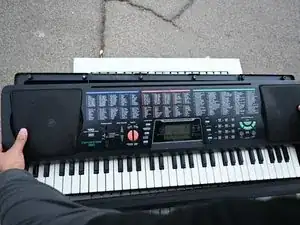
Over time, in older pianos like the Digital Piano Optimus Concertmate 980, dust and dirt get under the keys, removing the function of the key.

The issue comes when you can't clean the dust off without disassembling the piano. Although very frustrating, this is very common with older devices and comes with a very simple fix.

  1. NxCFSWSySUhgBPng
    NxCFSWSySUhgBPng
    fCBwU63IQ2cHEXdW
    • Test all keys to identify the ones that are not functional.

  2. lJADXmrBbIet6JTs
    lJADXmrBbIet6JTs
    6yTybTW6AKXwTcbk
    kFRAAeOIfFDMPoxZ
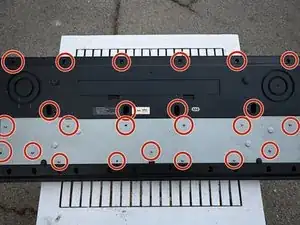
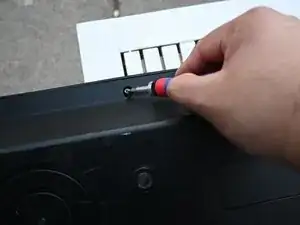
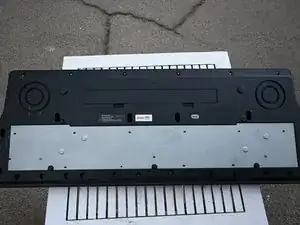
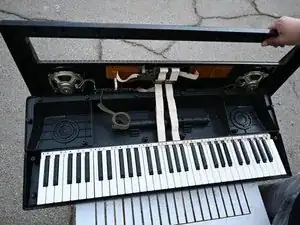
    • Flip the piano to its backside.

    • Remove all the screws on the back of the piano using a Phillips #0 screwdriver.

  3. e2sS6RD3sbJqmWNM
    e2sS6RD3sbJqmWNM
    FFoKlsI46UmytJEn
    pCd4YQcTORFcMc1E
    • Remove the back metal plate.

    • Flip the piano to its front before the next step.

  4. BevqxEcuT6hAEOs6
    BevqxEcuT6hAEOs6
    cBKHgprS5XhNsuW5
    • Lift up the top panel from the back.

    • The panel won't come off completely due to the cables connected.

  5. tKqAcY2PYsvl53Vh
    tKqAcY2PYsvl53Vh
    qsPOxkHW12DdaGCP
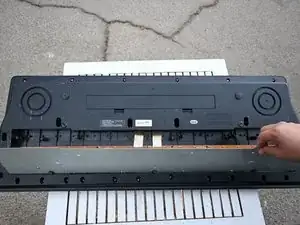
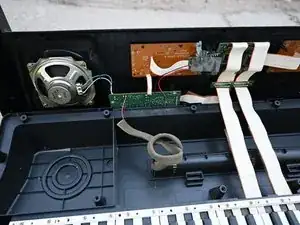
    • Reattach any loose cables.

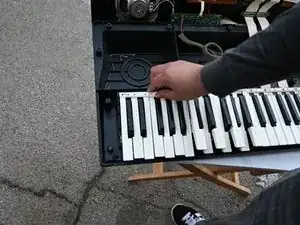
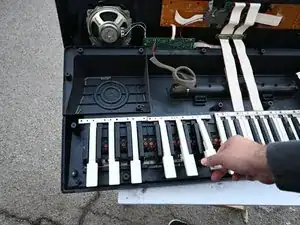
    • Clean any dust from the top of the keys with a vacuum or cotton swab.

  6. nHJHZCi6eFpaDPjT
    nHJHZCi6eFpaDPjT
    XiGSQ4VQmoTrfMUg
    • Using a Phillips #00 screwdriver, remove all the screws attached to the top of the keys.

  7. oTJTbRWPZigEdLaG
    oTJTbRWPZigEdLaG
    3VMhUNSM2ymo15cK
    UDTylaMpVZq5FE3P
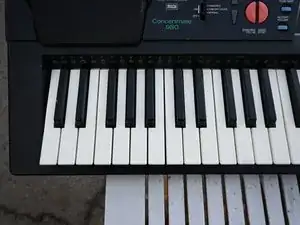
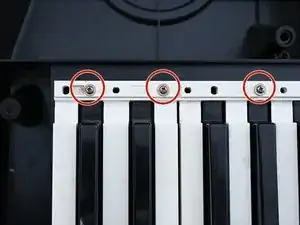
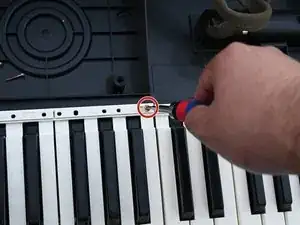
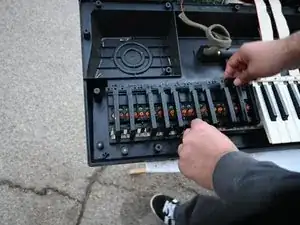
    • Remove the white keys by pulling them from the top and sliding them down.

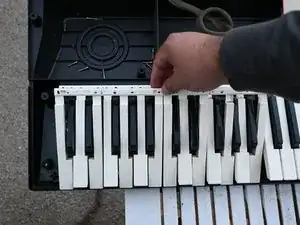
    • To remove the black keys, pull on the keys first to pull off, then remove the keys entirely.

  8. kNHPnPe2EReyBL3B
    kNHPnPe2EReyBL3B
    1XGr2kZ54VemIM5E
    mPZPXYs3jOlbAArZ
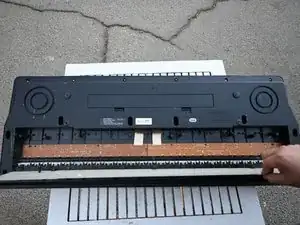
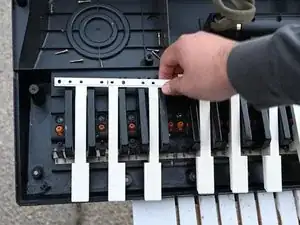
    • Clean all the dust under the keys.

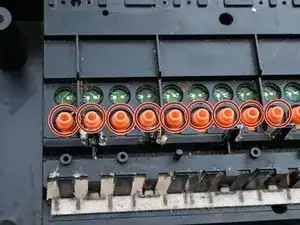
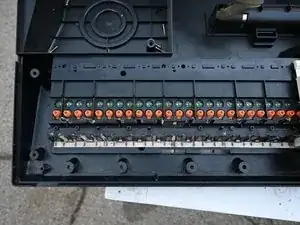
    • Clean around the orange tips, making sure they are upright.

  9. 2fRCdkyhmfHfxoJk
    2fRCdkyhmfHfxoJk
    ieZUhCrobROXxWgj
    XGHtgQtsrCRTOD3x
    • Place the keys in the same order as you took them out.

    • Using a Phillips screwdriver, replace all the screws in the same places as you removed them.

Conclusion

To reassemble your device, follow these instructions in reverse order.

Randy Coronado

Member since: 22/10/24

169 Reputation

0 comments