Introduction
Introduction
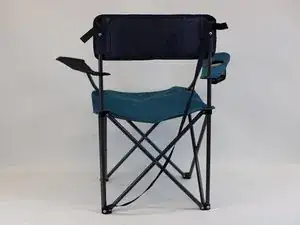
Even the sturdiest camping chairs can suffer from a broken seam, however fixing it is easier than you might think! We will show you how to repair it, ensuring it’s ready for your next adventure.
-
-
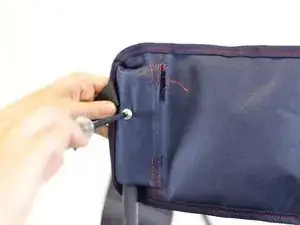
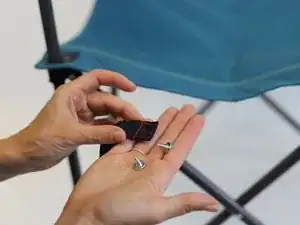
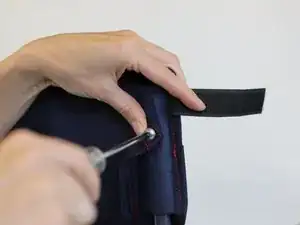
Use a screwdriver to disassemble the back support and set aside the screws and remaining parts.
-
-
-
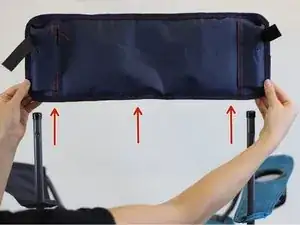
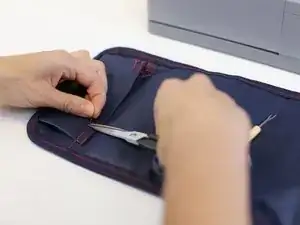
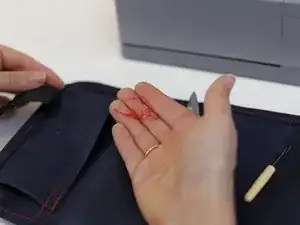
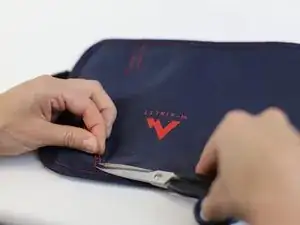
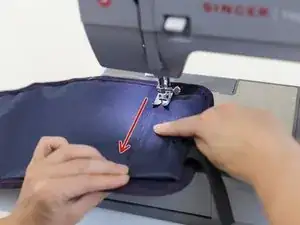
Sew along the "dotted line" following the direction of the red arrow. This is the path where the previous stitch used to be.
-
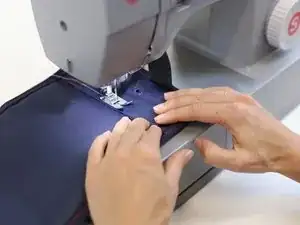
Note: in this example, the original seam used to have 2 lines of stitches, this is why a second line of stitches is needed to reinforce the area.
-
-
-
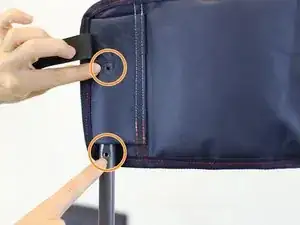
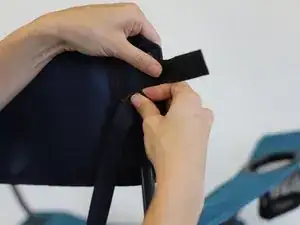
Start by putting the components back, first the repaired fabric and then the rest of the parts.
-
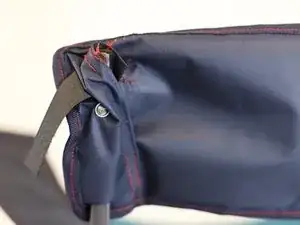
Tip: make sure the holes in the metal part of the chair match the holes of the fabric (orange circles).
-
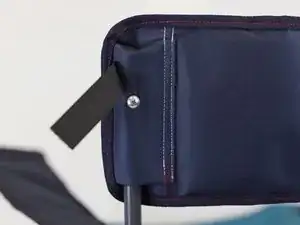
Screw back the pieces that were taken on the previous steps.
-


In need of another repair? Don't worry! Check out our other guides to find quick solutions for your favourite clothing, footwear and equipment!