Introduction
Knitted garments are cherished for their comfort, but they can develop issues like running loops. We will show you how to repair those loops and keep your jumper looking great. A mending needle is essential for this task, as its fine tip allows you to weave the yarn back into the fabric.
Tools
-
-
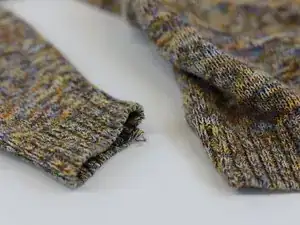
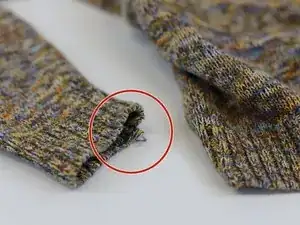
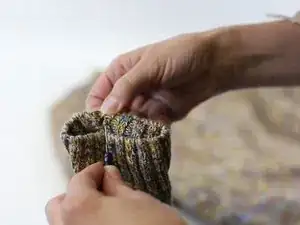
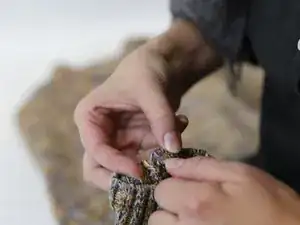
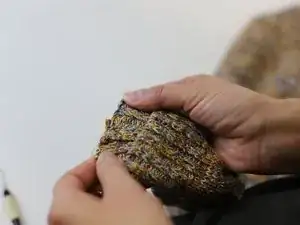
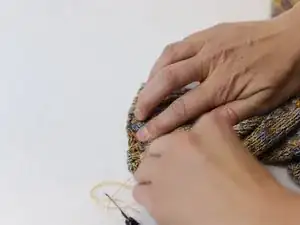
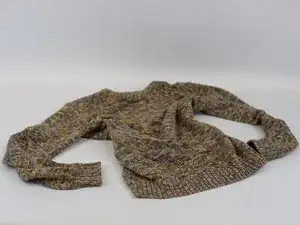
Locate the running loop.
-
Note: In this repair, the running loop is located at the edge of the sleeve. This is typically a vertical strand of yarn that has pulled away from the surrounding stitches.
-
-
-
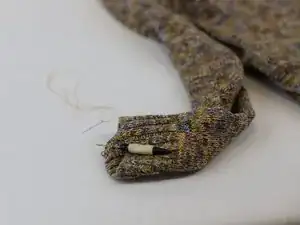
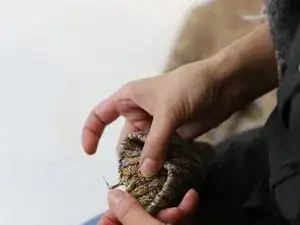
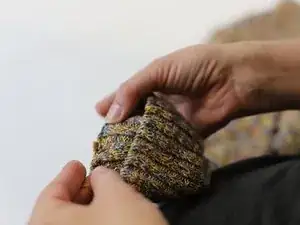
Insert the mending needle through the base of the loop from the inside of the sleeve. Pull it through gently to secure the loop in place.
-
-
-
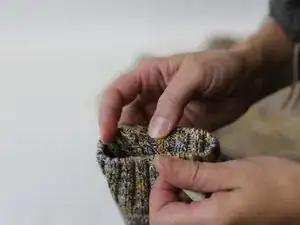
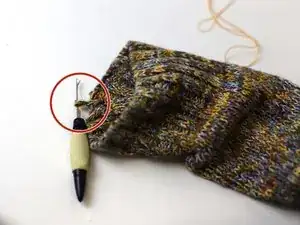
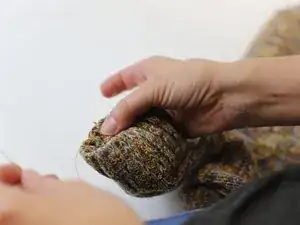
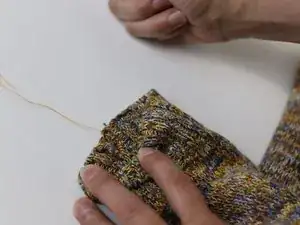
Carefully weave the mending needle through the vertical stitches and push the loop outwards.
-
Note: This helps to align the loop with the surrounding fabric.
-
-
-
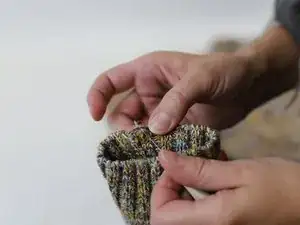
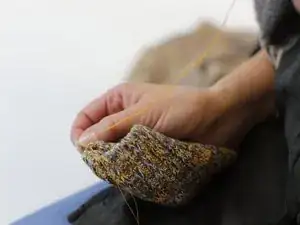
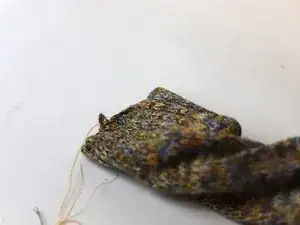
Once the loop has been pulled using the mending needle, change the tool for a normal needle and start hand stitching.
-
Note: In this repair we have chosen a colour thread similar to the pattern on the garment, but we encourage you to be creative and choose a completely different colour or add more contrast, just remember to add your personal touch to your repair!
-
-
-
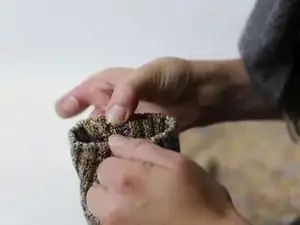
Following the steps shown in the pictures, continue to stitch replicating the garment's pattern.
-
-
-
In between stitches, check that it is following the right pattern. Test it by gently stretching the sleeve.
-
-
-
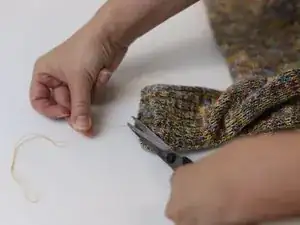
Once you have finished with the last stitches, add a knot at the end and gently pull the thread.
-
Use a pair of scissors to clean the area and cut any loose threads.
-


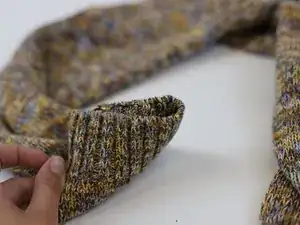
In need of another repair? Don't worry! Check out our other guides to find quick solutions for your favourite clothing, footwear and equipment!