Introduction

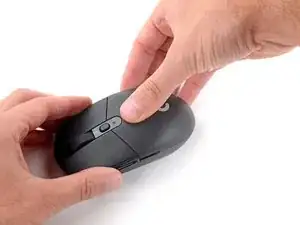
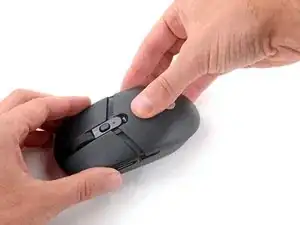
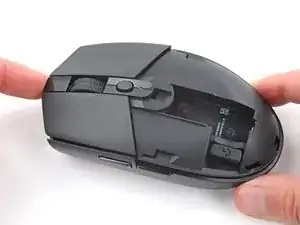
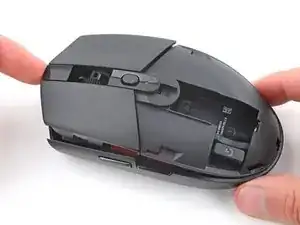
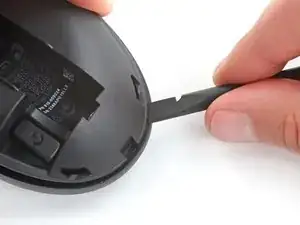
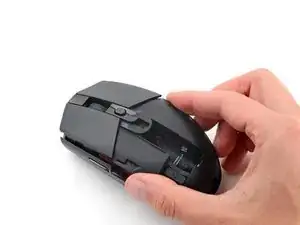
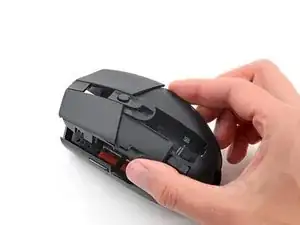
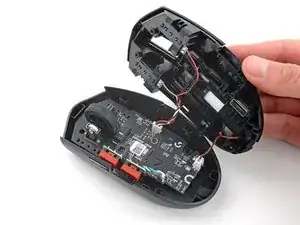
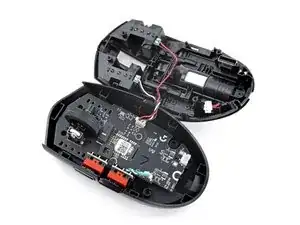
Use this guide to open your Logitech G305 wireless gaming mouse.

Opening your mouse gives you access to clean its internals, troubleshoot mechanical problems, or replace a part.

  1. DXQFQnASmefwCSsf
    DXQFQnASmefwCSsf
    WQEika5DSswBNVIC
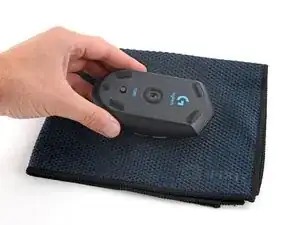
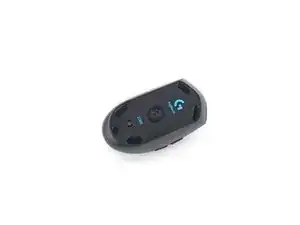
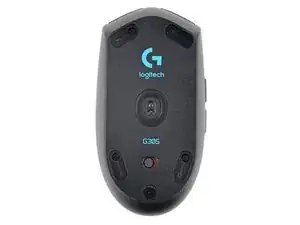
    • Slide your mouse's power switch to the left so it's in the OFF position.

    • A red indicator should be visible beneath the switch.

    • Throughout your repair, it may be helpful to lay your mouse on a soft cloth to stabilize it and prevent damage while you work.

  2. KqMKCHLvXQB2RcNT
    KqMKCHLvXQB2RcNT
    EFtSp2p2JtvY2wIX
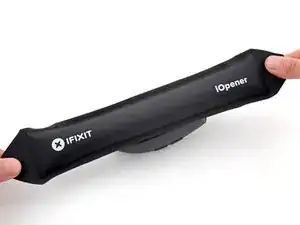
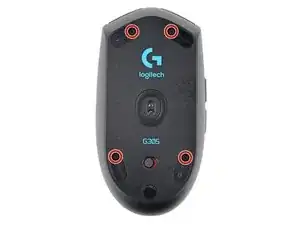
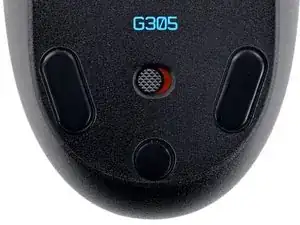
    • The feet are secured to the bottom of the mouse with adhesive. In order to cleanly remove them, the adhesive needs to be thoroughly heated.

    • Heat an iOpener and lay it on the mouse feet for one minute to heat the adhesive.

    • Alternatively, you can use a hair dryer on the Low heat setting to soften the adhesive.

    • If you're using a hair dryer, only heat the feet a few seconds at a time or you may warp the plastic shell.

  3. MZtURJcLmUk5ISmj
    MZtURJcLmUk5ISmj
    UHvNllaWuGocVmOp
    gRqbuVfE4XkLVdwn
    • The feet have two layers—a rubberized one and an adhesive pad underneath.

    • If you're reusing the feet, be very careful not to separate the two layers or damage the feet.

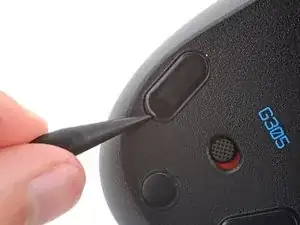
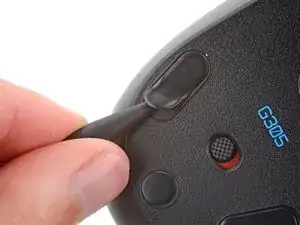
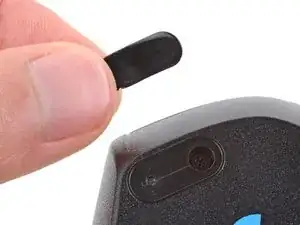
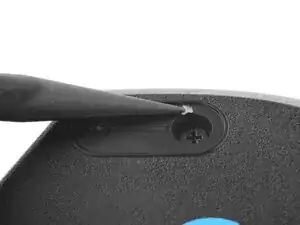
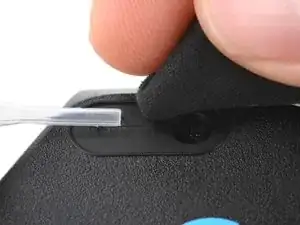
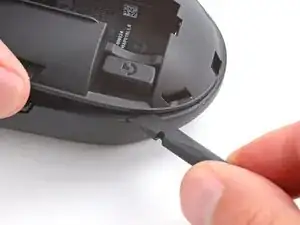
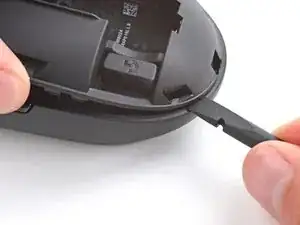
    • Carefully slide the point of a spudger under one of the feet, making sure it goes under both the foot and its adhesive pad.

    • If you're just removing the feet to open the mouse, you don't need to remove the circular one below the power switch.

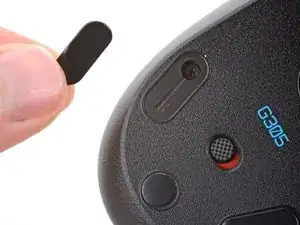
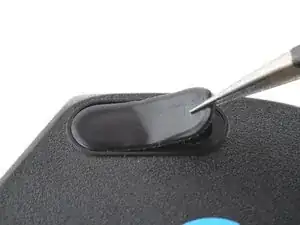
    • Gently slide the spudger farther under the foot and lift to remove it.

    • If the rubber layer separates from its adhesive pad, use the same process to remove the pad.

  4. N5Tfq5giHQ2Np1BS
    N5Tfq5giHQ2Np1BS
    OB2s5dGAdfkMGmcM
    II2XDJIeyMSavEXx
    • Repeat the previous step to remove the remaining feet.

  5. loPfYTnGSCpTujgT
    loPfYTnGSCpTujgT
    nkkFuXsTivdIALiF
    fBsDmkahTN3EOXVs
    • To install a new foot:

    • If any of the feet got damaged during removal or separated from their adhesive pads, replace them.

    • Use a spudger to carefully scrape up and remove any remaining adhesive bits.

    • If there's any adhesive residue left, use isopropyl alcohol and a microfiber cloth to remove it. Allow the surface to completely dry.

    • Remove the feet from their backing and firmly press them into place.

  6. bG2YMaYCmTgRsXyW
    bG2YMaYCmTgRsXyW
    psNeedHvuLVDBIhl
    S2QfRhyBlVuuaaiU
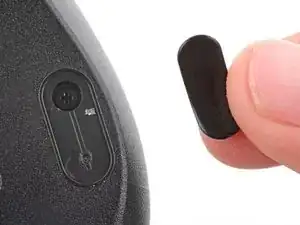
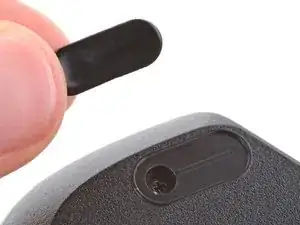
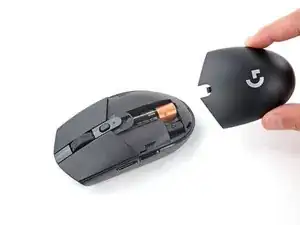
    • Press down on the top cover just above the Logitech logo and slide it back to remove it.

    • When reinstalling the cover, you should feel and hear a "click" as it slides into place.

  7. UdCowWUdNUrdHPIf
    UdCowWUdNUrdHPIf
    ZIrUVB2cWqDXFjyL
    Nf4wbJenWJewG2bD
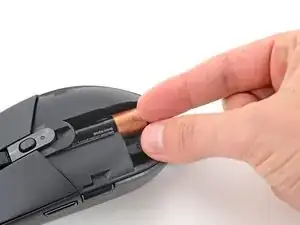
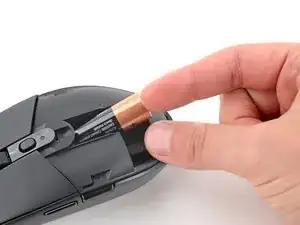
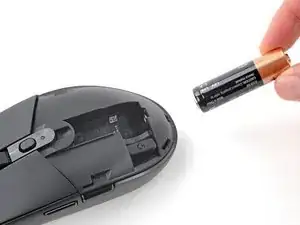
    • Lift the end of the AA battery near the back of the mouse and remove it.

    • To install a new battery, slide the negative (-) end into the recess so it's near the front of the mouse and push the battery into place.

  8. YUUNlZvZAHYyMvpi
    YUUNlZvZAHYyMvpi
    1YCLx1oYhPTjQpjr
    • Use a Phillips screwdriver to remove the four 5.3 mm‑long screws securing the bottom shell.

  9. tmpmYBCosgZ3EaJP
    tmpmYBCosgZ3EaJP
    fDEnoCeVV1l6ACO6
    • With one hand, firmly hold the bottom shell in place.

    • With your free hand, lift the front of the top shell to partially separate it.

    • Don't try to fully separate the top shell, as the back is still clipped in.

  10. SBlWcsS4oMoVbhXy
    SBlWcsS4oMoVbhXy
    AZkvrUUTuyDctXKG
    SV1WduHyqEEUdQXu
    • With one hand, firmly grip the top shell.

    • With your free hand, insert the flat end of a spudger between the top and bottom shells near the rear of the mouse.

    • Slide the spudger towards the rear of the mouse while pulling the top shell up and toward the front to separate the shells.

    • If the shells don't separate, repeat the process on the other side of the mouse.

  11. AvAOWGTSbTjDBOGC
    AvAOWGTSbTjDBOGC
    GQafqaNBuA1batAJ
    KKXYAWsSHUnKsCOR
    • Don't try to fully remove the top shell yet, as two cables still connect it.

    • Lift the top shell up and flip it over the right edge of the mouse, being careful not to strain the cables.

    • The top shell should stay slightly propped up.

  12. JOhyDMAnVlkqkZ6v
    JOhyDMAnVlkqkZ6v
    IXHN6VxB1enqf1TT
    mWLNZvEXD6IHQN3m
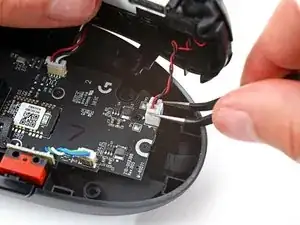
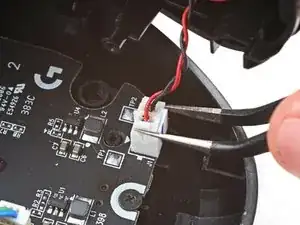
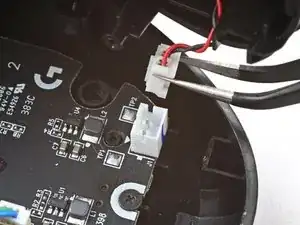
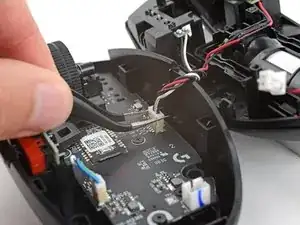
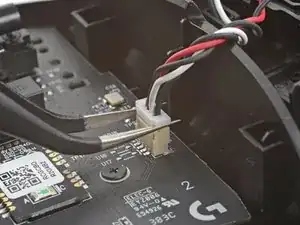
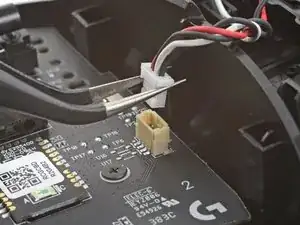
    • Use tweezers to firmly grip the short edges of the battery cable connector on the bottom right corner of the board.

    • Pull the connector straight up and out of its socket.

    • If you're having trouble, rock the connector side-to-side to help loosen it.

    • During reassembly, push down on the edges of the connector with the flat end of a spudger until it's fully seated in the socket.

  13. prNbPdY2T5IIlSrV
    prNbPdY2T5IIlSrV
    qXqHoOIZtS1wRFtq
    • Lay the top shell flat on your workspace to the right of the mouse.

  14. qAb6gNFtCMEpVjhe
    qAb6gNFtCMEpVjhe
    BmULHF3yGO6lKikH
    FNJbbNaZikhCuTJJ
    • Use tweezers to firmly grip the short edges of the top buttons connector on the right edge of the board.

    • Pull the connector straight up and out of its socket.

    • If you're having trouble, rock the connector side-to-side to help loosen it.

    • During reassembly, push down on the short edges of the connector with the flat end of a spudger until it's fully seated in the socket.

  15. i3NTUeHOXZWQpEjT
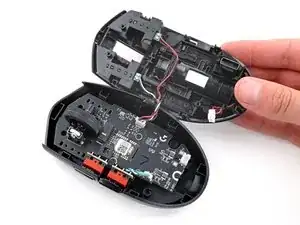
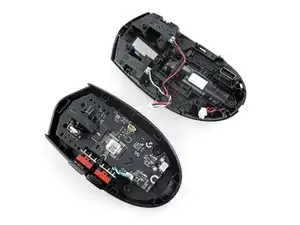
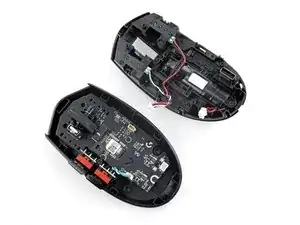
    • The top and bottom shells are now fully separated.

Conclusion

To reassemble your device, follow these instructions in reverse order.

Take your e-waste to an R2 or e-Stewards certified recycler.

Repair didn’t go as planned? Try some basic troubleshooting, or ask our Answers community for help.
Spencer Day

Member since: 14/09/22

95592 Reputation

0 comments