Introduction
Use this guide to open up and clean dust and debris out of the fan, grilles, or vents of a PlayStation 5.
If your console is loud, overheating, or underperforming, it may have built-up dust in the cooling fan, heatsink, or main vents.
Note: If your PS5 is overheating, chances are it’s not due to the liquid metal thermal interface on the SoC. If you do need to clean, replace, re-spread, or otherwise service the liquid metal, though, follow this guide.
In the PS5, a blower fan pulls air in from the flared sides, which cools the console, then pushes the air out of the back vents. If your PS5 lives in a TV cabinet with limited airflow, consider opening the door while gaming or moving it out to open air. If your PS5 is on the ground, it may suck in extra dust, dirt, or hair and limit its ability to keep cool.
If you want to clean dust without opening your PS5, follow this guide.
-
-
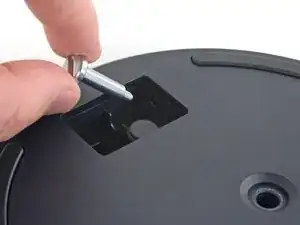
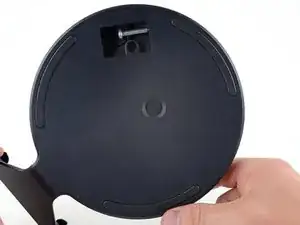
If your PlayStation 5 is in its vertical orientation, flip it upside down so the stand is facing up.
-
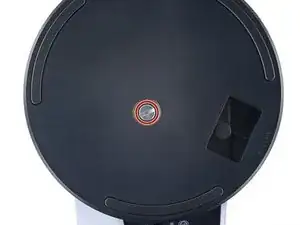
Use a coin or a flathead screwdriver to remove the 26.5 mm-long stand screw.
-
-
-
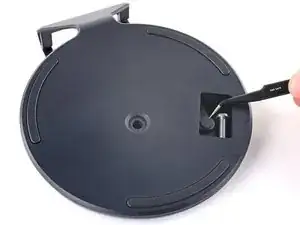
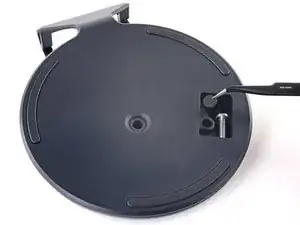
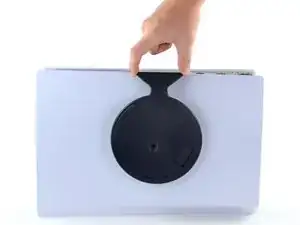
If your PlayStation 5 is in its horizontal orientation, rest it on its face with the charging port facing up.
-
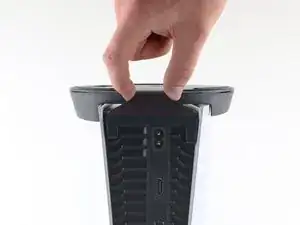
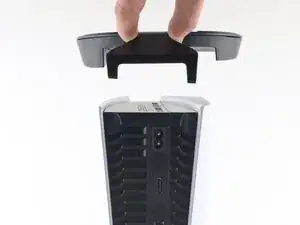
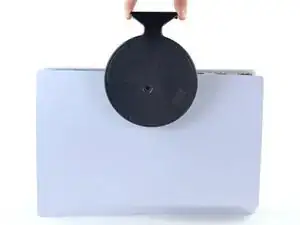
Lift the stand straight up to remove it.
-
-
-
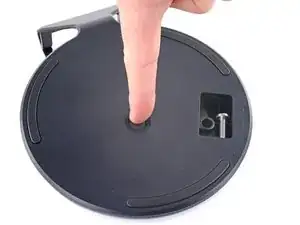
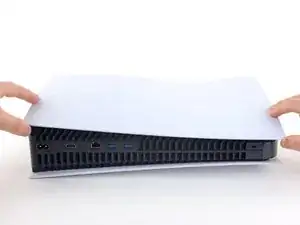
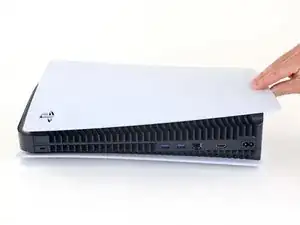
Flip the device over so that the USB and ethernet ports are on the left side from your perspective.
-
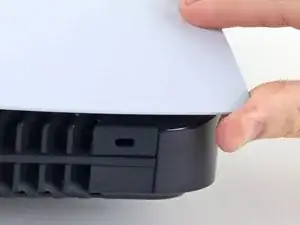
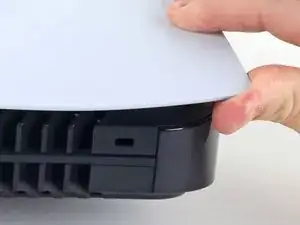
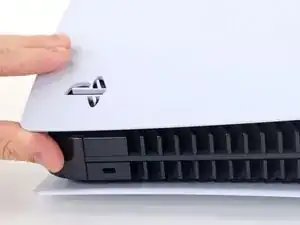
Lift up the corner of the faceplate to unclip it from the case.
-
-
-
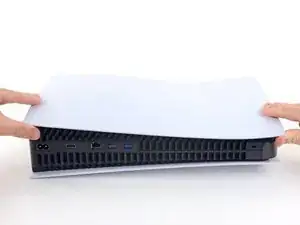
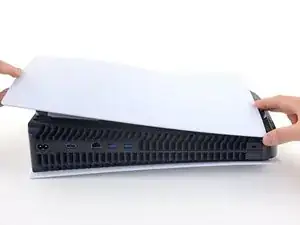
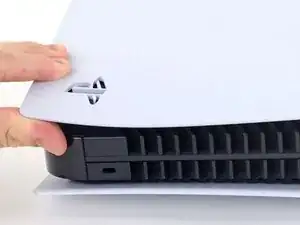
While lifting up the corner, slide the faceplate towards the bottom of the device.
-
Remove the right faceplate.
-
-
-
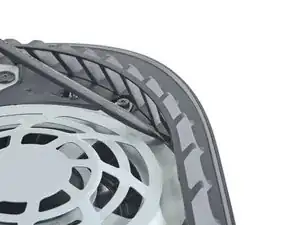
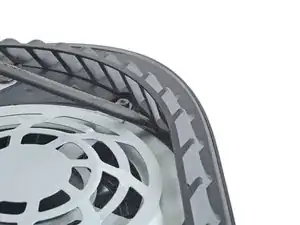
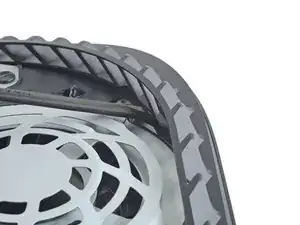
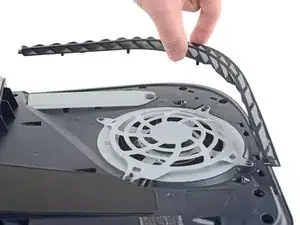
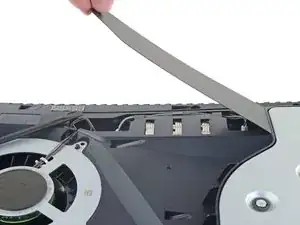
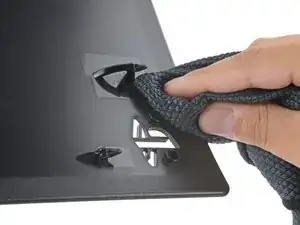
Insert the flat end of a spudger underneath the grille and into the gap above the fan.
-
Lift up with the spudger to pry the grille away from the case.
-
-
-
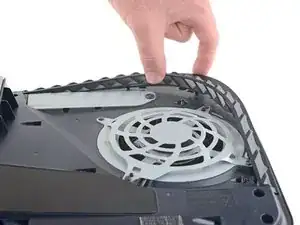
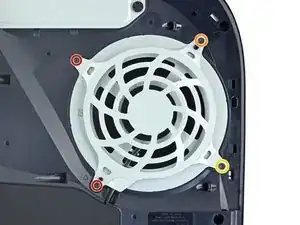
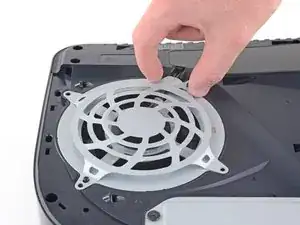
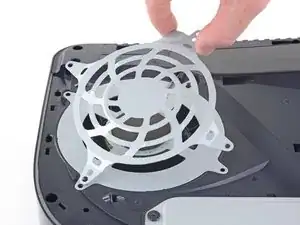
Use a TR8 Torx security driver to remove the four screws securing the fan shroud to the case:
-
Two 23.3 mm-long screws
-
One 11.4 mm-long screw
-
One 31 mm-long screw
-
-
-
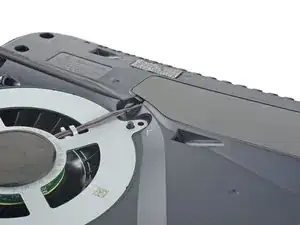
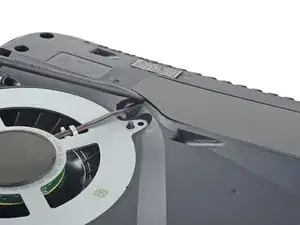
Insert the flat end of a spudger beneath the black wire cover and into the gap above the fan wires.
-
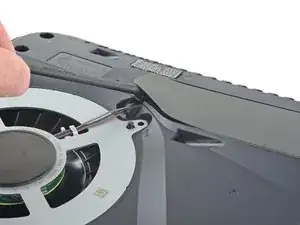
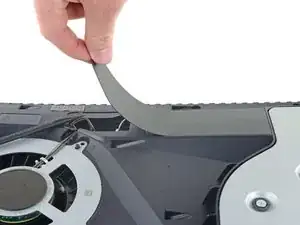
Use the spudger to peel up the wire cover until you can grip it with your fingers.
-
-
-
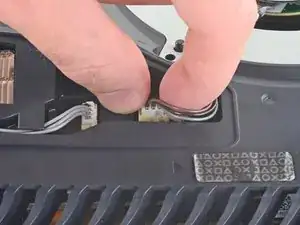
Use your fingers to grip the edges of the fan cable connector, and pull up to disconnect it from the motherboard.
-
-
-
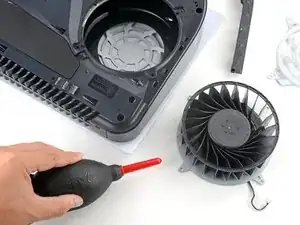
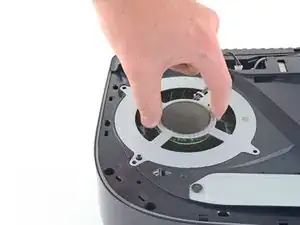
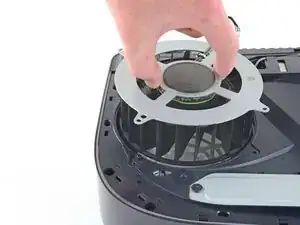
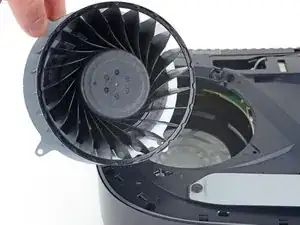
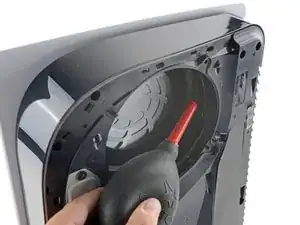
Use a pair of tweezers to grab loose hairs and dust clumps off of the fan.
-
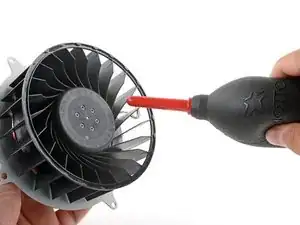
Use a small dust blower or light compressed air to blow remaining dust off of the fan.
-
If there's a layer of grime on the fan blades, use soapy water or isopropyl alcohol on a cotton swab to wipe them off.
-
-
-
Lift up the corner of the faceplate with the PlayStation logo to unclip it from the case.
-
While lifting up the corner, slide the faceplate towards the bottom of the device.
-
Remove the left faceplate.
-
-
-
Two dust ports underneath the left faceplate can catch dust over time. Use a narrow vacuum attachment to clean out the ports.
-
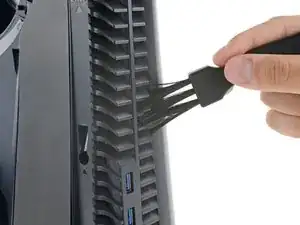
Using an anti-static brush or a new toothbrush, clean any dust out of hard to reach areas and off of the rear vents.
-
Use a dust blower to blow any loose dust out of the console and a cloth to wipe the vents clean.
-
-
-
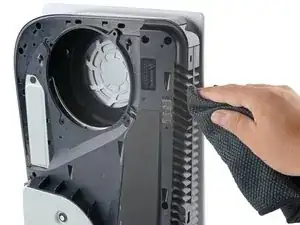
Use a dust blower, brush, and a cloth to clean the inside of the fan cavity while the fan's removed.
-
If you can see dust buildup in the heatsink, use a dust blower to blow it clean.
-


To reassemble your device, follow these instructions in reverse order.
Disassembly or cleaning didn’t go as planned? Try some basic troubleshooting, or ask our PlayStation 5 Answers community for help.

One comment
How do i clean the lebron faceplate?