Introduction
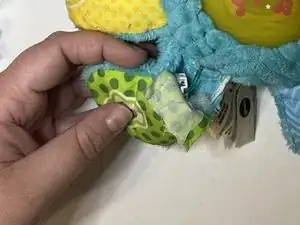
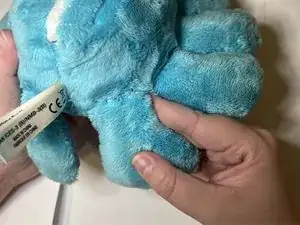
VTech's Snug-a-Bug toy has had a limb removed in a freak accident. This may be from an animal or just a thread coming loose, resulting in the detachment. This guide will provide you with step-by-step instructions on how to repair the tear, all while keeping the electronic portions of the toy intact.
A straight sewing needle will work, but a curved sewing needle may be easier to work with.
-
-
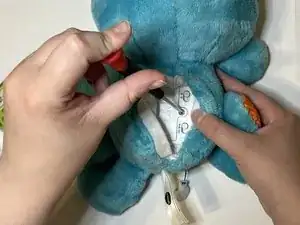
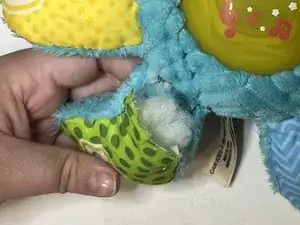
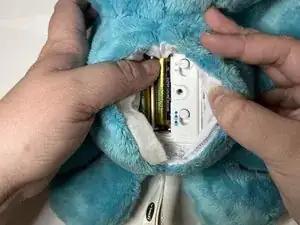
Open the back Velcro pocket of Snug-a-Bug, revealing the battery compartment.
-
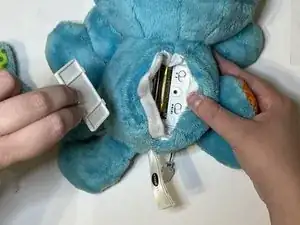
Using a Phillips screwdriver, twist and remove the screw to open the battery compartment.
-
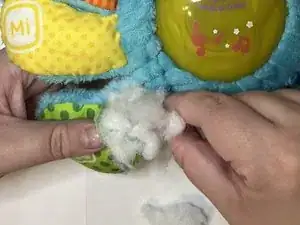
Remove batteries and set aside for later use.
-
-
-
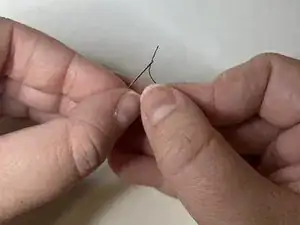
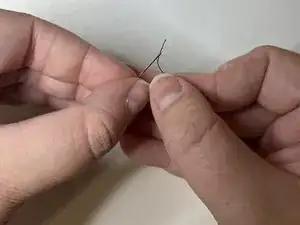
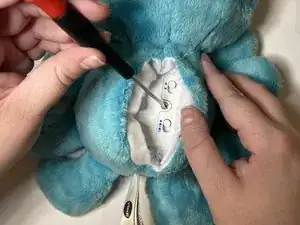
Using a pair of scissors, cut the thread to a desired length, leaving an additional two inches for extra length when tying the knot.
-
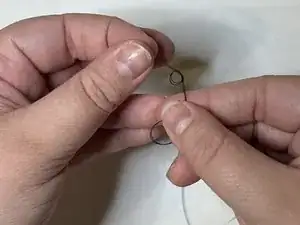
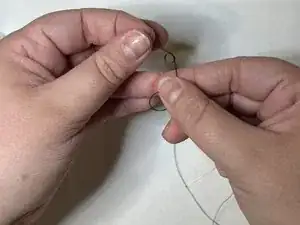
Take one end of the thread and push it through the needle's eye. Align both ends of thread together and pull the needle so it lies at the midpoint of the thread. Secure the needle and thread by making a loop knot.
-
-
-
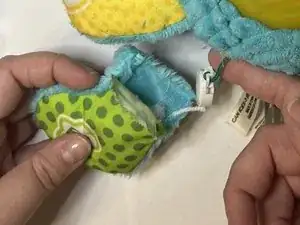
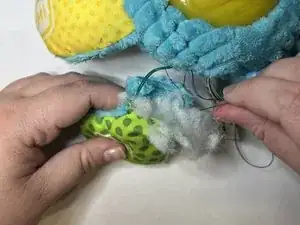
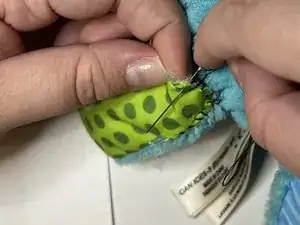
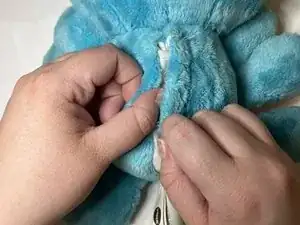
Pierce the needle through the backside of the limb and pull the thread through until the knot catches the back of the fabric.
-
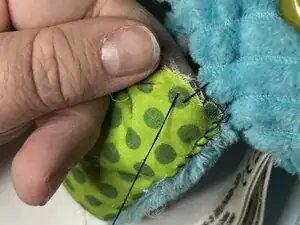
After the thread has been pulled through, loop through the base of Snug-a-Bug's body and back through the torn limb to create a whip stitch.
-
Continue using the whip stitch method until the backside of the limb is completely reattached to Snug-a-Bug's body.
-
Secure the stitch by double knotting the thread. Then trim off excess thread.
-
-
-
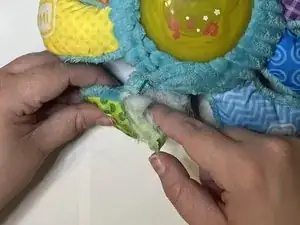
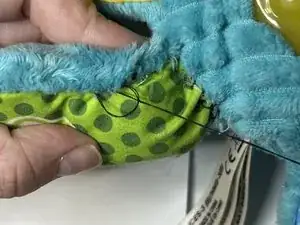
Using the whip stitch method shown in Step 4, sew the remaining parts of the limb to the body of Snug-a-Bug. Start at the base of the torn seam and move along the edge of the limb and up to the body.
-
When the stitch is completed, secure with a double knot. This will ensure security of the torn limb to the body.
-
-
-
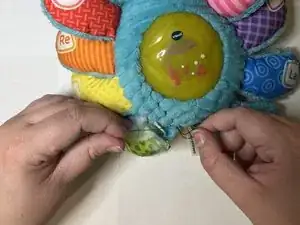
Place the batteries back in the battery pocket in the correct direction.
-
Return the battery pack cover over the batteries and align the two holes where the screw will intersect.
-
Place the screw in the hole where the cover and battery pack align. Using a Phillips screwdriver, turn the screw in a clockwise fashion to tighten the cover.
-
Align the Velcro on Snug-a-Bug's back to conceal the battery pack.
-