Introduction
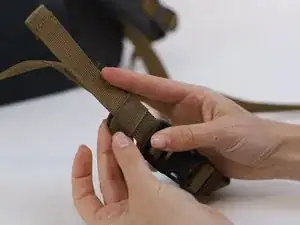
"Strap keepers" are the small pieces of elastic that hold in place the strap of your backpack. Although little in size, they play a big role in regulating the perfect length for the straps.
After constant use, you might notice that the "keepers" get overstretched. This is your cue to take matters in your own hands and start repairing! We will walk you through the steps of fixing this small but relevant inconvenience in no time.
Tools
-
-
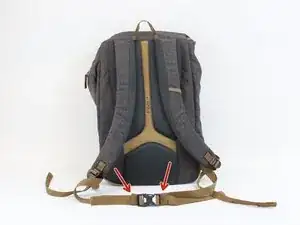
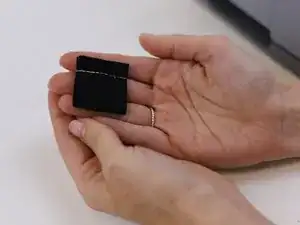
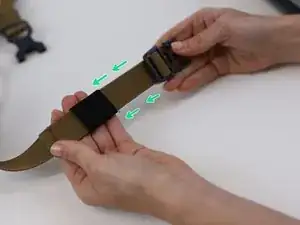
Check the "strap keepers" of your backpack (red arrows).
-
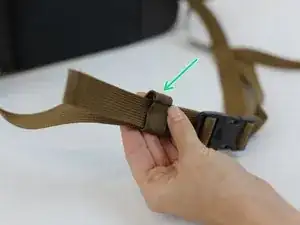
The length of the elastic should be tight. In this example, we have a worn-out elastic that has expanded and is bigger than the width of the strap (green arrow).
-
-
-
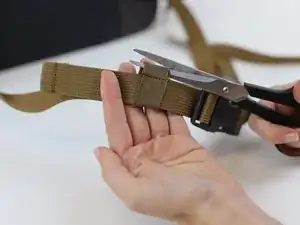
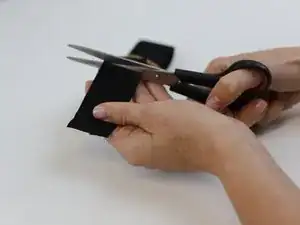
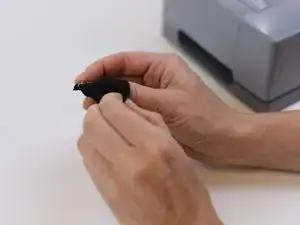
Use a pair of scissors to cut the old elastic.
-
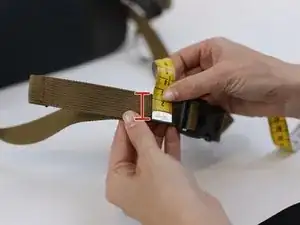
Measure the width of the strap. In this example, the measurement was 2 cm (red line).
-
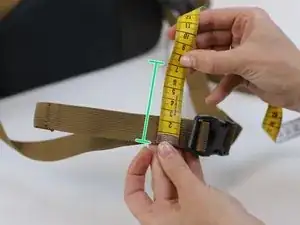
For the strap keeper replacement, we need to use the following formula:
-
Length = (Strap's width * 2.5) + 2 In our example this would be: (2 * 2.5) + 2 = 7
-
This means that the width of the new strap keeper would need to be 7 cm (green line).
-
-
-
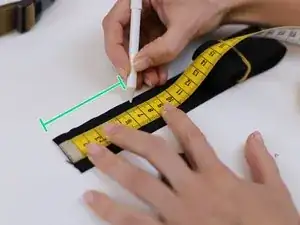
Using a fabric pencil, mark the length calculated on the previous step. In this example, we are marking 7cm (green line).
-
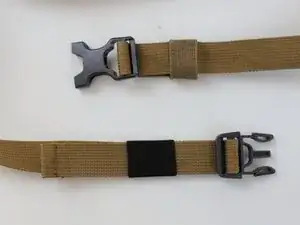
Note: We are using an elastic band that will serve as the new "strap keeper". For this example, we chose the color black in order to make it stand out.
-
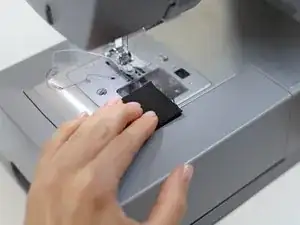
Cut along the marked length and then fold the elastic band around the strap.
-
-
-
Before stitching remove the strap and align the elastic in the correct position.
-
Tip: For tips on setting up the machine take a look at this iFixit guide.
-
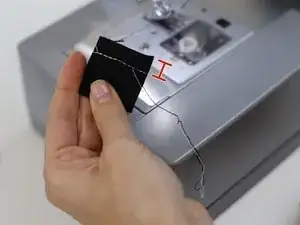
Make sure you leave 1 cm away from the edge (red line).
-
Clean the remaining loose threads.
-
-
-
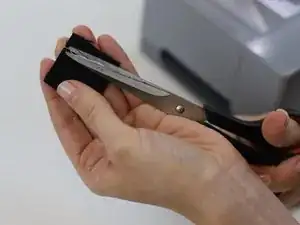
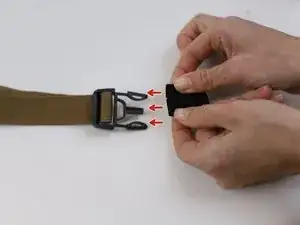
Following the red arrows, insert the "strap keeper" into the strap with the buckle.
-
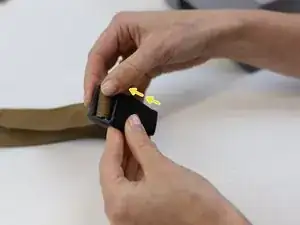
Once it has been inserted into the buckle, follow the direction of the yellow arrows.
-
Keep going forward and gently slide the "strap keeper" in the direction of the green arrows till it is holding the "loose" strap in place.
-


In need of another repair? Don't worry! Check out our other guides to find quick solutions for your favourite clothing, footwear and equipment!