Introduction
Replacing broken buckles is one of the most common backpack repairs. On this guide we will teach you a quick solution on how to solve this problem.
This guide provides a solution that requires stitching. If you need a simplified version, check out this guide.
Tools
-
-
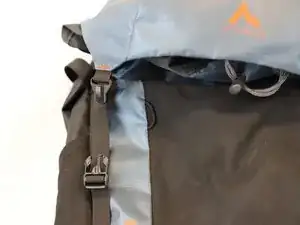
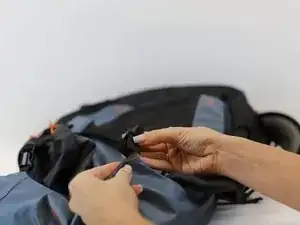
Use a seam ripper to unstitch the strap.
-
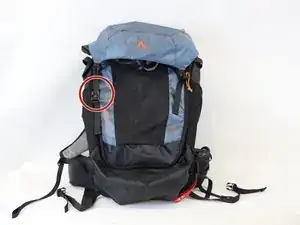
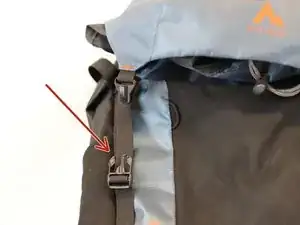
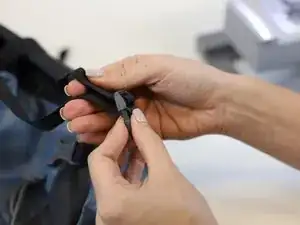
Remove the broken buckle and check that it is compatible with the replacement part.
-
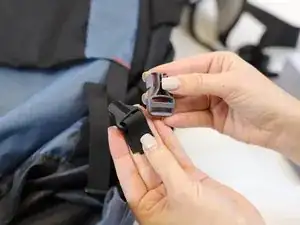
Tip: The new buckle size must match the strap width.
-
-
-
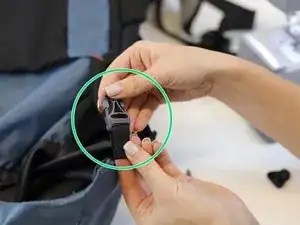
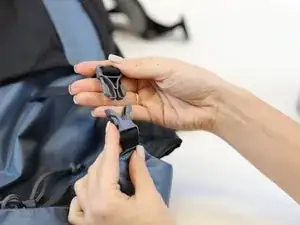
Set the top part of the buckle aside (green circle).
-
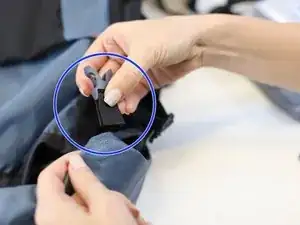
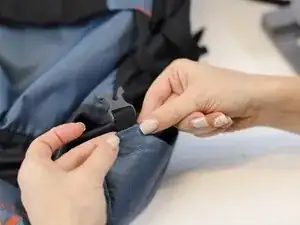
Take the bottom part of the buckle (blue circle) and put it into the strap.
-
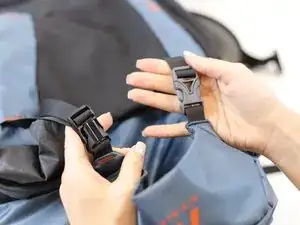
Hold it together with both hands and then insert it into the seam of the backpack.
-
-
-
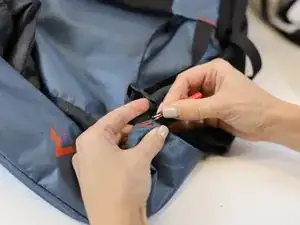
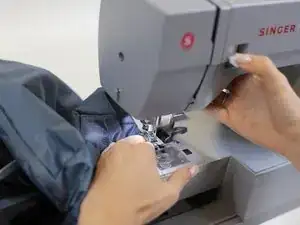
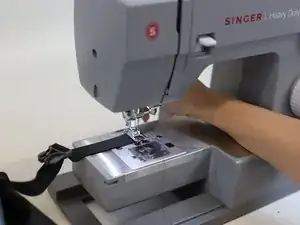
Following the last step, keep holding together the strap with the bottom buckle with both hands and gently place it on the sewing machine.
-
Once the strap is set in place, start stitching the area.
-
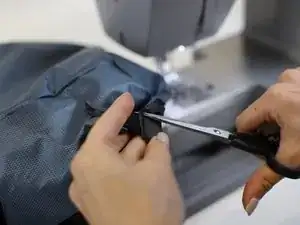
Use a pair of scissors to cut any loose threads.
-

In need of another repair? Don't worry! Check out our other guides to find quick solutions for your favourite clothing, footwear and equipment!