Introduction
Welcome to my guide on fixing a tail light on a Nissan Pathfinder! Having a properly functioning tail light is crucial for our safety and ensures that other drivers on the road can clearly see our vehicle. This step-by-step tutorial will give you the necessary instructions to fix it in no time. So, let's dive in and get your SUV's tail light shining bright again!
Parts
-
-
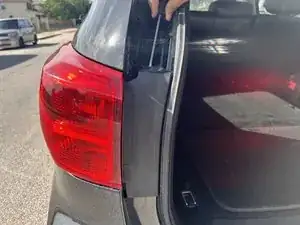
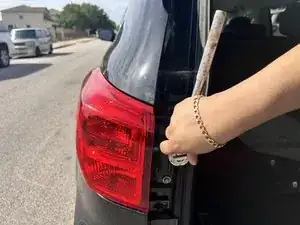
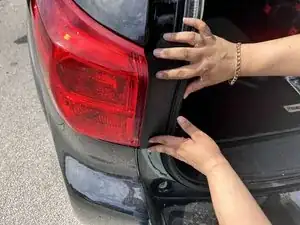
Insert a flathead screwdriver into the top of the trim cover and gently pry it towards you.
-
Repeat the above step to the bottom of the trim cover.
-
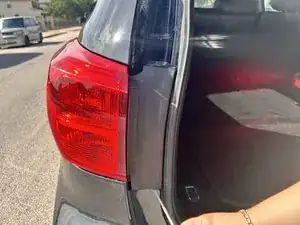
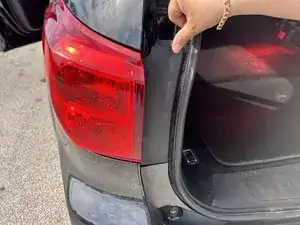
Pull the trim cover off.
-
-
-
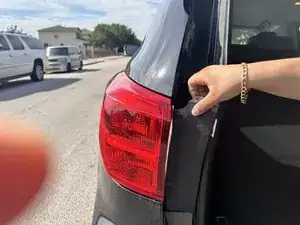
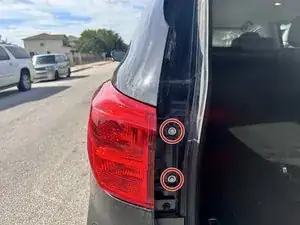
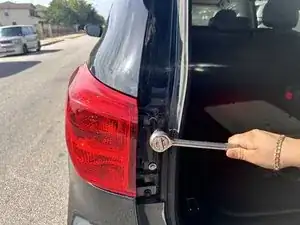
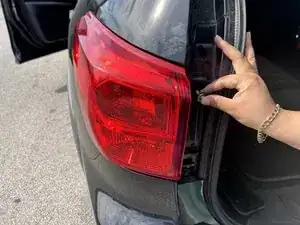
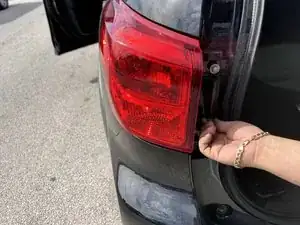
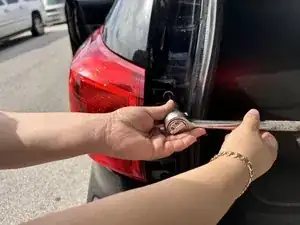
Remove the two bolts using a 10mm socket and a 1/4" ratchet wrench.
-
Place the wrench on the top bolt and turn counterclockwise until the bolt is entirely off.
-
Repeat the above step to the bottom bolt.
-
-
-
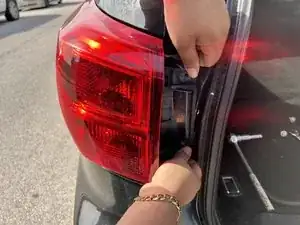
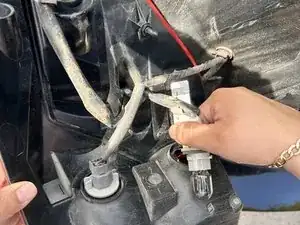
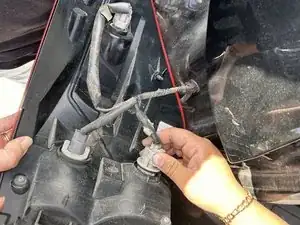
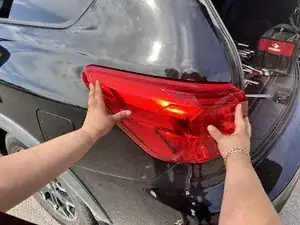
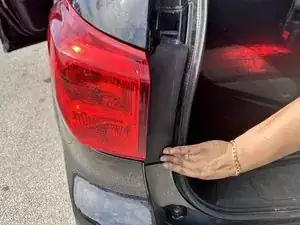
Gently pull on the tail light housing to disengage the friction fasteners from their grommets.
-
Once all fasteners have been disengaged, pull the tail light housing out.
-
-
-
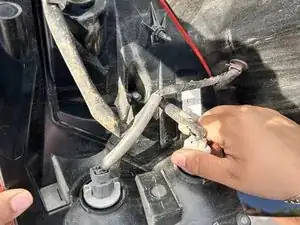
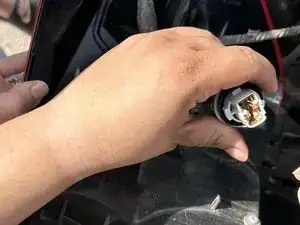
Rotate the grey plastic bulb socket 1/4 and turn counterclockwise before pulling it straight out of the housing.
-
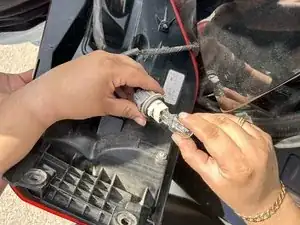
Pull the old light bulb straight out of the socket.
-
-
-
Push a new 7443 bulb into the socket.
-
Re-insert the socket into the housing and rotate it 1/4 turn clockwise to secure it in place.
-
-
-
Line up the two metal pegs near the outer edge of the housing with their corresponding plastic grommets on the rear corner of the SUV.
-
Carefully push the tail light housing back into place.
-
-
-
Tighten the two bolts by turning them clockwise with the 10mm socket and a 1/4" drive ratchet until tight.
-
-
-
Line up the trim cover and push it back into place over the inner edge of the tail light housing.
-


To reassemble your device, follow these instructions in reverse order.