Introduction
Replacing a worn tip is a simple process that can extend the life of your hiking pole and ensure you stay safe on your adventures. We will show you a step-by-step solution on how to get your hiking pole as good as new!
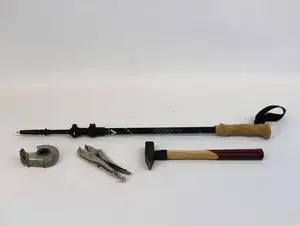
Tools
-
-
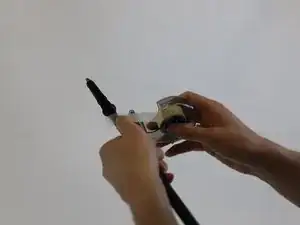
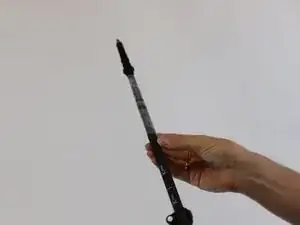
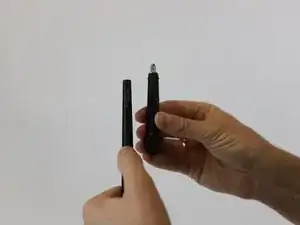
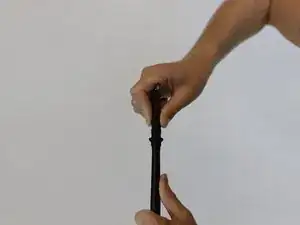
Prepare all the tools needed for the repair and locate the tip of the hiking pole that needs to be fixed.
-
-
-
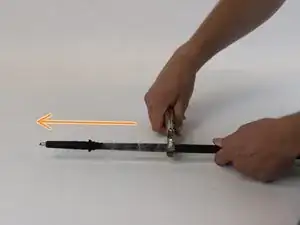
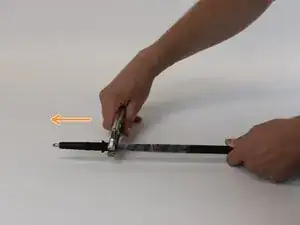
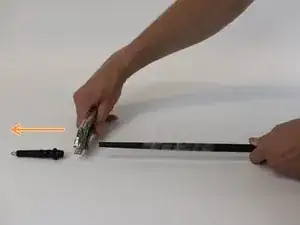
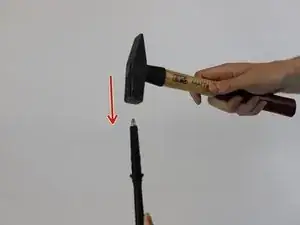
Following the direction of the orange arrows, use an adjustable wrench to slide it fast along the hiking pole and push the tip outwards.
-
-
-
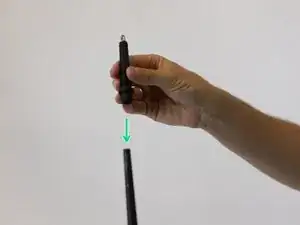
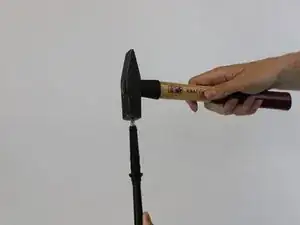
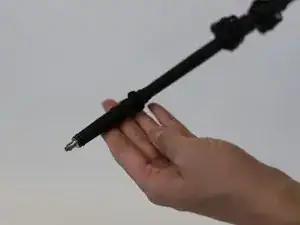
Use a hammer to secure the tip in its new position.
-
Note: only hit it once or twice with a hard tap.
-


Conclusion
In need of another repair? Don't worry! Check out our other guides to find quick solutions for your favourite clothing, footwear and equipment!