Introduction

This is a guide to rewire a broken sensor cable on an MBH Fitness Water Rowing Machine.

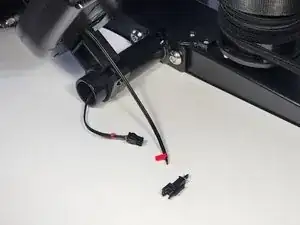
The plastic connector found on rowing machines that connects the rowing sensor on the water reservoir with the LCD screen can be easily broken. This prevents the LCD screen from showing the rowing information while you work out. Thankfully, rewiring the sensor cable to restore that connection can be done at home.

In this guide, you will cut, strip, and crimp the wires of the sensor cables. Then you will seal with heat shrink tubing the wires to create two new sensor cable connections. These two connections will allow the LCD screen on your MBH Fitness Water Rowing Machine to read the rowing sensor again.

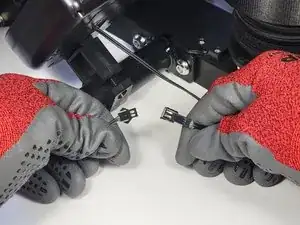
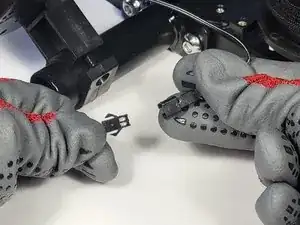
When determining the correct plastic connector orientation in Step 1, the metal pieces seen inside the connector pieces need to be on the same side. The metal pieces will touch if the connector were to be put together.

Before beginning, choose a heat shrink tube from the assortment that can fit over the RED (22-18 AWG) butt splice crimp terminal. This will prevent any issues when you do Step 14.

Please read the following caution statements:

Caution: In this guide, you will be working with a wire cutting tool. This tool can cause wire pieces to fly towards your eyes. Please wear safety goggles to protect your eyes.

Caution: The ends of the cut wires can be sharp. Please wear work gloves to protect your hands from cuts.

Caution: In this guide, you will be using a hair dryer or heat gun. The hot air from these tools can cause burns.

  1. E5clrVK1kwOXPdvV
    E5clrVK1kwOXPdvV
    ILUPwrg5KlvgqQnt
    • Caution: In this guide, you will be working with a wire cutting tool. This tool can cause wire pieces to fly towards your eyes. Please wear safety goggles to protect your eyes.

    • Caution: The ends of the cut wires can be sharp. Please wear work gloves to protect your hands from cuts.

    • Determine the correct orientation of the broken plastic connector on the sensor cables.

  2. c1MPldWWrZXYJYv3
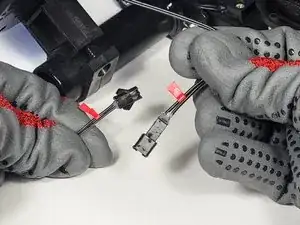
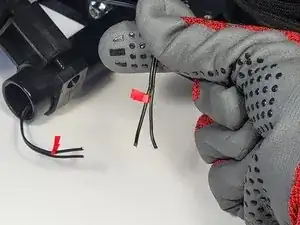
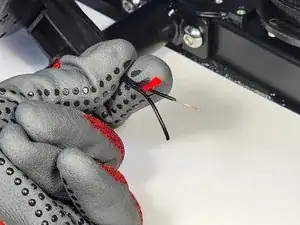
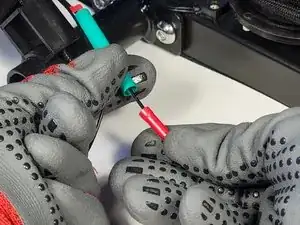
    • In the correct orientation, mark the wires that are opposite to each other with colored tape.

    • Use your fingers to widen the space between the two wires to mark with the colored tape more easily.

  3. Vd3p4XCBigKvU2RC
    Vd3p4XCBigKvU2RC
    M4QovukbJwBWAjbI
    hADGEJ16VuSBjCWj
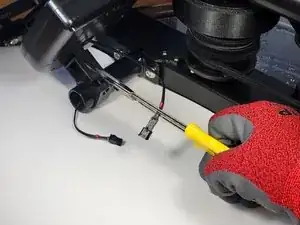
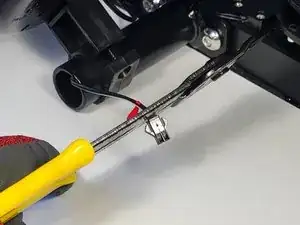
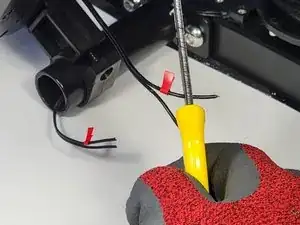
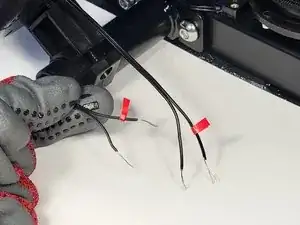
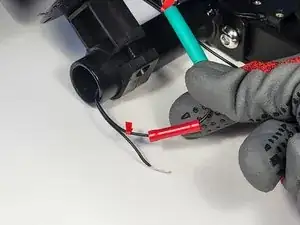
    • Cut the sensor cable with the wire cutting tool between the plastic connector and the colored tape.

  4. nakn2PoMQ1GVIEVA
    • Repeat Step 3 to cut off the other plastic connector.

  5. upCKkMBmFZjvJDYL
    • Pull apart both cables to make four single wires.

  6. rOkPp2ev1S6H6Wnj
    rOkPp2ev1S6H6Wnj
    SGn5UMIHkLGVnVUR
    VjPiGON1rSkj1GwS
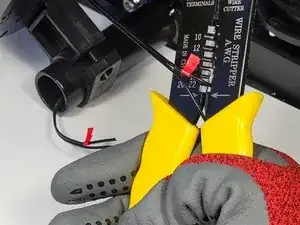
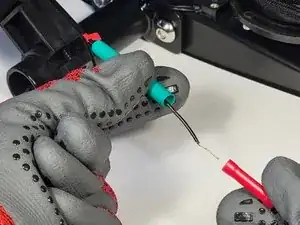
    • Place one of the four wires into the 20-22 AWG notch in the wire stripping tool, about 1/4 inch from the end of the wire.

    • Strip the wire.

  7. VqHixfTcX54BZrHJ
    • Repeat Step 6 to strip the other three wires.

  8. nDgYImASBF2PChWc
    • Put one of the marked wires through a heat shrink tube.

  9. sAJGV6BGeLClsU1o
    sAJGV6BGeLClsU1o
    Eap3pC1WKoPqOVJk
    BG56dgLugEajiywp
    • Using that same wire, firmly place the exposed wire into one end of the crimp terminal.

    • Twist the exposed wire end to prevent fraying.

  10. lBcKEKgyxC2VWkAD
    • Firmly place the second marked, exposed wire into the other end of the terminal.

  11. lMdsGSEGxtGGwKgJ
    lMdsGSEGxtGGwKgJ
    GKhpjWqUggdwTO22
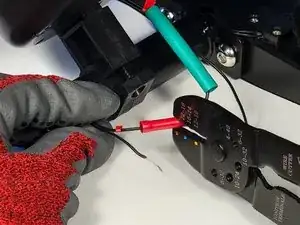
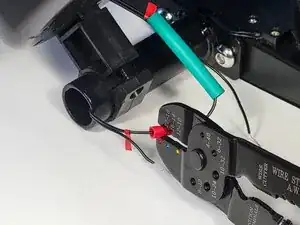
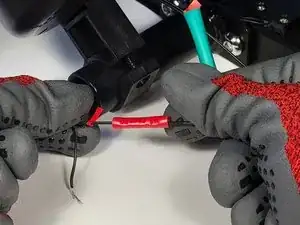
    • Place the 22-18 AWG notch of the wire crimping tool on one of end of the terminal.

    • Crimp the end of the terminal to secure the wire.

    • Do not close the wire crimping tool too hard. It can cut the wire when crimped too much. If this happens, repeat Steps 6-10 on the newly cut wire.

  12. MfEkucIjbCYT2epj
    • Repeat Step 11 to crimp the other end of the crimping terminal.

  13. WOG2QHGQW656EPPB
    WOG2QHGQW656EPPB
    PGZ5mVyBBAhwyhSp
    • Pull on both wires to test the strength of the crimping. The wires should not move.

  14. uUZBgNvYHNd51oVU
    uUZBgNvYHNd51oVU
    ZAJecLDwpORBWJsA
    • Caution: Hot air from a hair dryer or heat gun can cause burns.

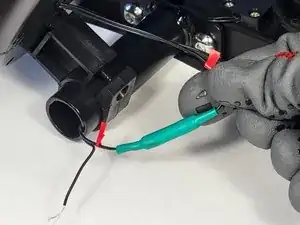
    • Cover the crimping terminal completely with the heat shrink tube.

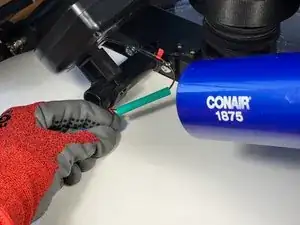
    • Blow HOT air from the blow dryer or heat gun onto the heat shrink tubing, moving side to side, until it shrinks to closely fit the crimping terminal and the wires.

    • The heat shrink tubing protects the newly connected wires from water and the environment. Shrinking the tube to closely fit the crimping terminal and the wires creates better protection.

  15. pHLsMeqX1huoOVLZ
    • Repeat Steps 8-14 for the remaining two wires.

  16. s5psIYoAQZakYjJr
    s5psIYoAQZakYjJr
    gERnPgXWghRalgVj
    • Use the rowing machine to test the new sensor cable connections.

Conclusion

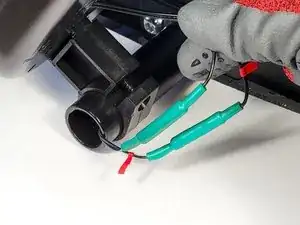
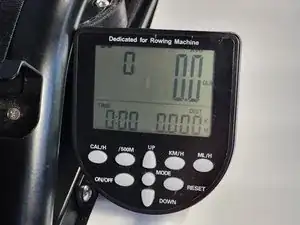
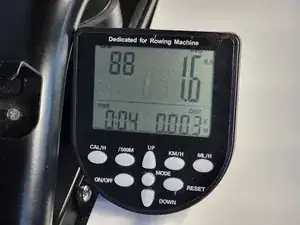
The LCD screen on your MBH Fitness Water Rowing Machine should now read the rowing sensor again.

Enjoy rowing!

AshleyFurmanUNT

Member since: 16/09/24

253 Reputation

0 comments