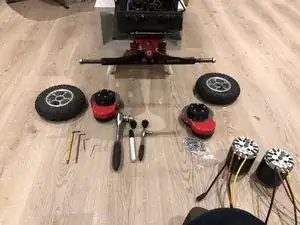
Introduction

  1. jpaUPxMFvkuNAEky
    • It is best to prepare all the parts for assembly

    • Hex Keys, Wrenches for wheel nut and wheel hub nuts

  2. 3TFosj6wgCJvpRwm
    3TFosj6wgCJvpRwm
    2YWNmuIGDQDnLkgQ
    aDXhLPFwtXKTUQ2y
    • Use Provided M3 Bolts to attach wheel mounting plate to the wheel hub.

    • Nuts should face outside

  3. MgM2QQxYvoNwXCts
    • Make sure to tighten nuts in star pattern to make sure equal tension on all bolts

  4. g1DvOcERBBdp2crM
    g1DvOcERBBdp2crM
    KgM2YCyfSLPRxRbG
    bmmKGXTMDM3aTPGN
    • If you using motors longer than 90mm (80100, 63100 and etc) mount motor directly to the baseplate and skip to Step 5

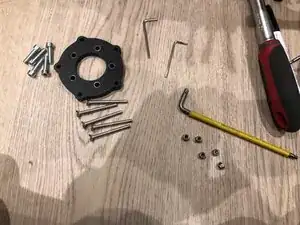
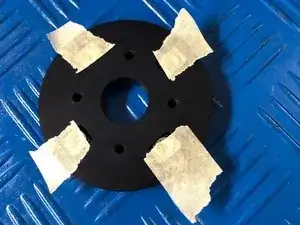
    • If using 63xx motors use a masking tape to prevent nuts from falling from motor mounting plate.

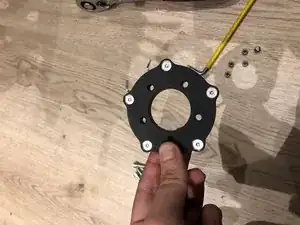
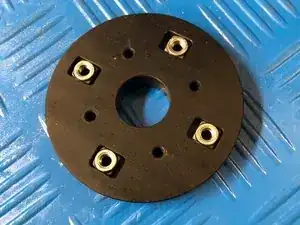
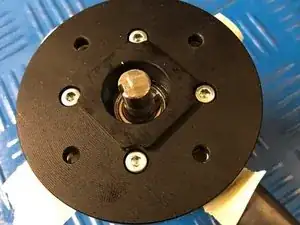
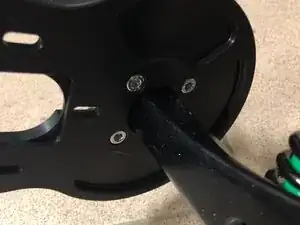
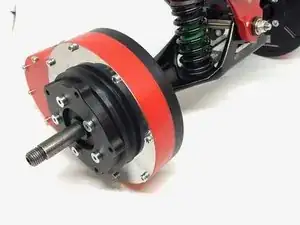
    • Attach the plate and use 4 x M3 bolts to attach motor plate to the motors

  5. m3CaD6ZFVsgTDiSM
    m3CaD6ZFVsgTDiSM
    p6bisabgpUPrgWwH
    • Use Loctite to secure grub screws on mounting hub

    • Tighten grub screws and make sure baseplate is flat and not angled

  6. kUglwUBwL2JROgOu
    • If your motor has keyway use provided keyway.

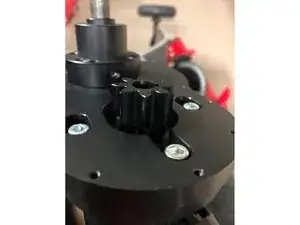
    • Use Loctite 648 to secure grub screws inside the motor gear to prevent loosening from vibrations.

    • Measure position lengthwise to stick out of baseplate

    • If motor axle sticks out of motor gear it will need cutting of as it would prevent lid from closing down.

  7. APugfmB6UH4wffRW
    APugfmB6UH4wffRW
    V2RBwsnsgQatxZNo
    • Use provided 4 x M3 bolts to attach motor (with motor mount adapter if use)

  8. nSjRLdCbuhSMG21K
    nSjRLdCbuhSMG21K
    DQfFhyvw1wtaZJHH
    GPaO6vQjW5ZqREC3
    • Use 5 x M4 bolts to attach wheel gear to the wheel hub for gear meshing.

  9. KtKVjkhJZIyryli1
    KtKVjkhJZIyryli1
    pYQTXgbVDD2GOvlr
    2JZpfuM6HygeBHx5
    • Baseplate should be parallel to the wheel otherwise wheels will mesh on angle and will cause negative effects.

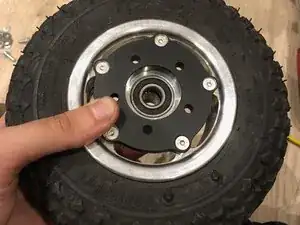
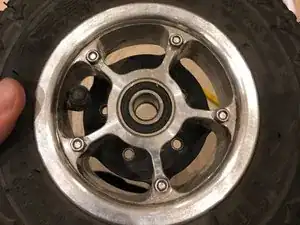
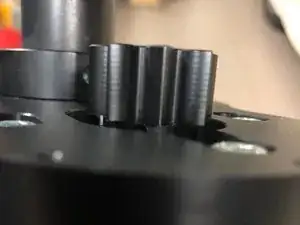
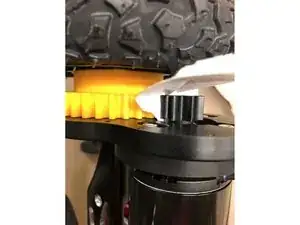
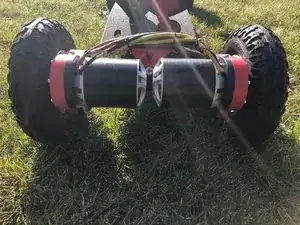
    • Attach wheel to the hanger and lower down motor to prepare gear meshing.

    • Motor gear and Wheel gear should be always parallel to each in all wheel position. If gears not parallel and at angle it can cause negative effects and product more noise than necessary.

    • If wheel gear one side is pulled in or further than other sides check wheel hub bolts probably one bolt is more tighten than others or otherwise

    • If wheel gear is more inside than motor gear use washers provided to pull wheel gear away from baseplate

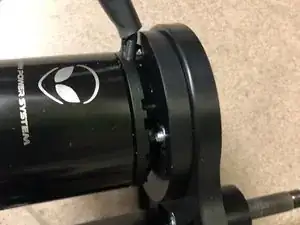
    • Loosen up motor bolts so that motor gear would press wheel gear.

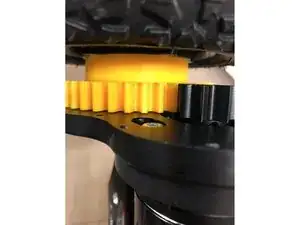
    • Use sheet of paper to drive it through wheel gear and motor gear. Spin wheel to push paper through the gears

    • After meshing is good tighten motor bolts

  10. pg1vjlVySYcMB3sr
    pg1vjlVySYcMB3sr
    2wcNGSlOSHJcfdRL
    • Tighten motor bolts to secure motor in correct position

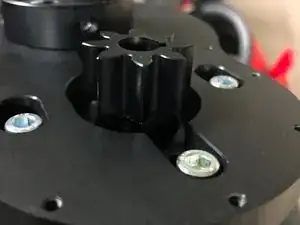
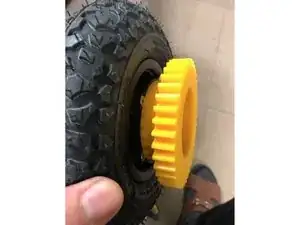
    • Remove wheel from wheel gear

    • Use grease to lubricate gears.

  11. WfNsAmHNPxO2Furt
    WfNsAmHNPxO2Furt
    JEyLydxkIc4nFCF5
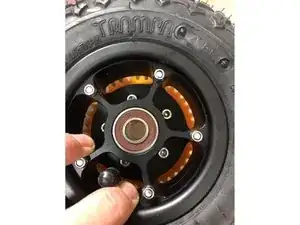
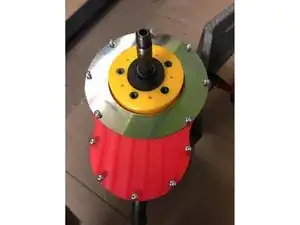
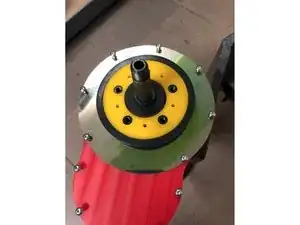
    • Put the plastic lid with stainless steel plate on top of it and tighten all M2.5 bolts

    • Dont use too much force as plastic will compress

    • Lubricate V-Ring using grease on ID and on the flap. Mount the V-Ring on top of wheel gear

  12. hKCqMqcis6ofFCrO
    • Make sure 5 x M4 bolts are tighten securely.

  13. fYBmR5OBAWRVIDKQ
    • Use same instructions for assembling another side

  14. QKPAqyUZugoxvCcn
    • Do a test spin on the bench to make sure everything is fine and sounds okay

    • On the first test ride start by slowly accelerating and slowly braking to make sure everything is working fine.

    • If there is some minor vibration happening at specific RPM it can be some misbalance in wheel/gears which should disappear after gears sit down in their place.

Conclusion

To disassembly gear drive, follow these instructions in reverse order.

Aurimas Niekis

Member since: 26/11/18

695 Reputation

0 comments