Introduction
-
-
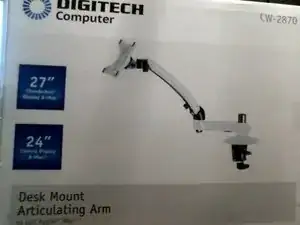
It was cheap so I bought 2 -- only to realize its for an Apple, not for a VGA (VESA) monitor -- too late !
-
So I improvised.
-
To mount a VGA monitor, I need to mount the VGA's VESA mount to the desk mount's IMac adaptor
-
-
-
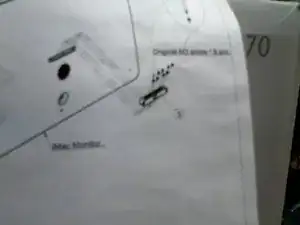
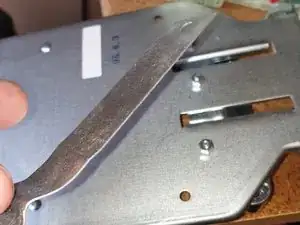
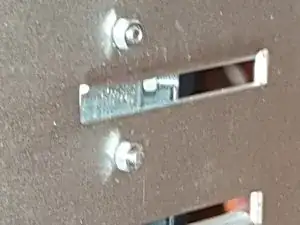
To simulate an IMac mount, cut the metal strip to fit inside the IMac adapter
-
drill a couple of holes on the metal strip that is big enough to fit a 1/8" x 12mm slotted round head nut and bolt
-
insert the bolt through the metal strip and the IMac adapter
-
secure with the nut
-
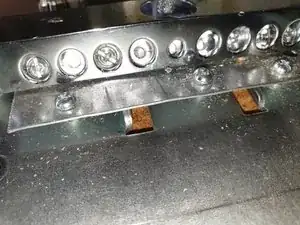
drill at least four holes and secure
-
-
-
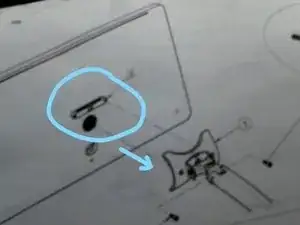
attach the IMac adapter's metal plate the the back plate of the monitor
-
secure the back plate onto the back of the monitor
-
-
-
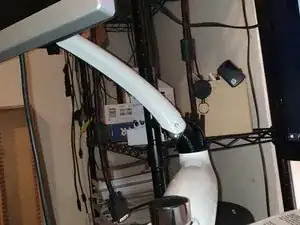
With the IMac adapter secured at the back of the VGA monitor, attach it to the arm
-
secure with screws provided
-


To reassemble your device, follow these instructions in reverse order.
One comment
Note:
For other non-Apple IMac monitors (like Dell, HP, etc.), you will need to use a VESA-adapter (or similar) to mount the IMac adapter that came with the DigoTech IMac Desk Mount Articulating Arm (CW-2870)