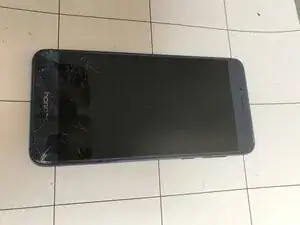
Introduction
Parts
-
-
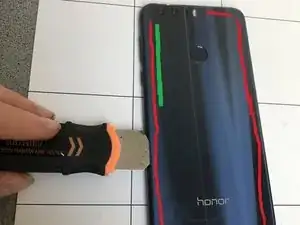
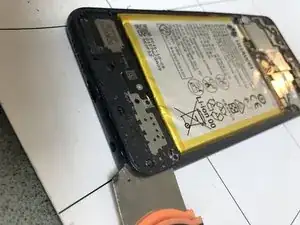
Heat the parts marked in red on the back side of the phone with a hair dryer or heat gun.
-
Attention: The sides have to be hot, not scalding.
-
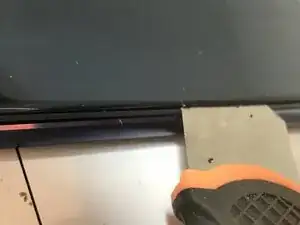
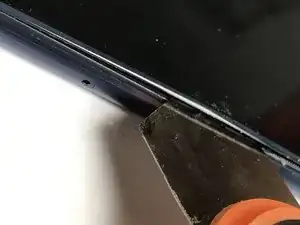
Insert the iSesamo delicatley between the two sides (see photo)
-
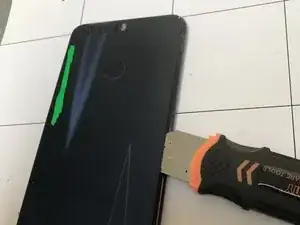
Once the iSesamo is inserted, slide it along the sides to remove the adhesive.
-
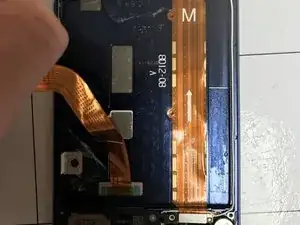
ATTENTION: DO NOT SLIDE THE ISESEMO ALONG THE PART MARKED IN GREEN.
-
-
-
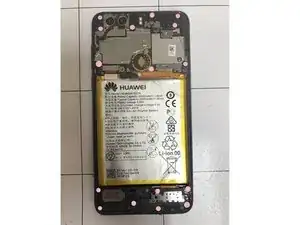
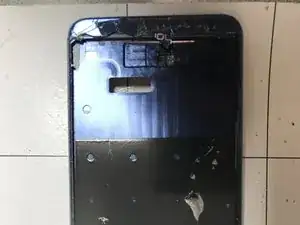
Remove the screw on the metal plate which protects the fingerprint sensor cable
-
Remove the the fingerprint censor cable using a plastic spudger.
-
-
-
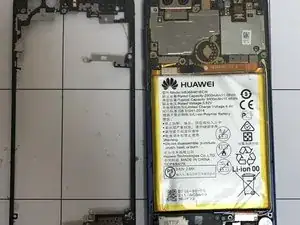
Remove the 16 screws with a Phillips screwdriver.
-
Using the iSesamo, remove the protection from the motherboard
-
-
-
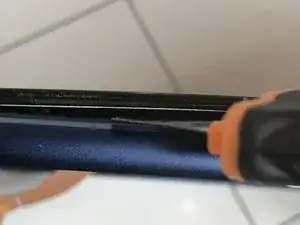
insert the iSesamo between the screen and the chassis
-
Be sure to pass the iSesamo under the white plate of the screen (see photo)
-
Go around the phone.
-
Note that the operation can be more complicated depending on the level of the screen.
-


To reassemble your device, follow the instructions in reverse order :)

4 comments
Est-ce que quelqu'un a essayer ? a combien estimez vous la réparation: ecran + accessoires ? Car le lien ne fonctionne pas. En tout cas tuto très bien réalisé ;)
Moi forcement ...
Chez moi le lien fonctionne, la pièce est à 55,99€, tu peux demander des accessoires gratuit
Sinon merci ;)