Introduction
Remove sections of pipe for inspection, repair, replacement, or to gain access to the pump cylinder.
Tools
-
-
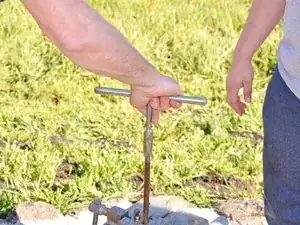
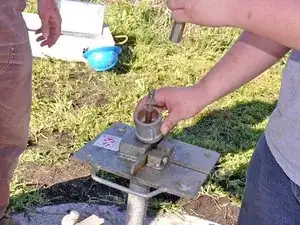
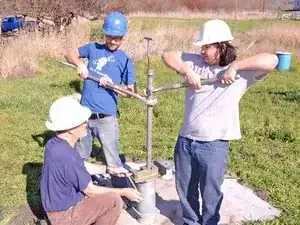
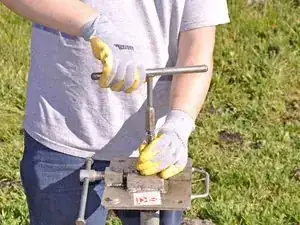
Pull the pump handle all the way down and hold it in this position, exposing the pump rod.
-
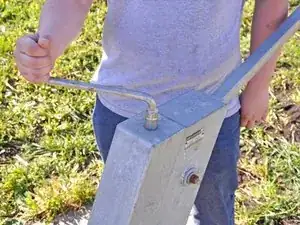
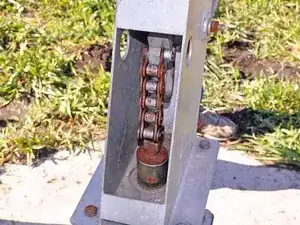
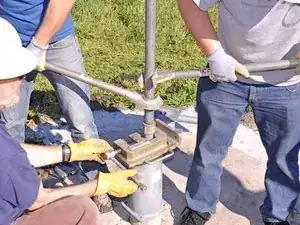
Place the spacer around the pump rod and under the chain attachment point.
-
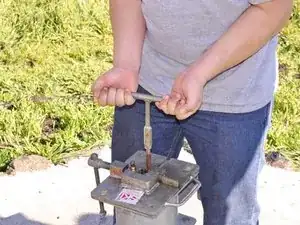
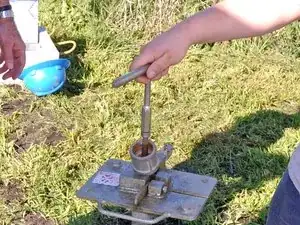
Lift the pump lever until there is no tension in the chain and hold it in this position.
-
-
-
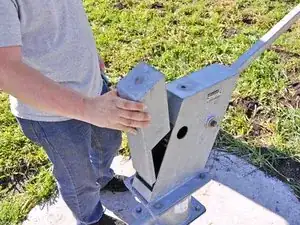
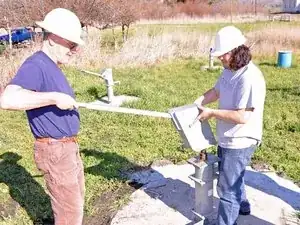
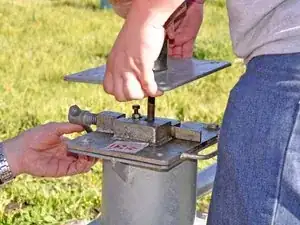
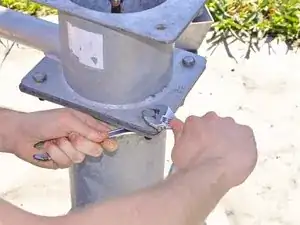
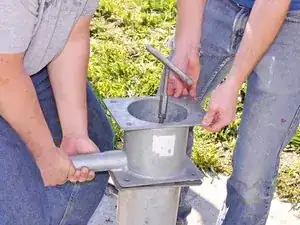
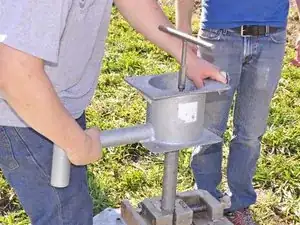
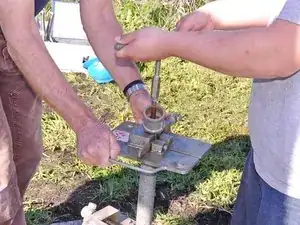
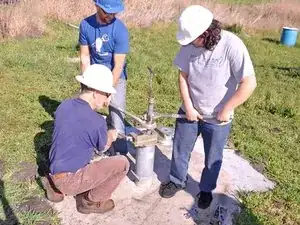
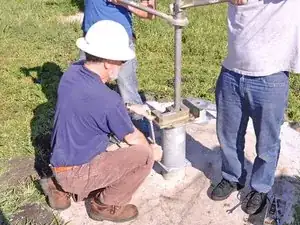
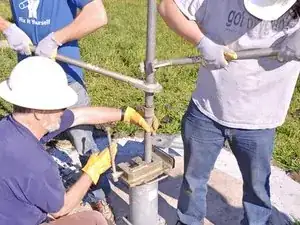
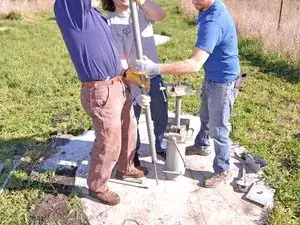
There are 4 bolts securing the head section to the water tank, located at the corners of head section base.
-
Remove the 4 bolts on the base of the water tank.
-
-
-
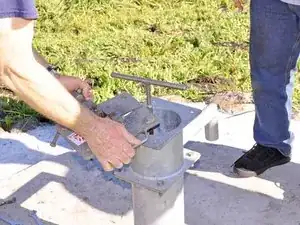
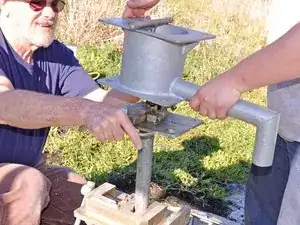
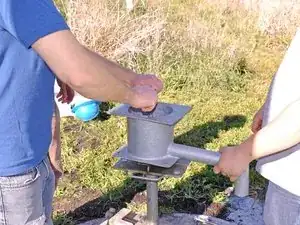
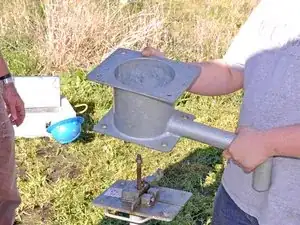
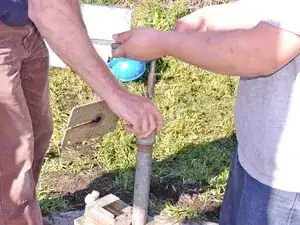
Lift the pump head off of the water tank and place in a sanitary place, preferably above ground, to prevent contamination.
-
-
-
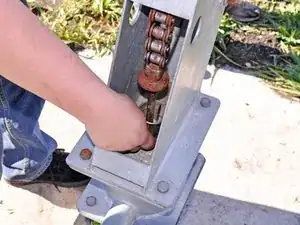
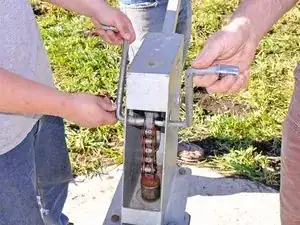
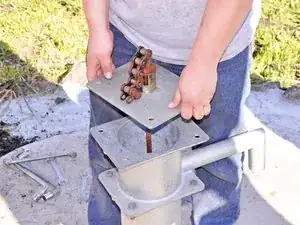
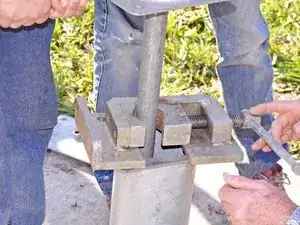
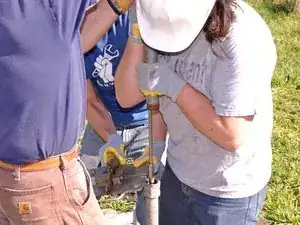
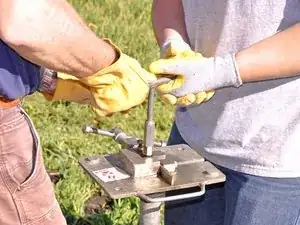
Lift the plunger assembly and separator plate and place a rod clamp below the separator plate.
-
Tighten the rod clamp and gently set the separator plate on top of it.
-
Remove the spacer.
-
-
-
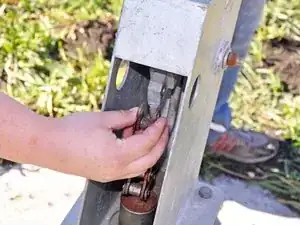
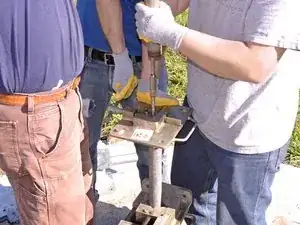
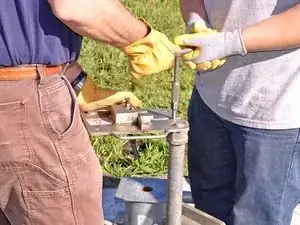
Hold the rod clamp steady while removing the chain from the pump rod. Check the chain for signs of damage.
-
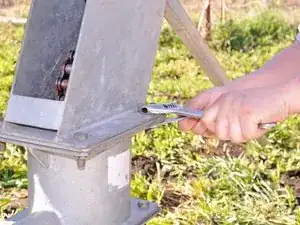
Remove the lock nut by turning it counterclockwise.
-
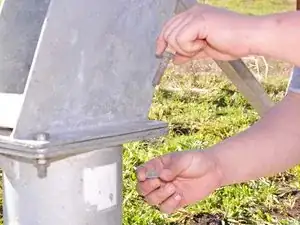
Remove the separator plate.
-
-
-
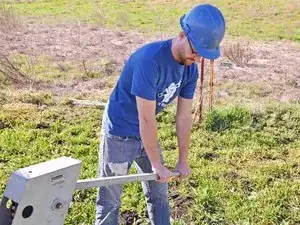
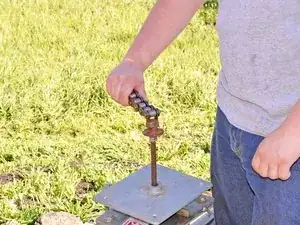
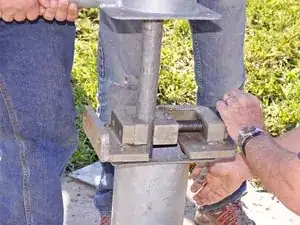
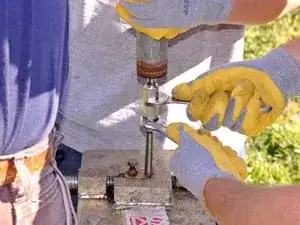
Lift up on the T-handle to take pressure off the rod clamp.
-
Remove the rod clamp and slowly lower the T-handle.
-
-
-
There are 4 bolts securing the water tank to the pump base. They are located at the bottom corners of the water tank.
-
Remove the 4 bolts on the base of the water tank.
-
-
-
Lift the water tank up approximately 1 foot.
-
Place a base clamp around the exposed pipe and tighten it against the riser main.
-
-
-
Secure the base clamp to the pump base with two bolt and nut sets installed on opposite sides of each other.
-
-
-
Turn the water tank counterclockwise until it comes free from the pipe.
-
Lift the water tank up against the T-handle and secure the rod clamp to the pump rod.
-
-
-
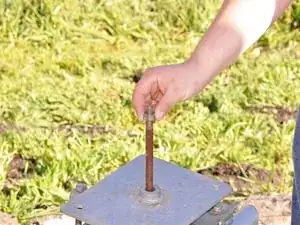
Remove the T-handle.
-
Remove the water tank and check for signs of blockage.
-
Store in a sanitary place to prevent contamination.
-
-
-
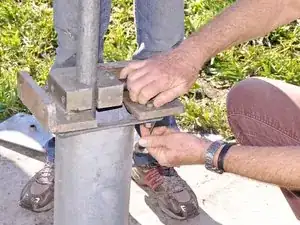
Lift up on the T-handle to take pressure off the rod clamp.
-
Loosen and remove the rod clamp.
-
Screw the pipe coupling onto the threaded riser main end and slowly lower the T-handle.
-
-
-
Have two people place C wrenches on the riser main on opposite sides of each other.
-
Have the two people with C-wrenches apply light upward pressure to the riser main while the base clamp operator loosens the clamp.
-
Lift the pipe evenly, not exceeding the comfortable lifting height of either lifter. Re-secure the base clamp once the maximum lifting height has been reached.
-
Lower the C-wrenches and repeat this step until the pipe coupling reaches the base clamp.
-
-
-
When you reach the pipe coupling, open the clamp more to allow it to pass through. Lift the riser main approximately one foot above the clamp and re-secure the pipe.
-
-
-
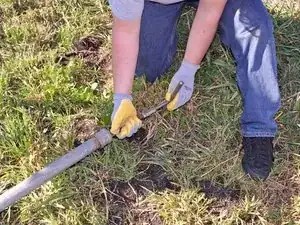
Place one pipe wrench on the exposed coupling and another on the riser main above the coupling. Have a third person stabilize the upper pipe.
-
Hold the wrench on the coupling steady while the wrench on the riser main is rotated counterclockwise until the pipe comes free.
-
Lift the upper pipe and place the rod clamp onto the pump rod below the pump rod coupling.
-
-
-
Lift and hold the upper pipe high enough to expose the pump rod coupling.
-
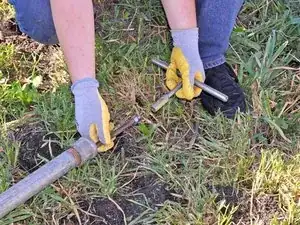
Place one open end wrench over the lower portion of the pump rod coupling. Hold this wrench steady.
-
Place another wrench on the upper portion of the pump rod coupling. Turn this wrench counterclockwise until the coupling separates.
-
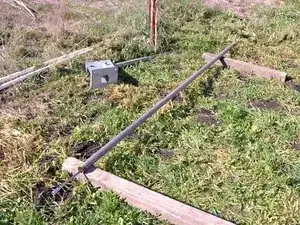
Pull the upper pipe away from the pump and lay it on its side away from the pump.
-
-
-
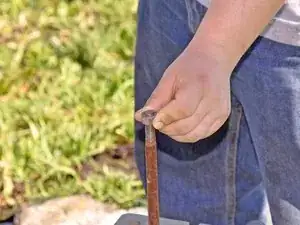
Remove the T-handle from the pump rod.
-
Install the T-handle on the pump rod still in the well.
-
-
-
Lift up on the T-handle to take pressure off the rod clamp.
-
Loosen and remove the rod clamp.
-
Gently lower the T-handle.
-
Repeat steps 18 through 23 until you reach the pump cylinder.
-


To reassemble your device, follow these instructions in reverse order.