Introduction

If you Insignia Flex 10.1 Tablet is experiencing audio issues, it may not always mean the speakers need to be replaced. Before diving into a replacement, it's important to diagnose the problem to determine whether a simple fix can restore the sound quality.

Please ensure that is no dust, debris, or dirt that might be blocking the speaker grill. Ensure the volume is turned up and check if headphones are interfering with the audio output. If distorted or crackling audio is heard, it may be a software issue, try restarting or updating the firmware.

If none of the these troubleshooting steps resolve the issue, a faulty speaker may be the problem and replacing the speaker can restore the audio.

The following guide will walk you through safely and effectivity replacing the speaker in your Insignia Flex 10.1 Tablet.

  1. ysKoV4uXtO22XlXr
    • Please be aware that removing the rear panel of the Flex 10.1 may result in damage. Proceed with caution to avoid any unintended harm.

  2. UJNWPipGQbMs6rus
    UJNWPipGQbMs6rus
    pF3uiU3icdJAKoJ1
    • The rear panel is secured to the front case by 26 clips that lock onto small tabs machined into the front case.

    • To release the tabs, they must be pushed toward the center of the device. When using the iFixit Opening Tool to remove the rear panel, ensure you position the tool at the clip locations for effective removal.

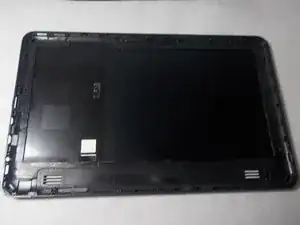
    • Insert the iFixit Opening Tool along the edge of the device to release the clips and remove the back cover.

    • Please be aware that removing the rear panel of the Flex 10.1 may result in damage. Proceed with caution to avoid any unintended harm.

  3. qKXdmZtl51IpxB5S
    • Opening the device can be tricky, so it may take a few attempts to get it open.

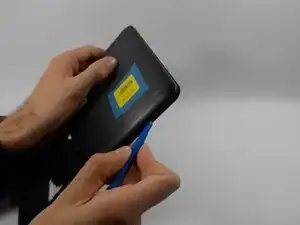
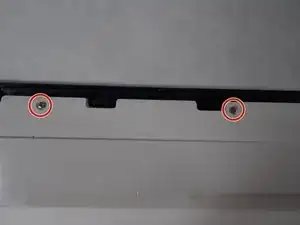
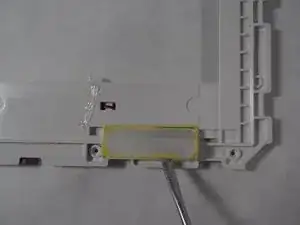
    • Gently insert the iFixit Opening Tool into the seam between the front and rear case panel of the device.

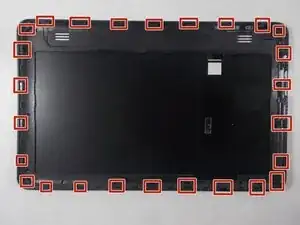
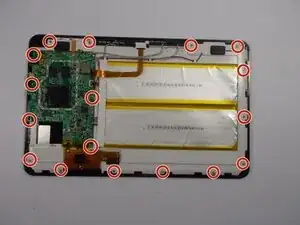
    • Carefully expand the gap by inserting and maneuvering the plastic opening tool near each clip on the rear case, pushing them toward the center until they are fully released.

    • Repeat this process to release all the clips around the device.

  4. sqcBsSnvtlZNoRh1
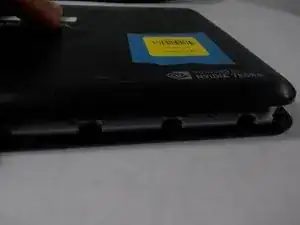
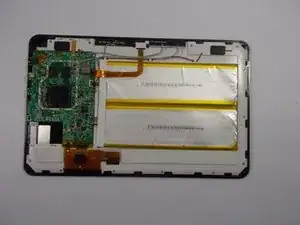
    • Once all the clips are released, carefully separate the two halves of the device.

    • The rear panel is now detached from the device.

  5. bWBrw5AAI5akc124
    • With the rear panel removed, the back side of the device should appear as shown.

  6. PDMssb4PkaDanXu2
    • The speaker screen is made of a black plastic with tiny holes.

    • Use the iFixit Opening Tool to carefully peel of the speaker screen

  7. ZSI3LrpxEOJpJhZK
    ZSI3LrpxEOJpJhZK
    RRQk1PW6PHwE11gT
    Ws3yQRLsqygLqUyY
    • Use a Phillips #0 screwdriver to remove the 17 screws marked in red.

  8. pHZZKQ6Wppw6KOhI
    • Once the screws are removed, peel off the final screen covering the speaker like shown.

  9. qlTd4AWBdMPMH64U
    • The standalone speaker will appear as shown.

    • To reassemble your device, simply follow these instructions in reverse order.

    • The peeled-off screens will need to be reattached. We recommend using hot glue for a secure hold.

Conclusion

To reassemble your device, follow these instructions in reverse order.

William Boyden

Member since: 07/03/16

385 Reputation

0 comments