Introduction
-
-
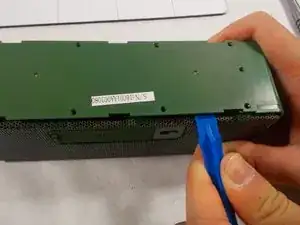
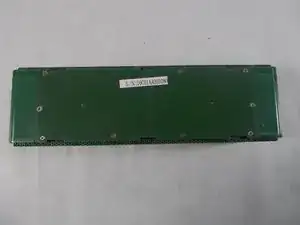
Remove the back cover. Be careful to not lose any of the screws because they are extremely small and can be easily lost.
-
-
-
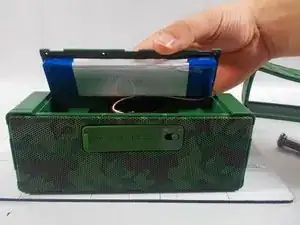
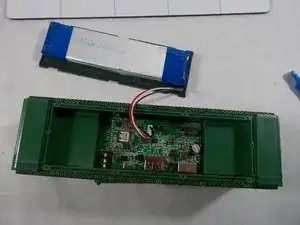
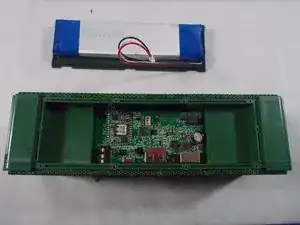
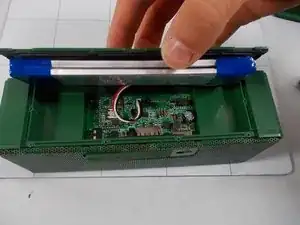
The battery will be attached to the back cover with sticky tape. Unplug the wires connecting the battery to the speaker.
-
-
-
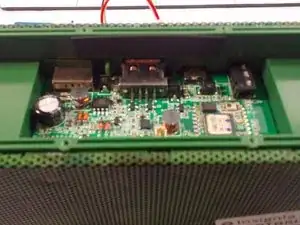
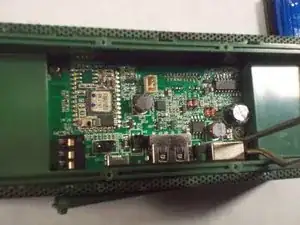
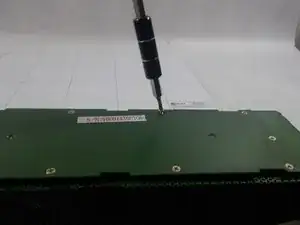
Once the battery and back cover have been successfully removed, use the soldering iron. To remove the on/off switch from the circuit board, use a soldering iron to heat previous solders until melted.
-
-
-
Once the switch has been removed, place the new switch in the spot the old one was previously.
-
-
-
Using the soldering iron and solder, metal the solder to the previous connecting points. Allow the metal to cool and be cautious of heat.
-
-
-
Once the piece has been successfully replaced, replace the back cover and battery onto the device. Screw the cover back on.
-


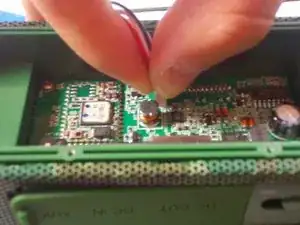


Make sure the device is off before you begin your replacement. The device originally comes with an on/off and battery saving mode switch. A soldering iron is extremely hot, so take caution when using this tool. Use tweezers when removing the part because the part will be very hot.