Introduction
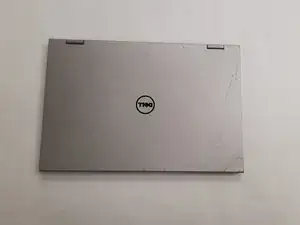
The Dell Inspiron 13 7359 2-in-1 is an excellent computer with a 13.3-inch (33.78 cm) – HD (1366×768), IPS touchscreen. Consider replacing the screen if
- The screen has dead pixels.
- The screen is flickering.
- The is screen is cracked.
- You simply want to upgrade it.
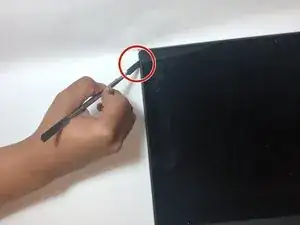
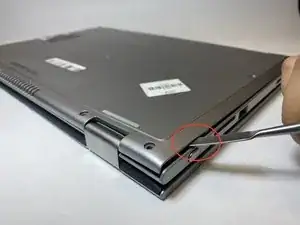
It's a little intimidating to replace an LCD-touchscreen, but if you have the replacement screen, the right tools, and you follow these instructions carefully, you're gonna have your computer looking good very soon. The most significant tool will probably be the spludger/opening pick that'll let you separate the screen and screen backing. If you need to get the tool, iFixit has your back with that too. There's little danger once you power off and disconnect the computer. Just be careful with the screen during replacement, because it is fragile to detach and to install. Make sure not to cut yourself on anything either. The screen isn't particularly sharp, but if it's cracked, it may have edges. This guide will show you what parts to take special care with.
-
-
Slowly peel back the tape that is attached to the screen itself.
-
Once the tape is removed, gently disconnect the attached cables.
-
-
-
Carefully disconnect the attached cable.
-
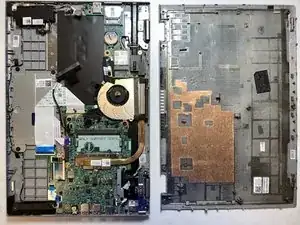
Once you remove the attached cable, gently lift up the LCD panel.
-


To reassemble your device, follow these instructions in reverse order.