Introduction
This tutorial will guide you through the installation of the 8BitDo mod kit for Nintendo 64 controller.
Tools
Parts
-
-
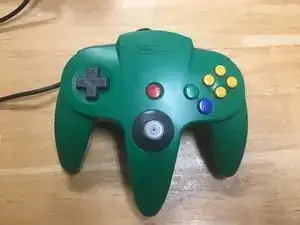
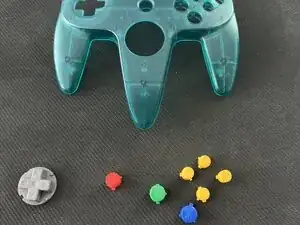
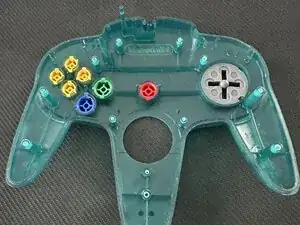
Behold the glorious retro controller face, then forget about it because you will flip the controller for the rest of the teardown.
-
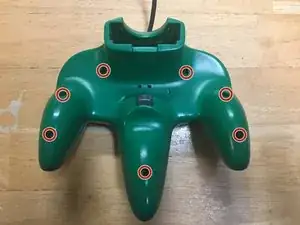
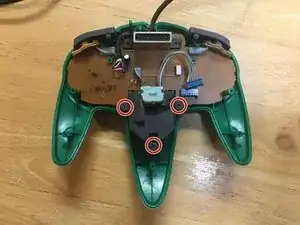
Use the size #1 Philips to remove the 7 screws on the back of the controller.
-
Use the size #0 Philips to remove the smaller screws in the controller pak slot.
-
-
-
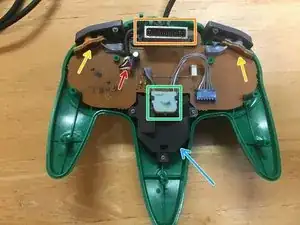
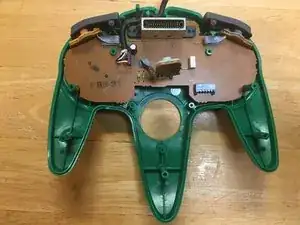
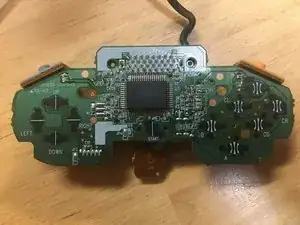
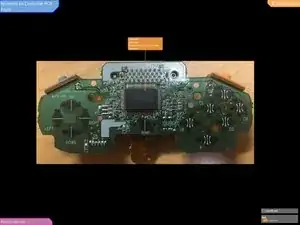
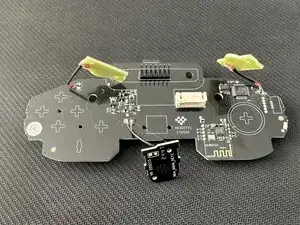
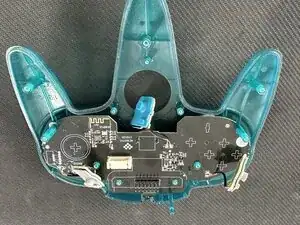
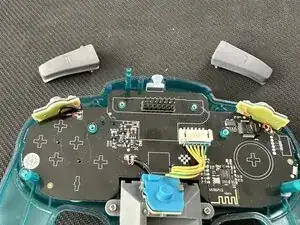
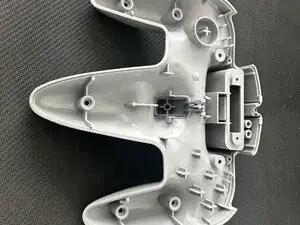
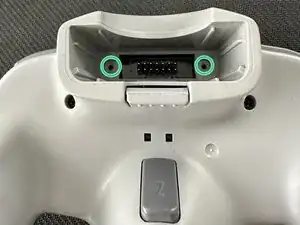
Remove the back plate. You can now see the:
-
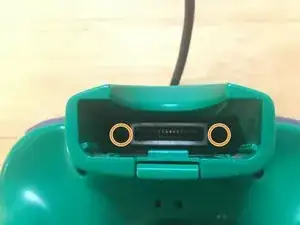
Power Input
-
Game Pak Slot
-
Trigger Button Assemblies
-
Z Button Assembly
-
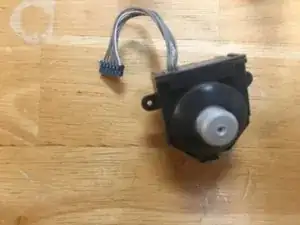
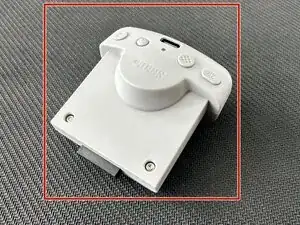
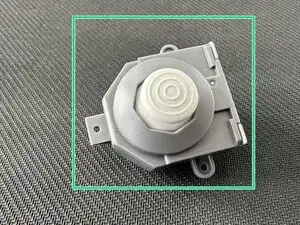
Joystick Module
-
-
-
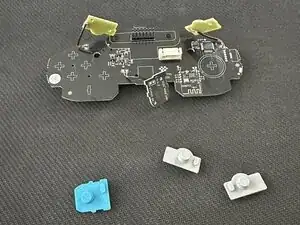
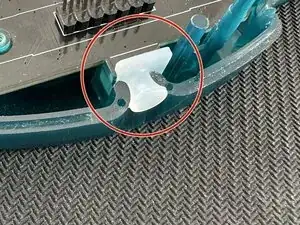
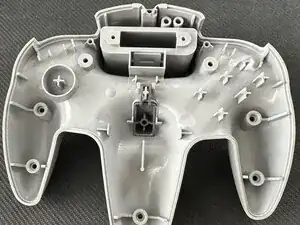
Using a spudger or similar tool, carefully pry the Z button assembly from the joystick module.
-
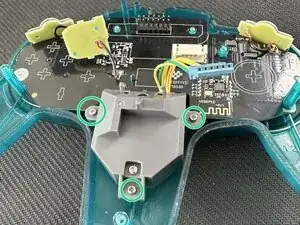
Remove the 3 size #0 screws holding in the joystick module.
-
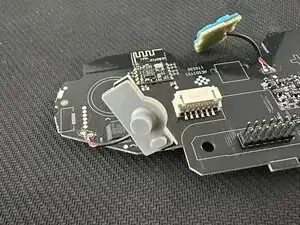
Remove the joystick cable from the main board.
-
-
-
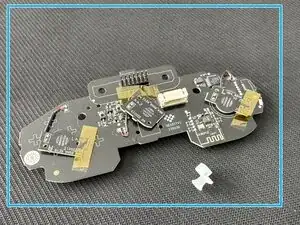
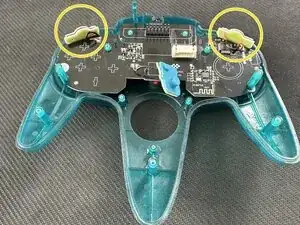
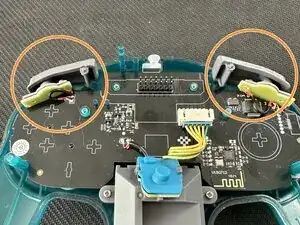
Remove carefully tapes that keep L, R, Z buttons contacts in place. Wires seems fragile act with precautions
-
-
-
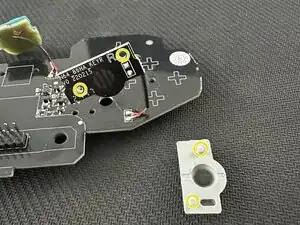
Place membranes on their respective motherboard connectors. Holes are positioned on the connector to guide your positioning.
-
-
-
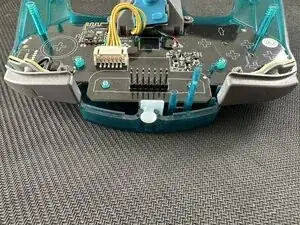
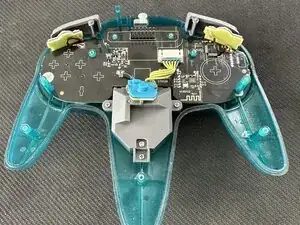
Put the motherboard on the front shell.
-
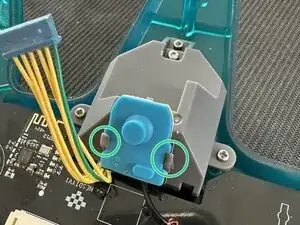
Place L and R connectors in their housing.
-
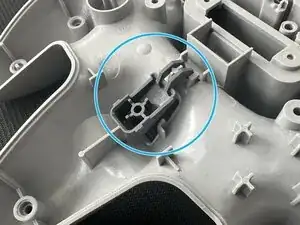
Don't forget the silicone in the old cable enclosure.
-
-
-
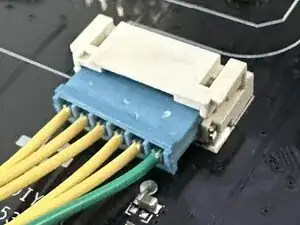
Insert the stick plug inside its connector on the motherboard.
-
The green wire must be on the L button side.
-
If the controller is positioned with the stick in front of you, the L button is on your right, remember you are working upside done.
-
-
-
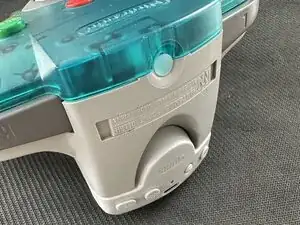
Put together top and bottom shells.
-
Place the bottom part on to the top one, doing the opposite may led some part to fall.
-
At first, tighten only the first 3 screws, this will reduce undo steps in case of problem.
-
-
-
For this part will use the Nintendo Switch
-
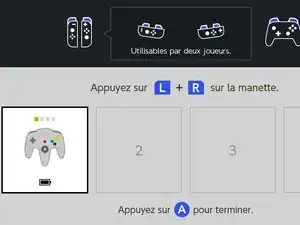
Connect the controller to your console. Put the rumble pak in "S" position (via its bottom switch), push "Start" and hold connect button to start pairing.
-
It the controller does not appear, try to update it (see next step).
-
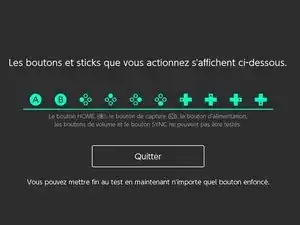
Test each button via the Nintendo Switch dedicated button tester menu. Access it via the switch settings "Controller and sensors" section then submenu "Test input controller". See the official Nintendo documentation for more information.
-
n.b its important to test each button before re-assembling.
-
-
-
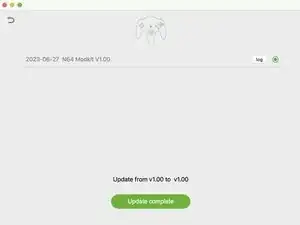
Download the 8BitDo upgrade tool.
-
Connect the controller to a computer via an USB-C cable. (the rumble pak must be attached to the controller).
-
Do the upgrade. Even it says 1.00 to 1.00
-
-
-
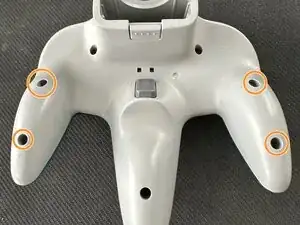
Once everything works tighten the last bottom screws.
-
Do not forget to tighten the extension port screws.
-


Your controller is now fully operational with windows and android bluetooth devices. It also works with the Nintendo Switch and its Nintendo 64 app provided with a Nintendo Switch Online Subscription.