Introduction

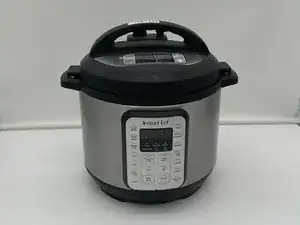
The following guide is from replacing the front panel of an Instant Pot 60 EPC. Consider following this guide if you have issues with unresponsive buttons, random error codes, or a flickering screen display.

  1. bnA4p2gmbEYjcsho
    bnA4p2gmbEYjcsho
    QLnYDgXZSYneiRAs
    Dp4MKydrEkFPwbLq
    • Ensure the device is unplugged and cool before beginning.

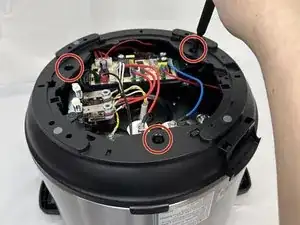
    • Remove the lid and inner pot from the Instant Pot and turn the body upside down.

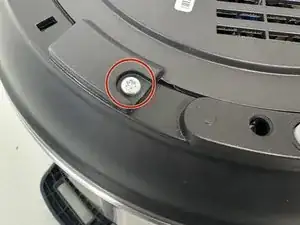
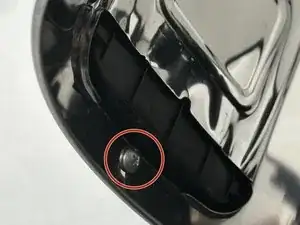
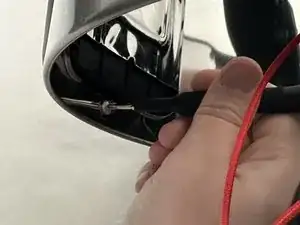
    • Remove the single Torx screw.

  2. JCSihwcGKrS5v4W6
    JCSihwcGKrS5v4W6
    jNVPeYwB62CSTU4E
    • Turn the bottom face counterclockwise and remove it.

  3. daruXlR3SGLlPxbp
    daruXlR3SGLlPxbp
    iepUyO2w3DPVDAQP
    • In order to reach the circuit board you'll need to remove the secondary frame surrounding it.

    • Remove the three Phillips screws securing the frame.

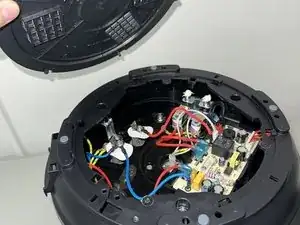
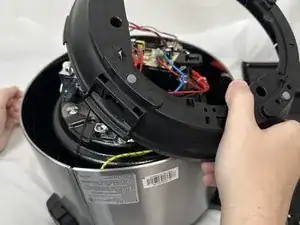
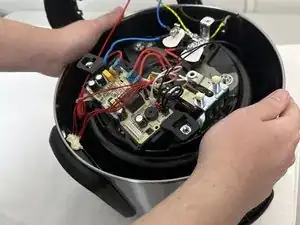
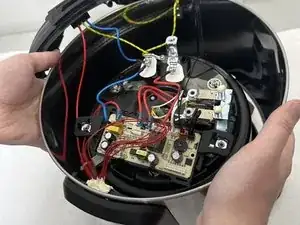
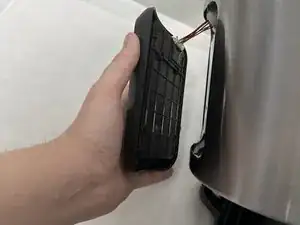
    • Lift the frame, twist and set next to the body. Take care not to damage any of the attached wiring.

  4. VJdlOVbKYIkBLNfo
    VJdlOVbKYIkBLNfo
    KmHyKZCEUJvhSK3M
    • Disconnect the 8x1 pin control connector from the main board.

    • The plug should easily come up when pulled with slight pressure.

    • It may be helpful to also rock the plug side to side while pulling up.

  5. UH2LNESEyoIoCElu
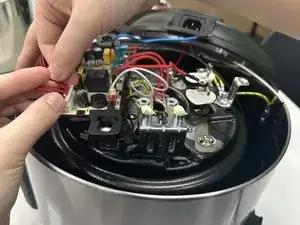
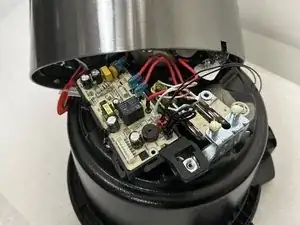
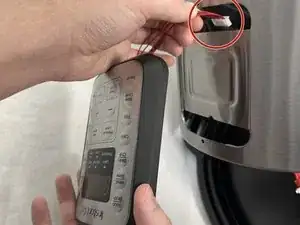
    • Remove the single screw attaching the front panel to the main body with a Phillips screwdriver.

    • This screw may be difficult to get to; we were able to remove it by threading a screwdriver underneath the main board.

  6. GDMPWbA6kK1soiba
    GDMPWbA6kK1soiba
    ZeKvMfwM3Q3VUCNe
    wcMeZk11xlKXSqcc
    • Remove the main body from the Instant Pot.

    • It should easily pull up with a little force and be free from the control board.

  7. AcHjIJJRJ2qRhnBw
    AcHjIJJRJ2qRhnBw
    S4ZnYE36XNkCMjdi
    • Remove the Phillips screw.

  8. gDsKLDiyVHTIlceD
    gDsKLDiyVHTIlceD
    AEWHF6phDQud5YPi
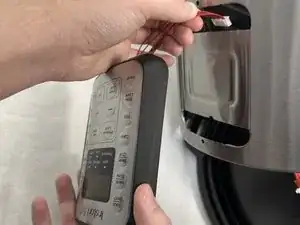
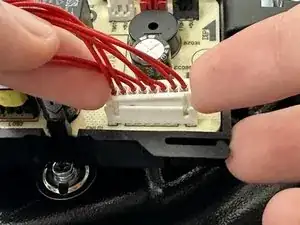
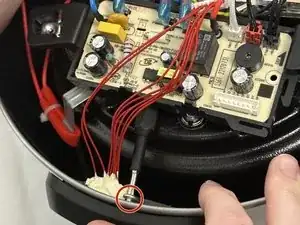
    • Pull the front panel away from the body and carefully pull out the wires that connect the front panel to the circuit board.

    • The front panel is now free to be replaced.

Conclusion

To reassemble your device, follow the above steps in reverse order.
Take your e-waste to an R2 or e-Stewards certified recycler.
Repair didn’t go as planned? Try some basic troubleshooting or ask our Answers community for help.

Bela Hernandez

Member since: 28/08/24

977 Reputation

0 comments