Introduction
I damaged the internal cables to the buttons, while replacing the Battery.
-
-
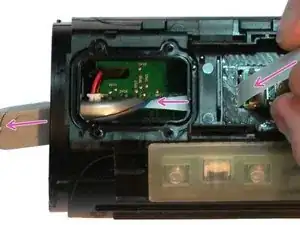
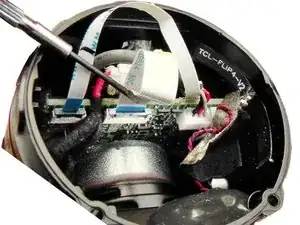
remove all adhesive tapes / sticker inside (above the cables).
-
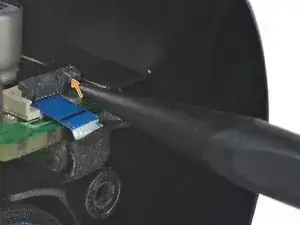
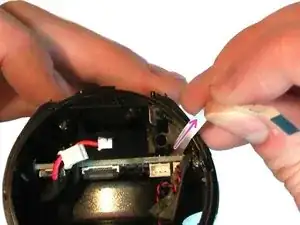
Take care of other sensitive cables.
-
-
-
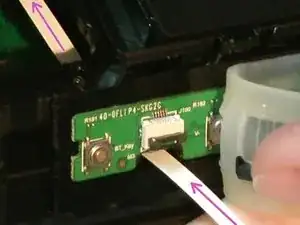
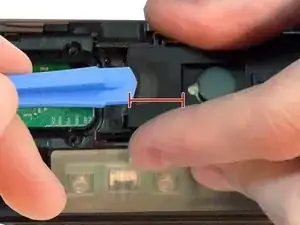
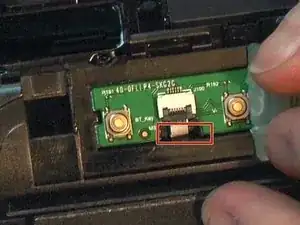
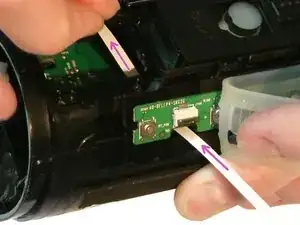
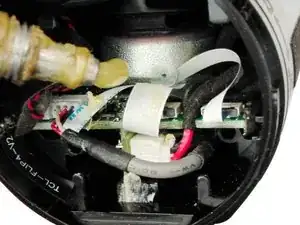
Insert the plastic opening tool under the clear rubber cover over the button control board.
-
Pry up the cover using the opening tool.
-
Only open a bit (until cable).
-
-
-
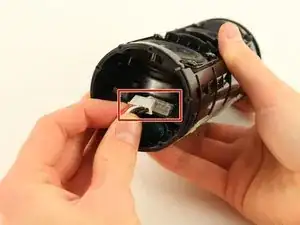
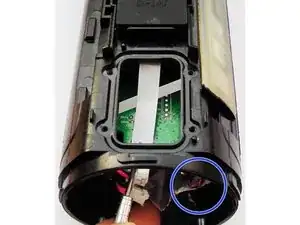
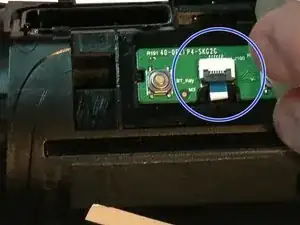
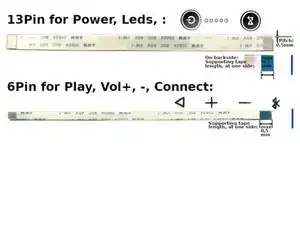
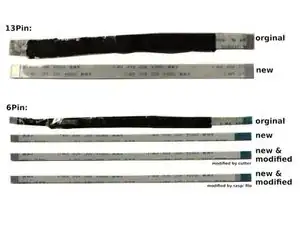
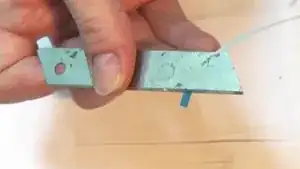
Buy new cables. These cables are called FFC or FPC flex cable. The distance between the contacts ( called Pitch ) is 0.5mm. Cable length is origin 12 cm (10 cm or 15 cm fits also). More details:
-
Buttons power, led, : 13 Pin - Type A
-
Buttons play, + , - , connect : 6 Pin - Type B (reverse) (=the connectors are reversed to each other)
-
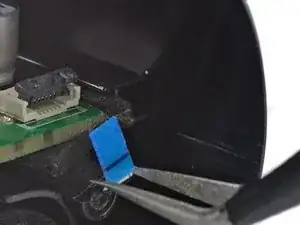
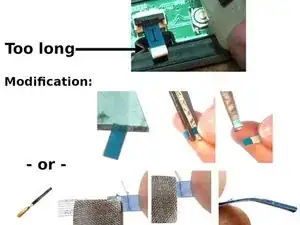
The (blue) inflexible cable-end have to be maximal 0.5 mm long (at least one side). Otherwise you must trim this part: Use tools like cutter & scissors ( see video below ) or alternative a mini rasp / file.
-
-
-
Test it: Reconnect the battery. Check if all buttons are working. Disconnect the battery again.
-
Final: Rolling in cable. Fixing the cable with tape and glue it. ( Put upright for a day, while drying glue (due to glue solvent) )
-


To reassemble your device, follow these instructions in reverse order.