
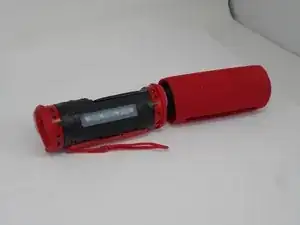
Introduction
If your JBL Flip 6 speaker is experiencing distorted or low-quality sound, especially at higher volumes, the issue may be with the passive radiators. These components are responsible for enhancing bass response and overall sound quality. A damaged or malfunctioning radiator can cause rattling, buzzing, or weak bass, affecting your listening experience.
Before starting this replacement guide, check the radiators for any visible damage, such as cracks or tears in the rubber surround. Gently press on the radiators to see if they move freely. If they feel stiff or produce distorted sounds when pressed, it's time to replace them.
Step 4 of this guide involves carefully opening the speaker to access the radiators, followed by detaching the old components. Be sure to have the correct replacement radiators and any necessary tools, such as a small screwdriver and adhesive, ready before you begin.
Before starting, make sure the speaker is powered off and fully disconnected from any charging cables or Bluetooth connections.
-
-
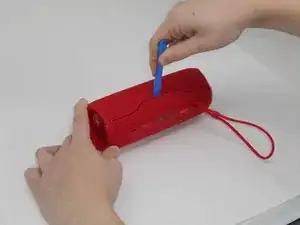
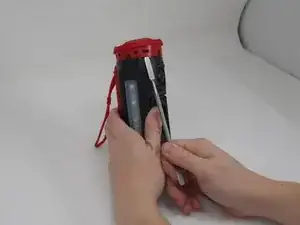
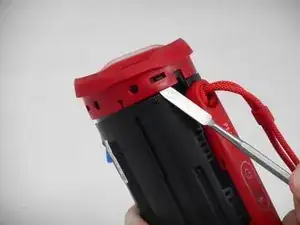
Using the iFixit opening tool, pry up on the button side of the slot on the case until the clips release.
-
-
-
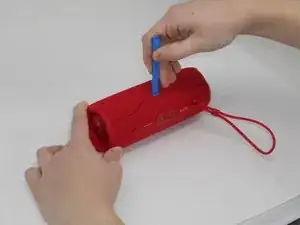
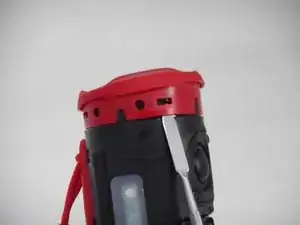
Now that the gap is larger, using the same tool, pry up on the other side until the clips release.
-
-
-
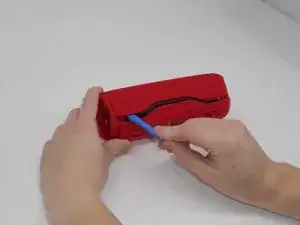
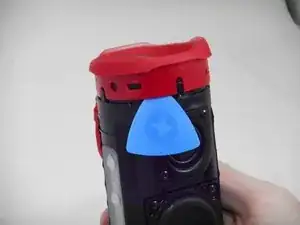
After the clip has been released, insert a shim to keep the parts separated and from the clipping back together.
-
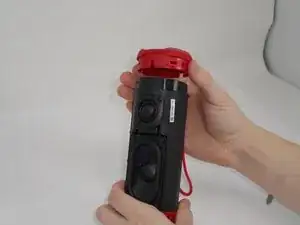
Pry on the clip on the other side to fully release the passive radiator.
-
-
-
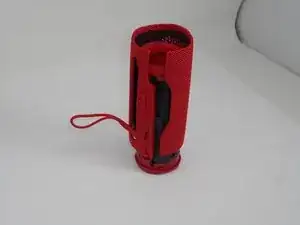
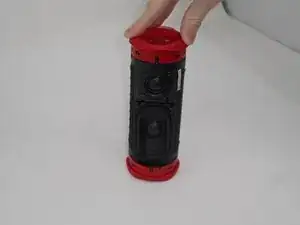
After both clips have been detached, the passive radiator is easier to remove by hand.
-
Repeat the same steps for the passive radiator on the other side.
-


To reassemble your device, follow the above steps in reverse order.
Repair didn’t go as planned? Try some basic troubleshooting or ask our Answers community for help.