Introduction

  1. SaITqcusg6N14VE1
    SaITqcusg6N14VE1
    GXpgwGgh3dYURuTI
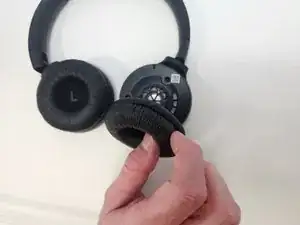
    • Firmly grasp the earmuff and pull away from the center until the lip of the earmuff is disengaged.

    • Pull the earmuff towards the center of the headphones until it is free.

  2. V3JhmB2xvBGdQmdK
    V3JhmB2xvBGdQmdK
    VfSvEOWvRMgsvh5F
    • Remove the three 3 mm screws using a JIS #00 screwdriver.

  3. do56f3fnuvHijFGQ
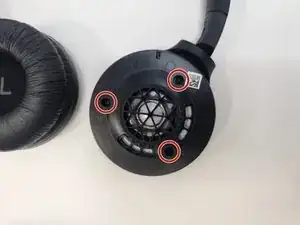
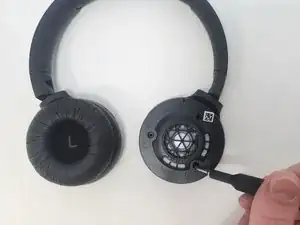
    • Carefully remove the faceplate by lifting it firmly.

    • Avoid rough movements, as there is a single thin wire connecting the faceplate to the internals.

    • If the repair is for the right-side driver, be mindful of the charging port, as the faceplate has a slot there for it. Lift the opposite end and back the port out.

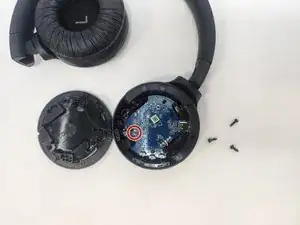
    • To completely detach the faceplate, desolder the wires from the connections on the motherboard.

Conclusion

To reassemble your device, follow these instructions in reverse order.

Ryan

Member since: 30/01/24

570 Reputation

0 comments