Introduction
The newer models from Z6 (2018) differ from their predecessors, but many things are similar. Where are the obligatory oval head screws this time? This guide shows how to do it.
You can open older models using Opening the Jura Z series housing.
Tools
-
-
Remove all attachments: water tank, drip tray, aroma cover.
-
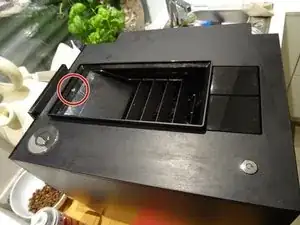
Remove the slotted screw on the bean container and take off the grid cover and the border.
-
-
-
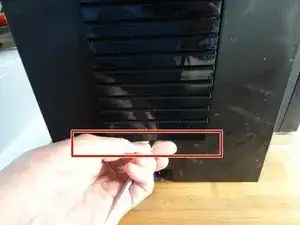
The oval head screws are on the back this time. Grasp the ribbed bezel and lift it a few millimeters upwards. Then pull it out at the bottom and lift it off.
-
These screws have an oval head that makes them look like rivets (picture 2). You need a special key or the iFixit bit to open them. Here is a do-it-yourself guide. If necessary, you can also use pointed pliers. Jura wants to keep us out of our own machines!
-
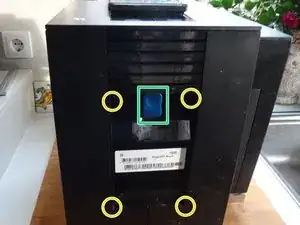
Remove the four oval head screws.
-
Disconnect the blue plug for Jura Connect.
-
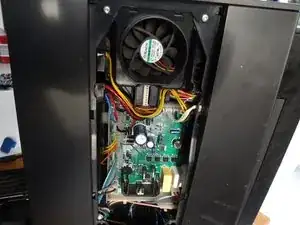
Lift the black panel away from the back. The power board is now visible.
-
-
-
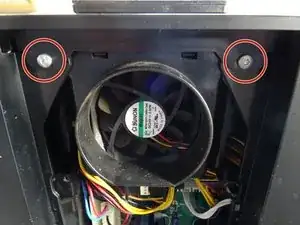
The top cover is held in place by two Torx T15 screws at the very top of the fan. Unscrew them.
-
-
-
Take out the funnel for the ground coffee.
-
Push the top cover back and lift it up carefully. Pay particular attention to the grinder's adjustment cover. It could be quite stuck the first time.
-
-
-
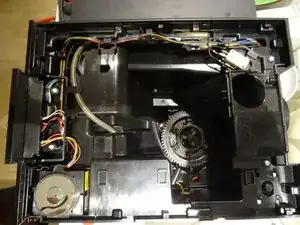
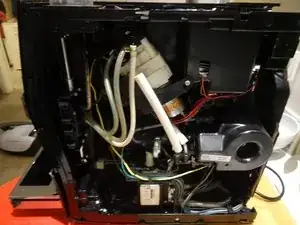
Now you can push both side panels back a few millimeters and lift them out upwards. The first time they will stick a bit.
-
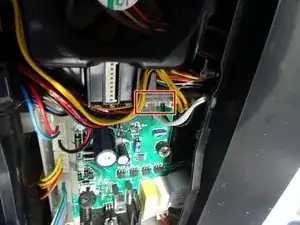
The side panel by the water tank is still connected with two delicate ribbon cables. If you want to remove the side panel to get to the brew group, you have to disconnect the two plugs on the circuit board and thread the cables through.
-
Follow the steps in reverse order to reassemble your device.

