Introduction
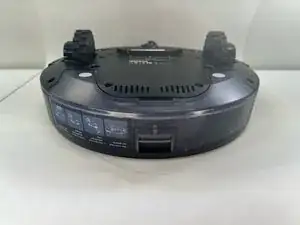
The battery is the heart of your Kilgone G20, powering it through each cleaning cycle. Over time, batteries can lose capacity, leading to shorter run times or charging issues. Replacing the battery is a straightforward process that can breathe new life into your robot vacuum.
Tools
Parts
-
-
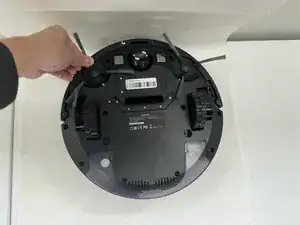
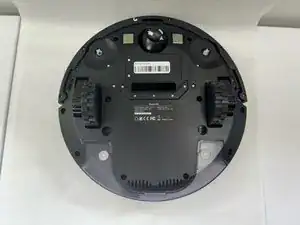
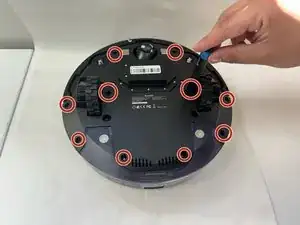
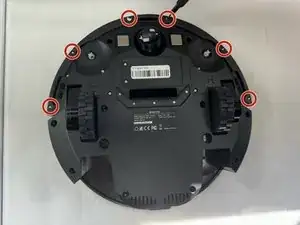
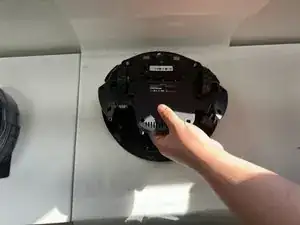
Use a Phillips #1 screwdriver to remove the ten 3.8 mm x 12.28 mm screws on the underside of the device.
-
-
-
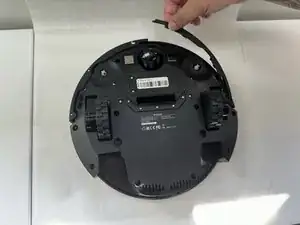
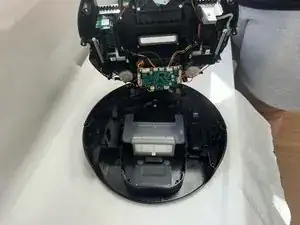
Remove the six 2.3 mm screws on the underside of the bumper.
-
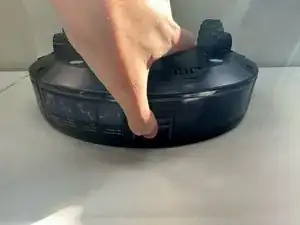
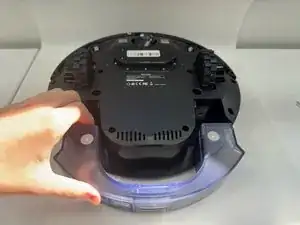
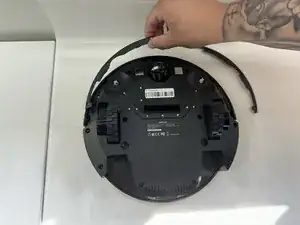
Lift the undersides of the bumper off.
-
-
-
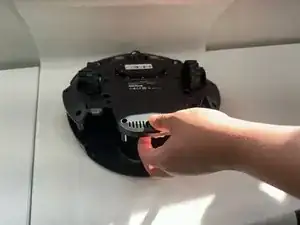
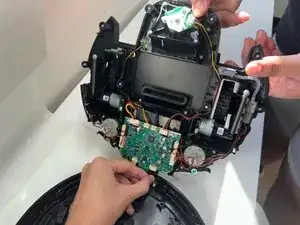
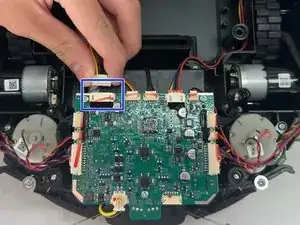
Grab the main circuit board and look for which port the bumper is attached to.
-
Carefully pull out the connection and put the bumper off to the side.
-
-
-
Flip over the G20.
-
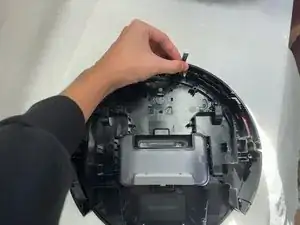
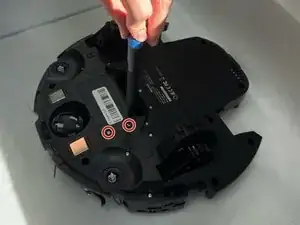
Remove the two M3 x 10 screws that secure the battery cover.
-
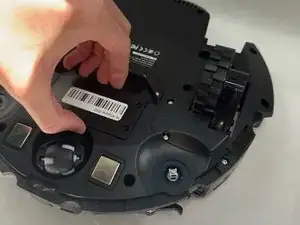
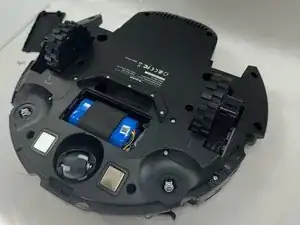
Remove the battery cover.
-
-
-
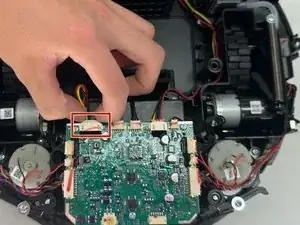
Flip over the G20.
-
Unplug the cable that's connected to the battery from the port on the motherboard.
-
-
-
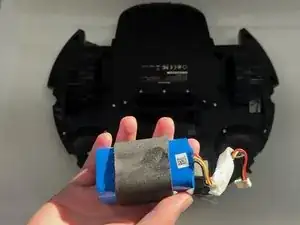
Flip over the G20 again, and gently lift out the battery along with the wire that it's connected to.
-

To reassemble your device, follow the above steps in reverse order.
Take your e-waste to an R2 or e-Stewards certified recycler.
Repair didn’t go as planned? Try some basic troubleshooting or ask our Answers community for help.