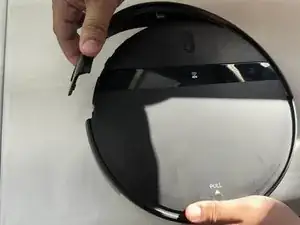
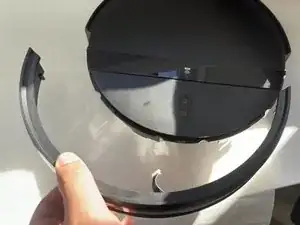
Introduction

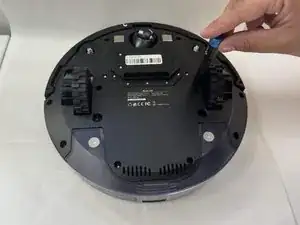
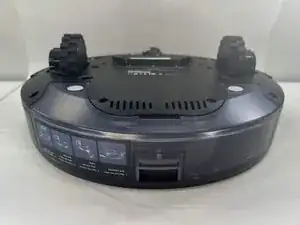
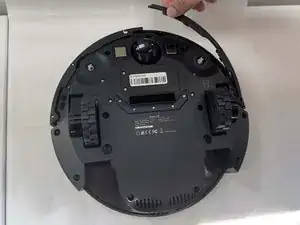
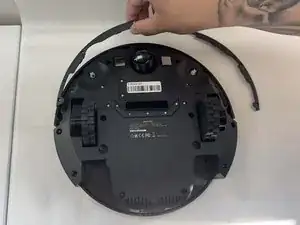
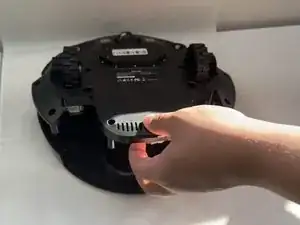
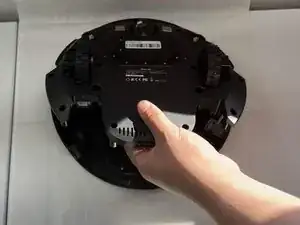
The bumper on your Kilgone G20 plays a vital role in protecting the vacuum and guiding its navigation by detecting obstacles. Over time, it can become less responsive or damaged, affecting your device’s ability to clean efficiently. This guide will walk you through the steps to inspect, remove, and replace the bumper, ensuring your robot vacuum stays in top-notch condition.

  1. 5aCDALs2dDjYNl31
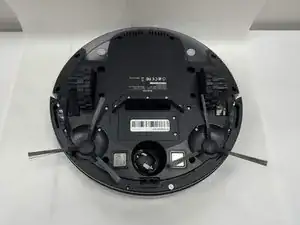
    • Flip the vacuum upside down.

  2. jsh1jGtUawHsocBc
    jsh1jGtUawHsocBc
    k3uxTfcTyHXplrXg
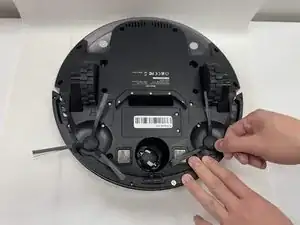
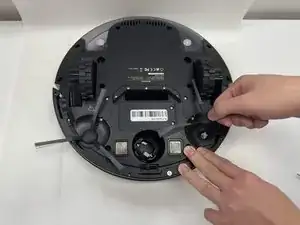
    • Grip the brush firmly.

    • Pull up on the brush with force, and it will pop out of place.

    • Repeat for the other side.

  3. 5J6baYGddG3hRoMc
    5J6baYGddG3hRoMc
    tPsqMFn113mokPuX
    K2dNdSWQEof1Wtww
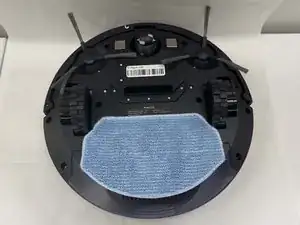
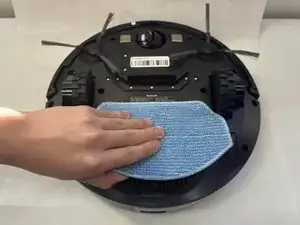
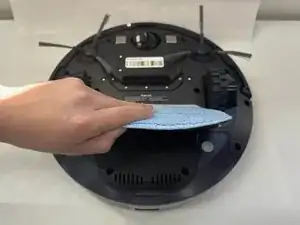
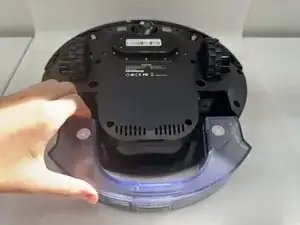
    • Remove the mop pad.

  4. HdlaIIWNIZRubSjr
    HdlaIIWNIZRubSjr
    UUQlVnPZvndVWblG
    XBLllZ22dcsI6CQt
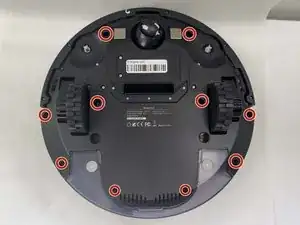
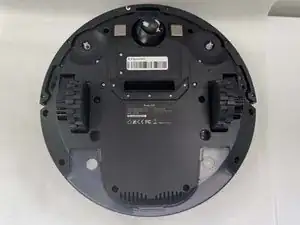
    • Remove all ten of the 3.8 x 12.2 mm screws using a Phillips #1 screwdriver.

  5. RkViWE3RQVNyQBFD
    RkViWE3RQVNyQBFD
    bVnEjYSmRKDowUaC
    3d6nc113B6GG1pxm
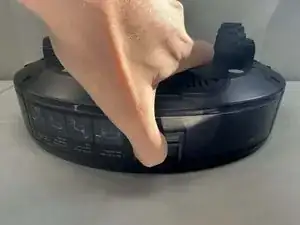
    • Pull up on the tab that's on the mop solution container. Lift and pull up simultaneously in order to remove the bin.

    • Set aside the bin.

  6. 2RQRiuKQRRIXtRRa
    2RQRiuKQRRIXtRRa
    SfEBTDTeZtnq6SVu
    6mqlvuHiVkvfHfCy
    • Remove the six 2.3 x 7.3 mm screws that secure the bottom of the bumper with a Phillips #1 screwdriver.

    • Pull up on both sides of the bumper, and set them aside somewhere along with the screws.

  7. obtZcgtydgJcd6Ry
    obtZcgtydgJcd6Ry
    Zyb4tQlMiIEAq2pS
    b2JApmgILbnIPsO6
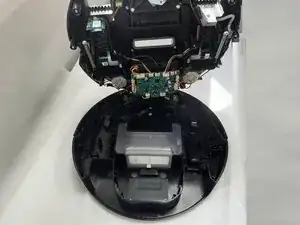
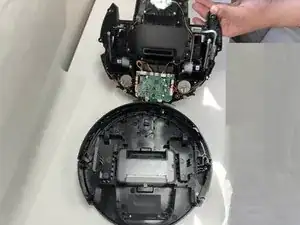
    • Gently lift up in order to seperate the bottom of the vacuum from the top.

    • Take care not to strain the cables, as the bumper is attached to the motherboard/main circuit via wire.

  8. GaNTbNj1wWMTEBVU
    GaNTbNj1wWMTEBVU
    hOjiZZAkxjUdWLhN
    c34DplnIUocHZPdE
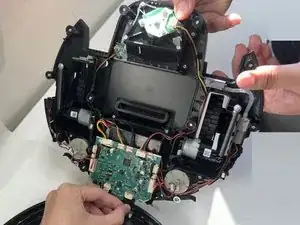
    • Find the cable that connects from the bumper to the motherboard.

    • Cautiously wiggle out and remove the cable from port that the cable is connected to, as seen in the second image.

  9. I3HwdGsESHRrjeoJ
    I3HwdGsESHRrjeoJ
    L6fBqIciWqJGqIwd
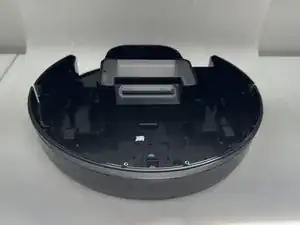
    • Using both hands, pick up the G20.

    • Now gently wiggle the bumper out from its place, and it should pop out. Use one hand to hold the G20 steadily, and one to take the bumper out of place.

Conclusion

To reassemble your device, follow these instructions in reverse order.
Steven B

Member since: 28/08/24

279 Reputation

0 comments