
Introduction
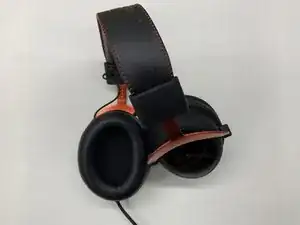
The Kingston HyperX Cloud II headphones are a popular choice among gamers for many reasons. Their quality, affordability, and brand reputation easily makes them a great choice. But what happens if a speaker (or both) is/are dead? In the case that your warranty has expired or you've already claimed it, you've come to the right place.
A note I would like to add is that this guide can be followed (relatively easily) for many other headphones with 50mm drivers. Some popular examples include the HyperX Cloud Revolver, Logitech G Pro X, and Sennheiser HD380 Pro.
Before proceeding, please note that basic soldering is required for this fix. If you are unfamiliar or are uncomfortable with the process, consider seeking the help of someone who has experience, or learn to solder by practicing on some older equipment or scrap piece of metal before continuing.
A guide on iFixit regarding soldering can be found here: How To Solder and Desolder Connections
This guide shows how to disassemble and replace the speaker drivers in the HyperX Cloud II's step-by-step with many visuals to aid during the process.
First we will begin by removing the ear cushion and the plastic panel to which the speaker is attached. Then, we will de-solder the wires from the speaker's motherboard. It will then be necessary to remove the speaker from the plastic frame it is attached to. Working now with our new speaker, we will use epoxy to secure to that same plastic frame. After the epoxy sets, we will re-solder the wires to the new speaker's motherboard. Next we will re-insert the plastic frame into the earcup, securing it with the remaining plastic panel. Finally we will re-secure the ear-cushion and restore our headphones to working order.
Ready? Let's replace some speakers.
-
-
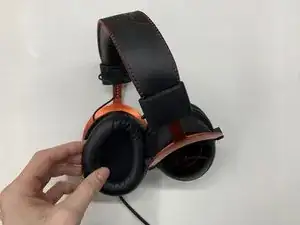
Remove the ear cushion by pulling it away from the plastic lip the cushion is secured around.
-
-
-
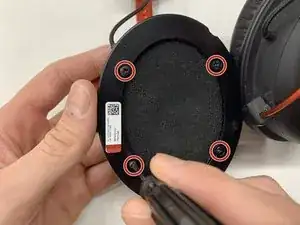
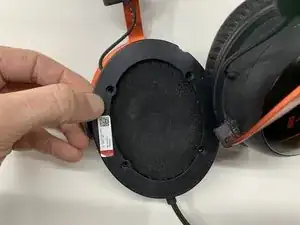
Remove the four screws securing the first panel by turning them to the left with a Phillips #2 screwdriver.
-
-
-
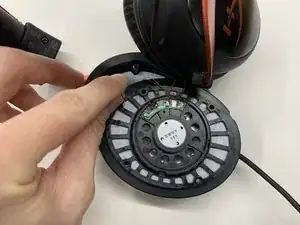
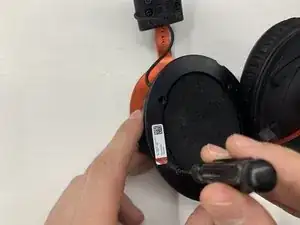
Place the panel still attached by the wiring onto your work surface if possible, or onto the headphone frame as shown in the images.
-
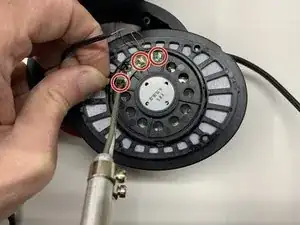
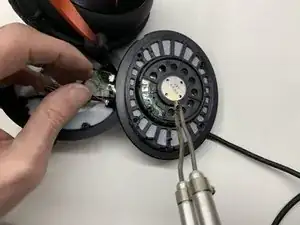
Use your soldering tool to quickly melt the solder and remove each wire from the speaker's motherboard.
-
-
-
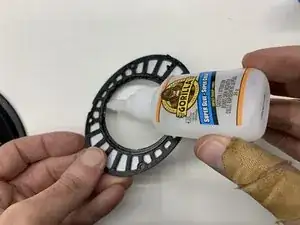
Using your hands, carefully pry apart the two plastic panels from the edges. They are not secured by any means and should easily come apart.
-
-
-
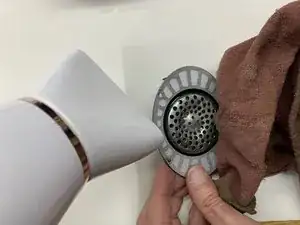
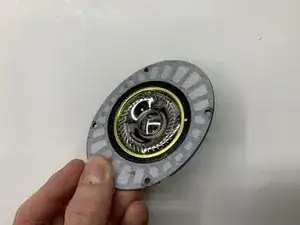
Using a small heat gun or household blow-dryer, apply heat near the perimeter of the speaker itself.
-
-
-
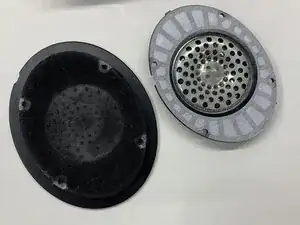
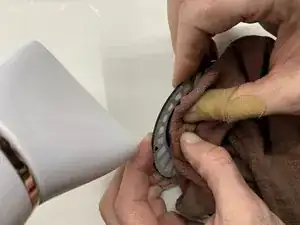
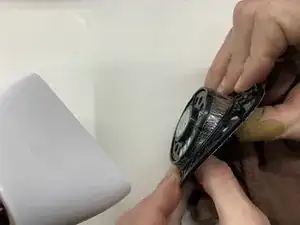
Using a small cloth or towel, press onto the metal face plate with your thumbs while using your other fingers to hold back the outer plastic frame. It will require considerable force to remove.
-
-
-
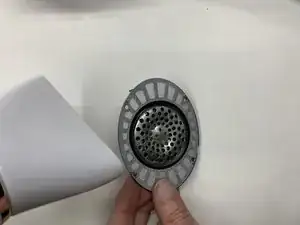
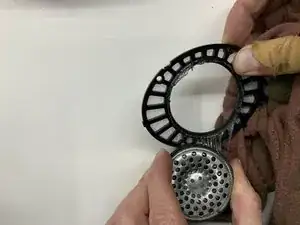
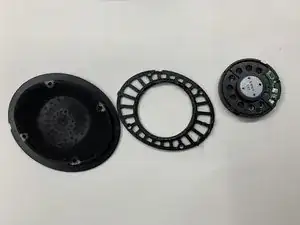
This step simply outlines all three pieces separated, and another image placing the new speaker next to the plastic frame it will be going into.
-
-
-
Place the newly assembled panel onto the headphones and part of the cushion as shown in the image. This way is easiest to keep the speaker within comfortable distance of the wiring from the headphones.
-
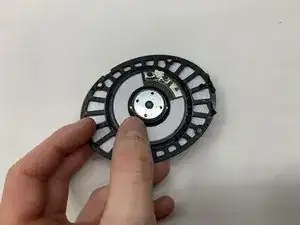
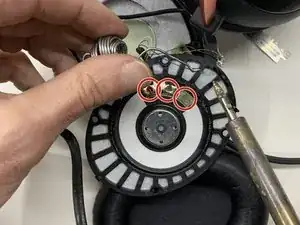
Solder each wire to the new speaker's motherboard, beginning with the blue one onto the largest of the three metal plates. In this case, start on the right. The red wire will be in the middle. The blue wire will connect on the left side.
-
-
-
With each wire secured to the new speaker, we are ready to insert it back into the headphones.
-
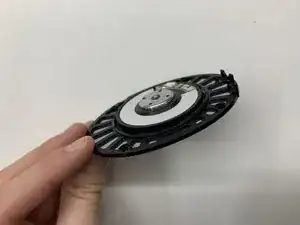
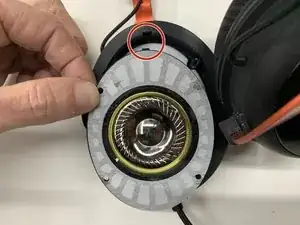
Flip the panel over and insert the notch first. Let the plastic frame fall back into the earcup of the headphones.
-
-
-
Flip the plastic panel and again align the notch with the one in the earcup. It should fall into place with little to no force required.
-
-
-
Re-secure the panel with the four screws from earlier by inserting them in each corner and turning to the right with your Phillips #2 screwdriver.
-
-
-
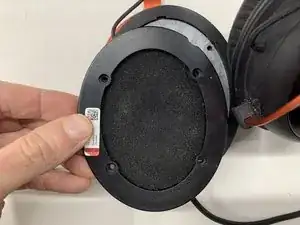
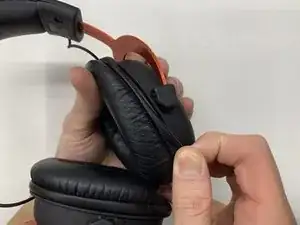
Re-attach the leather earcup by pulling and stretching the flaps provided around the plastic lip on the actual headphones.
-


Congratulations if you followed along and fixed your headphones. I hope it will help many people restore their headphones to working order.
2 comments
How about the quality of sound ? In indonesia i just found speaker hifi 50mm with 32ohm, is that okay if i use that ?
Quality of sound is excellent, no difference between the factory speakers. Yes those are fine, as long as they are 50mm. :)
Matthew -