
Introduction
If your Kyvol Cybovac L20 is struggling to vacuum the floor effectively, spin the brush roll, or clean, use this guide to replace the main motor.
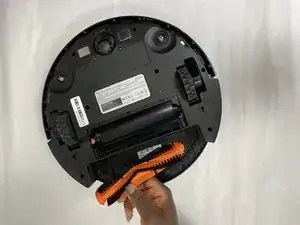
This main motor is responsible for rotating the main brush roll. This component not working correctly will lead to dirt being left on the ground. Before using this guide, make sure to take out the brush and ensure that it is placed properly in its position as well as that it is clean and not clogged up.
-
-
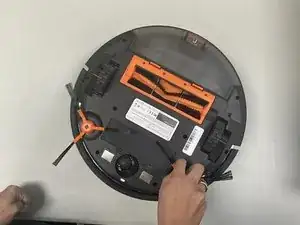
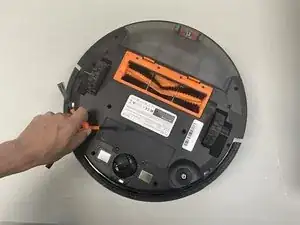
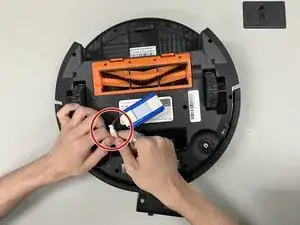
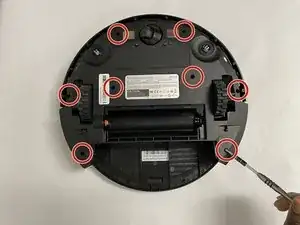
Use a Phillips #1 screwdriver to remove two 1 mm screws that secure the panel.
-
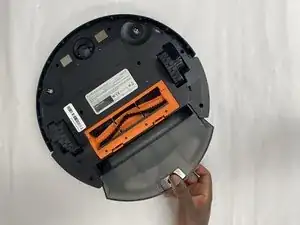
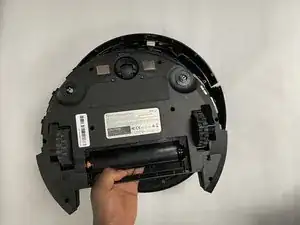
Remove the battery panel.
-
-
-
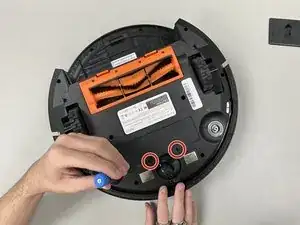
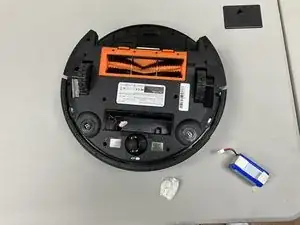
Slightly lift the battery out of the compartment.
-
Disconnect the battery connector.
-
Completely remove the battery.
-
-
-
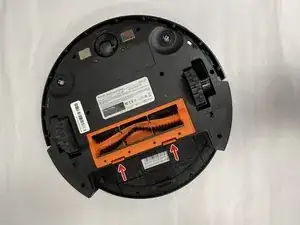
Press in on the two clips holding the brush roller housing in place and remove the brush roller cover.
-
-
-
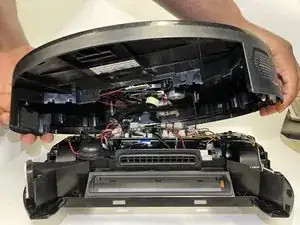
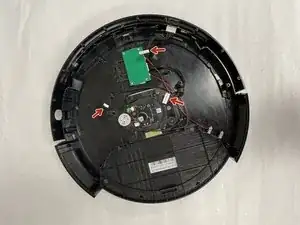
Slightly lift the bottom of the unit from the top housing, with care not to pull or damage the connections between the top case and motherboard.
-
Disconnect the three motherboard connections that connect the top case and motherboard.
-
-
-
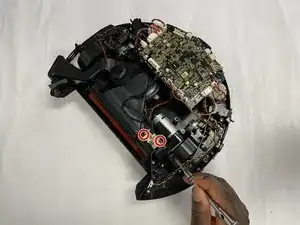
Remove the two 5.8 mm Phillips screws holding dustpan sensor board in place.
-
Move the sensor to the side.
-
-
-
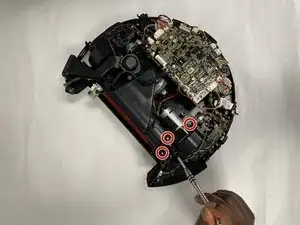
Remove the two 7.4 mm Phillips screws from the belt assembly housing cover.
-
Remove the cover.
-
-
-
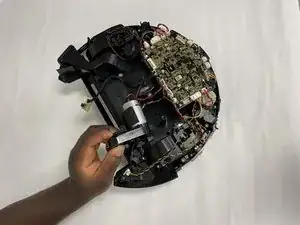
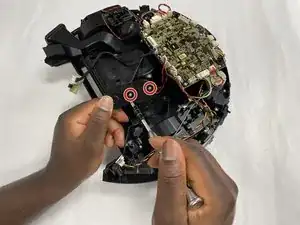
Remove the two 4.5 mm Phillips screws that secure the motor to the pully assembly housing.
-
Separate the motor from the housing.
-
-
-
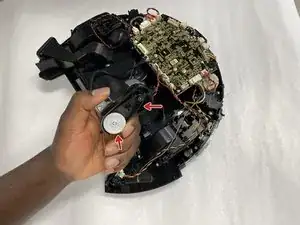
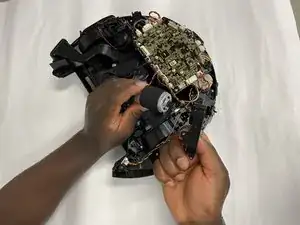
Grip the white motor motherboard connect and pull it directly up and out of its port.
-
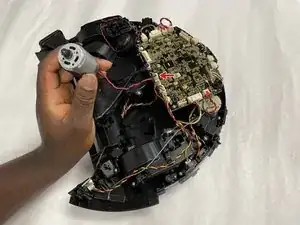
Remove the motor.
-


To reassemble your device, follow these instructions in reverse order.