Introduction

  1. 6ehJtLWCBchrKZhM
    6ehJtLWCBchrKZhM
    dbFkMdeIcysABIQu
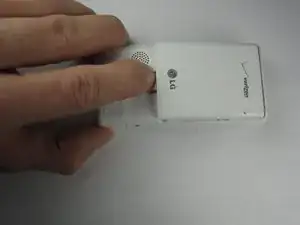
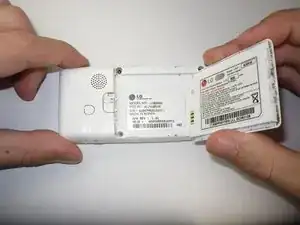
    • Find a sliding button on the lower back side of the device and with your finger, slide it to the left firmly.

    • The battery should pop out fairly easily. If not, slide the button further or grab and pull it while sliding the button.

  2. YegA2PyPqEWSOHXV
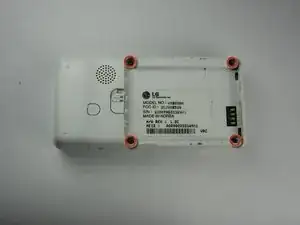
    • You will need to use a Phillips #00 screwdriver.

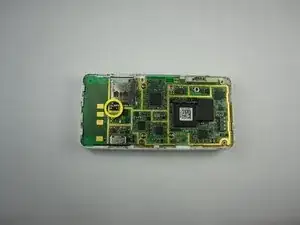
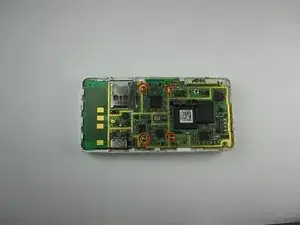
    • Remove the four screws located at the corners beneath the battery.

    • Detach the back case from the phone.

  3. wdgPI5aZVu2f2u6G
    wdgPI5aZVu2f2u6G
    YK2OtCYYU6rMMvUj
    4Me6iSYFb6e5QyJB
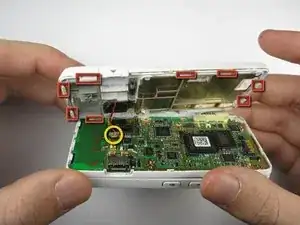
    • Take the case off by using a plastic opening tool.

    • Continue using the plastic opening tool around the sides of the device.

    • Unhook the eight tabs securing the back cover to the rest of the phone as seen in the second photo.

    • The back speaker will be connected to the motherboard.

    • This must be disconnected in order to remove the case

  4. TgiUVWpDuQUZ3hQM
    • Unscrew the 4 Phillips 00 screws that connect the two halves of the phone together.

  5. IOt4gPXEDxc1fZUI
    IOt4gPXEDxc1fZUI
    ptMGTbdFUFg5kwwH
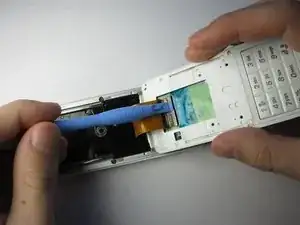
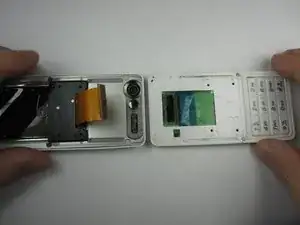
    • Between the two halves is a ribbon. Use a plastic opening tool to flip up the lock and disconnect it.

  6. pWHLFSAVIaOcUCOE
    pWHLFSAVIaOcUCOE
    Q5MQdjYdQxNQQqYJ
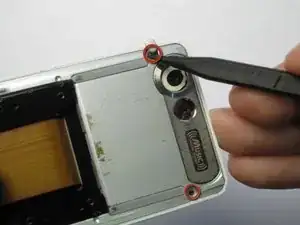
    • Pry off the plastic tabs that cover two screws, as shown in the first picture.

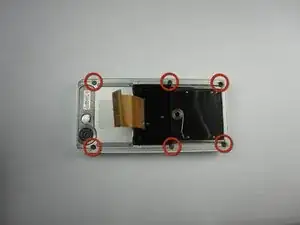
    • Then, remove the 6 Phillips 00 screws from the back of the case, as shown in the second picture.

  7. HAMeOnSQORTqKhBD
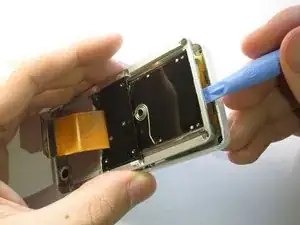
    • Pry off the back cover from the front of the case using a plastic opening tool.

  8. tEAx1Md31tfs2ikn
    tEAx1Md31tfs2ikn
    TMJfMwws51RJPSJD
    JQC5HXugThSiPIbI
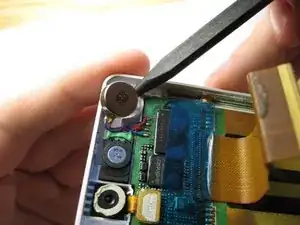
    • Pry the front speaker and wireless receiver out of the front case using a spudger.

    • They may be taped into the case, so don't be afraid to pry hard.

  9. Onip6o3FAGbowPQO
    Onip6o3FAGbowPQO
    D2TCriivjMvhwJeI
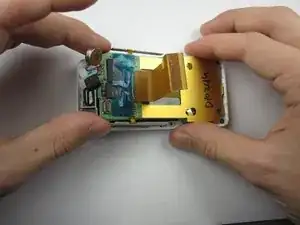
    • Starting with the side that has the speaker and receiver, carefully lift the LCD Board out of the case.

  10. mweMATTb2UrY4YgZ
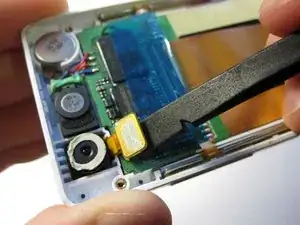
    • Unhook the ribbon cable using that flat side of a spudger.

  11. xvy5ZFrmAKXfDbkI
    • Next, carefully remove the tape from the LCD board.

  12. NqKmpDu4q5upnCBn
    NqKmpDu4q5upnCBn
    q1BKdhIJwSFjWGjO
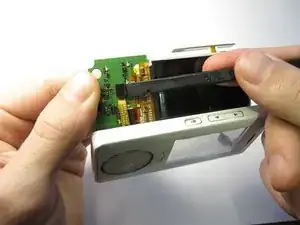
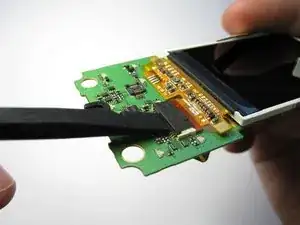
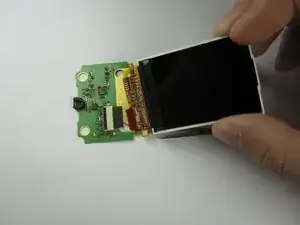
    • Finally, flip up the black switch to unhook the LCD screen from the LCD board using a spudger.

    • The LCD Board in now accessible.

  13. 5rcmaNZdTHQXVIpt
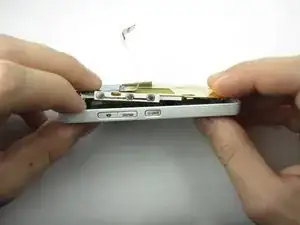
    • The side buttons can now be accessed freely.

Conclusion

To reassemble your device, follow these instructions in reverse order.
Charles Yoon

Member since: 18/01/13

64 Reputation

0 comments