Introduction
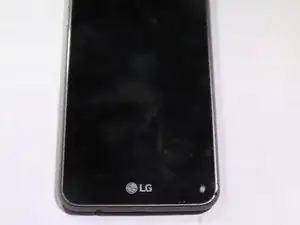
This screen replacement guide will help you with replacing the screen on your LG Fortune smartphone. If your screen has ever been cracked, unresponsive, or showing issues with displaying content, replacing the screen is an efficient way to restore your device without needing a full replacement.
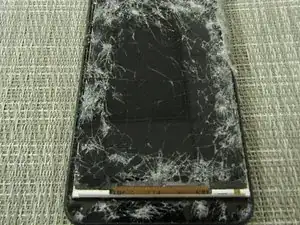
You may need to replace the screen if you experience:
- A broken screen
- A cracked screen
- A screen that isn't responding to touch
- Display issues
To ensure the repair process goes efficiently, it's important to handle your device with care and to avoid causing further damage. This screen replacement guide provides step-by-step instructions to help you disassemble your phone, remove certain necessary components, and install a brand-new screen all in great detail.
Before you start with this guide, make sure your phone is completely powered off and is disconnected from any chargers. You must also consider using an anti-static wristband and mat for you to avoid static damage while working on your device. Take your time and follow the steps carefully, and within no time you will be having your LG Fortune looking and working like a charm!
-
-
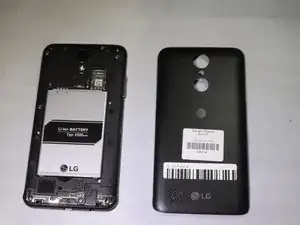
Use the slit on the bottom right side of the phone to open the back cover of your phone.
-
Slowly pry the back cover off the phone starting from the bottom up to the top.
-
-
-
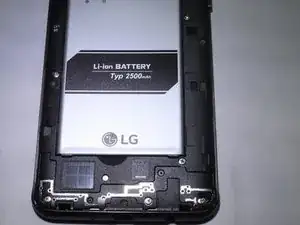
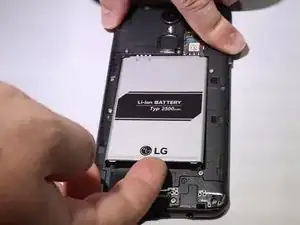
Use the slot in the middle of the bottom edge of the battery to pry it up and out of the case.
-
-
-
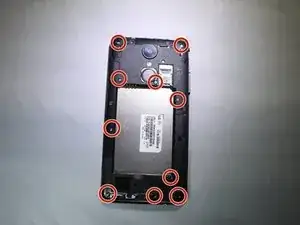
Using a PH000 screwdriver, remove the ten 4mm screws on the back panelling.
-
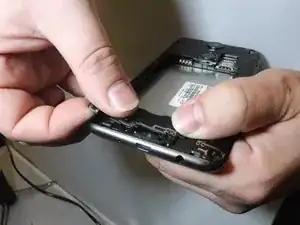
Remove the back panelling from the device with your fingers or a spudger.
-
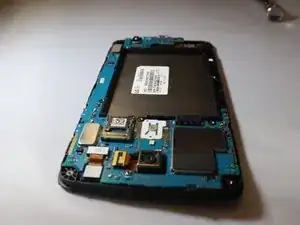
Work slowly side to side to release this back casing and expose the motherboard.
-
-
-
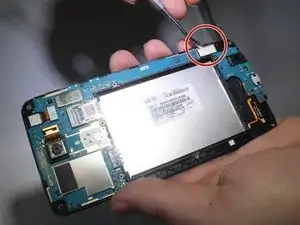
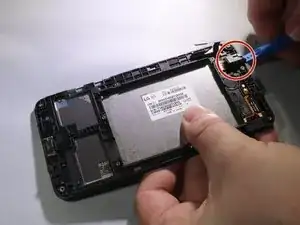
Unplug the front facing camera press fit connector from the motherboard by prying upwards with a spudger or plastic opening tool.
-
-
-
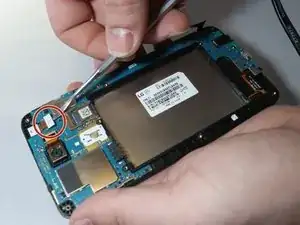
Unplug the rear facing camera ribbon cable from the motherboard by prying up the press fit connector with a spudger.
-
-
-
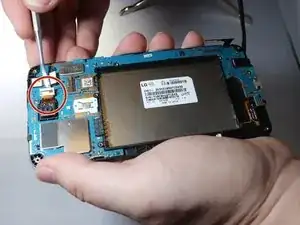
Use the spudger to pry off the motherboard from the rest of the device on the top left corner down to the bottom right corner
-
-
-
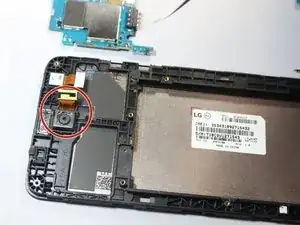
Unplug the camera from the phone using a metal spudger to get underneath the tape and remove the camera.
-
-
-
You will remove the microphone from underside of the screen.
-
Once the mic is off, the screen is by itself and ready to be replaced.
-


To reassemble your device, follow these instructions in reverse order.