Introduction
Parts
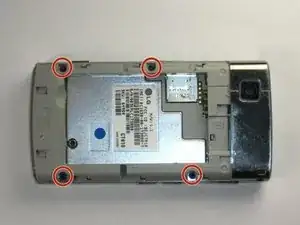
-
-
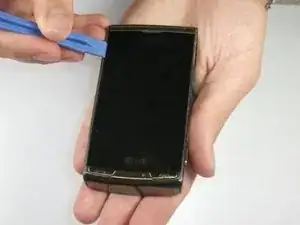
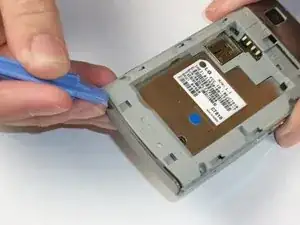
With the screws set aside, wedge your plastic opening tool in between the screen and the case surrounding it. Gently move the tool along the edge to loosen the screen from the casing. Do this again on the other side as well. The screen and case won't be completely separate in this step.
-
-
-
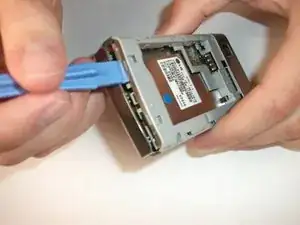
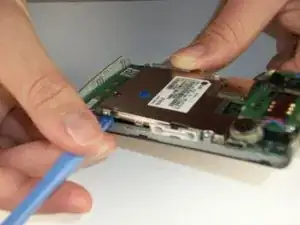
Flip your phone over to the battery side. Locate the seam near the bottom of the phone between the plastic case and the metallic case. Like the previous step, wedge the opening tool into the seem, and slide it across. Then, pry the two pieces apart. Your phone should now be in two pieces.
-
-
-
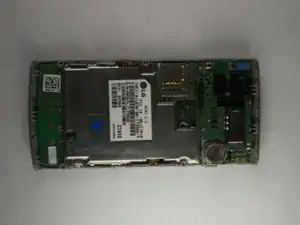
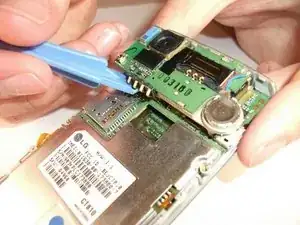
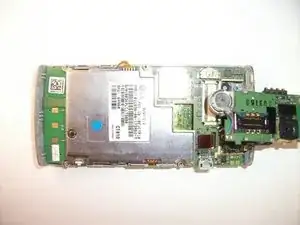
Here is a top-down view of what your phone should look like. There are three yellow tabs that need to be loosened in order to remove the motherboard. The third tab is located underneath the speak/camera board in red.
-
-
-
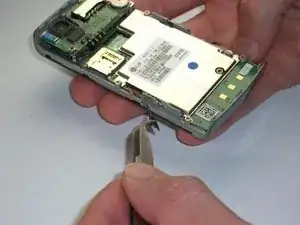
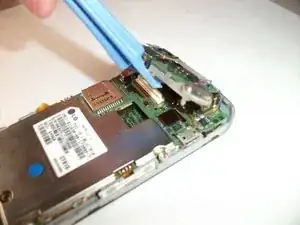
To get access to the third tab, insert your plastic opening tool underneath the speak/camera panel, and gently pry at it. Do not fully remove the board though! It should still be attached to the motherboard by a red and black wire. Images two and three show the tab is red.
-
-
-
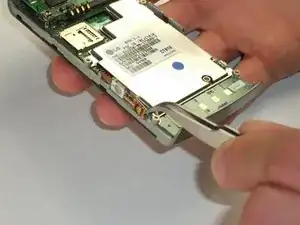
To loosen this tab, use your metal tweezers to lift the side of the tab shown in image 1. You only need to gently lift it, it should pop off quite easily.
-
-
-
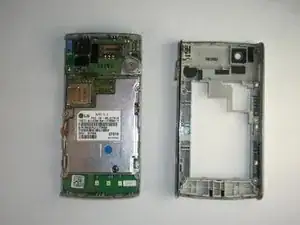
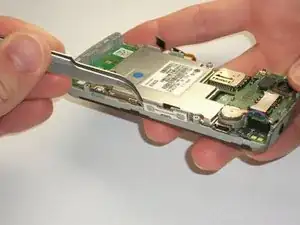
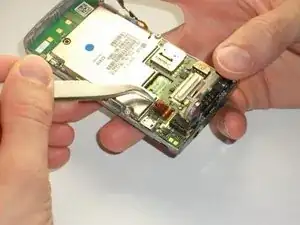
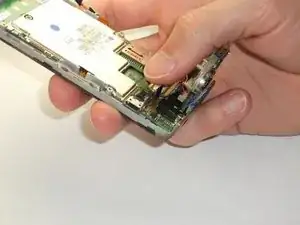
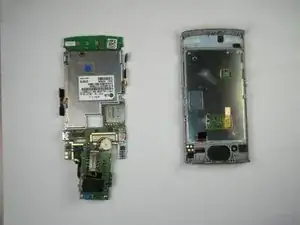
With all three tabs removed, its time to separate the motherboard from the other casing! Insert the plastic opening tool as shown, and gently pry the motherboard from its case. Make sure to do this on all sides before fully prying the two apart. The third image shows the motherboard on the left, and the second casing on the right.
-


To reassemble your device, follow these instructions in reverse order.