Introduction

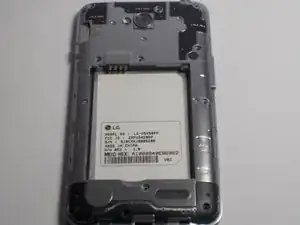
If your rear camera takes bad pictures or is blurry in any way, you might want to replace the rear camera part. To do this please follow these steps below.

  1. NmI1XYGkEbbBfReE
    NmI1XYGkEbbBfReE
    fFWM3nUHZTENOcON
    • Flip the device over and remove the back covering.

  2. dhoYJmsiqmTOkong
    • Push on the top of the battery downward and pull the battery off of the device.

  3. EI4DAUC1shMoD243
    EI4DAUC1shMoD243
    vIDfWR1GGx53TvKU
    HpmibBVhHsdpoog2
    • Remove the eleven 4mm screws using a Philips head screw driver.

  4. nKHmsh6FVUO6jbWK
    nKHmsh6FVUO6jbWK
    cCuOKXTdgEQ5CEMG
    XGEAHQNGGZMqeNsj
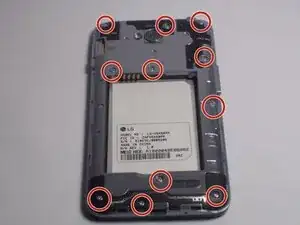
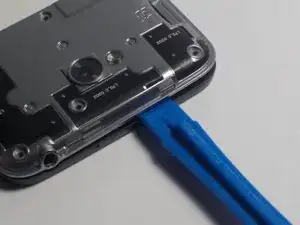
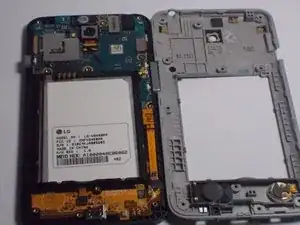
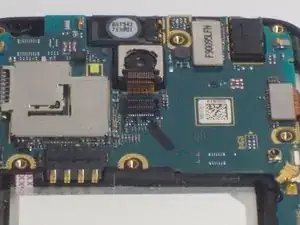
    • Insert the plastic opening tool into the side of the device and pry off silver covering. Push up against the back covering when the tool is inserted to detach from the phone.

    • Make sure to detach all sides of silver covering before lifting it off the phone.

  5. pnKjflX3AIa5dsey
    pnKjflX3AIa5dsey
    DAW6bVHhD6I6gsap
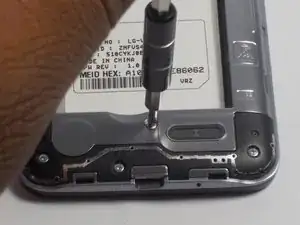
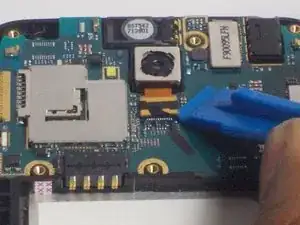
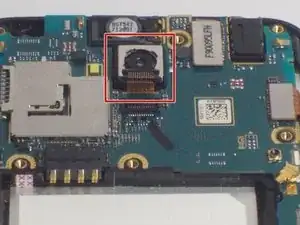
    • Using the prying tool detach the connector on the device.

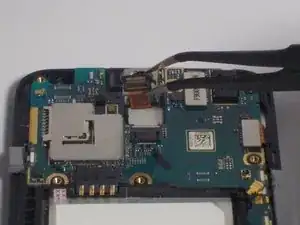
    • Insert the plastic opening tool underneath the connector and push tool down to lift the connector from the device.

  6. 5sKS25cmJm6OWPJe
    5sKS25cmJm6OWPJe
    VQLcADSZhtjs5caB
    • Using tweezers lift the camera off of the device.

    • To do so grasp the camera gently with the tweezers and pull the camera up out of the device.

Conclusion

To reassemble your device, follow these instructions in reverse order.

Carl Dorvilus

Member since: 10/03/16

708 Reputation

0 comments