Introduction
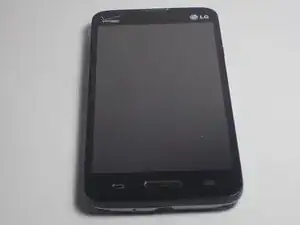
If the screen is cracked or scratched on your LG Optimus Exceed 2 phone you might want to replace the screen. Another reason for you to replace your screen is if the touch screen feature does not work. Please follow these steps below to replace the screen of your phone.
-
-
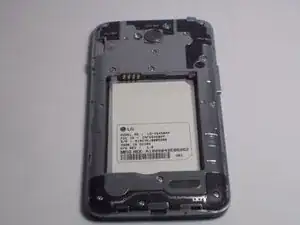
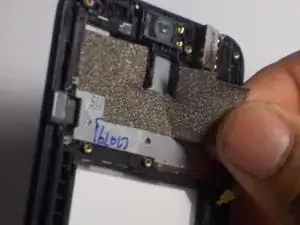
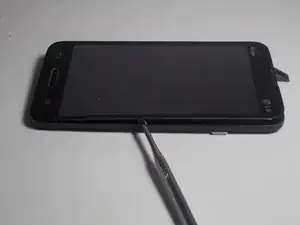
Insert the plastic opening tool into the side of the device and pry off silver covering. Push up against the back covering when the tool is inserted to detach from the phone.
-
-
-
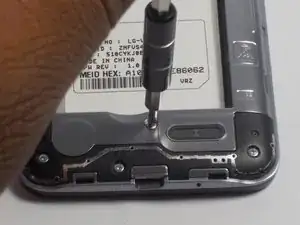
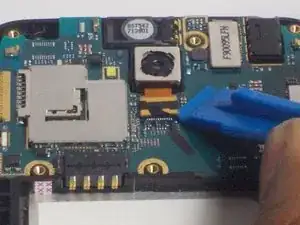
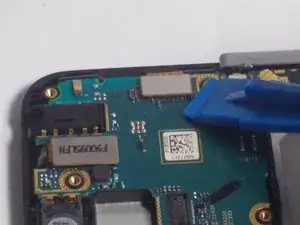
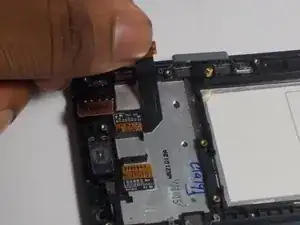
Using the prying tool detach the connector on the device.
-
Insert the plastic opening tool underneath the connector and push tool down to lift the connector from the device.
-
-
-
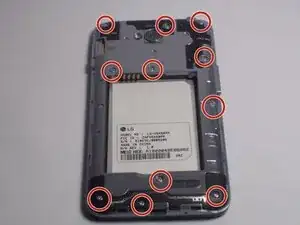
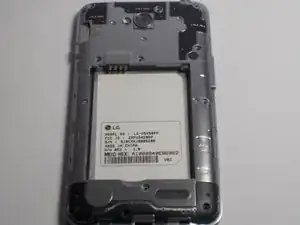
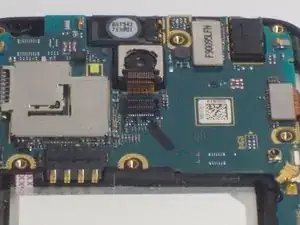
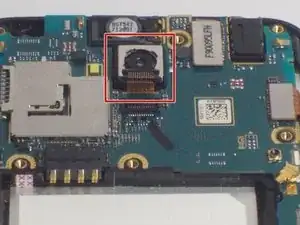
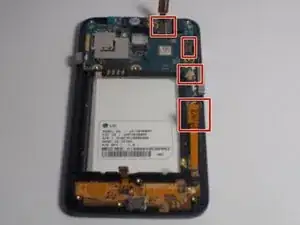
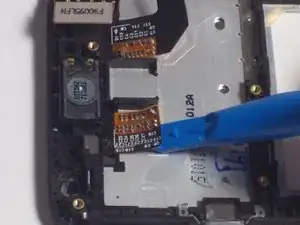
Disconnect the remaining ribbon plugs and connectors. (Only remove the highlighted cables for the removal of the logic board.)
-
-
-
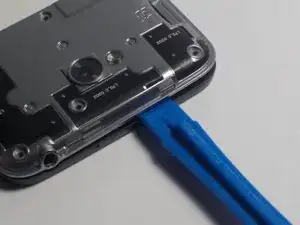
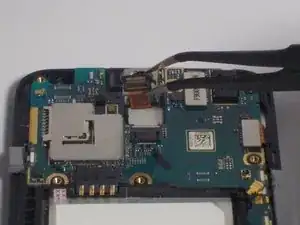
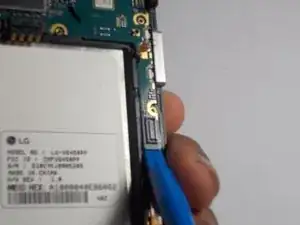
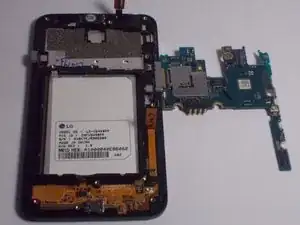
Push the blue lifting tool up underneath the logic board and pull it upwards removing it from the device.
-
-
-
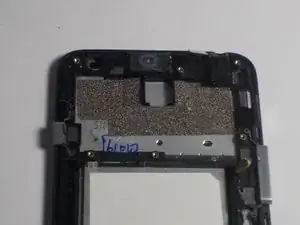
Using a prying tool, carefully remove the silver/ black tape used to hide the screens connectors.
-
-
-
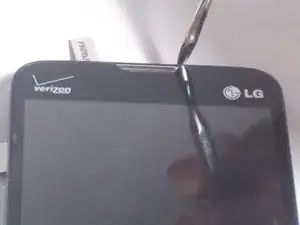
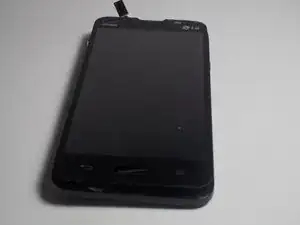
Flip the device so the screen faces you. Using a prying tool, at the corners on the screen begin to pry off the screen. (It will sound like tape being removed.) Avoid scratching the device with the prying tool.
-
-
-
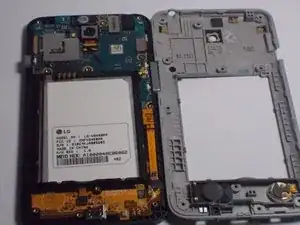
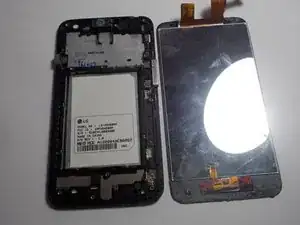
Pull the screen off of the body of the device. (Mind the circuits when removing the screen. The home button is likely to fall off. )
-


To reassemble your device, follow these instructions in reverse order.