Introduction
This guide will show you how to disassemble your device, remove your damaged screen, and insert a new screen in.
-
-
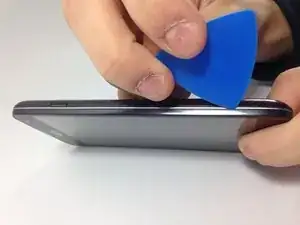
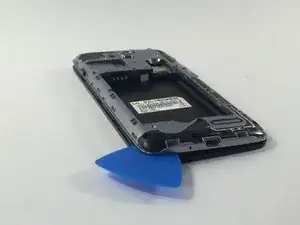
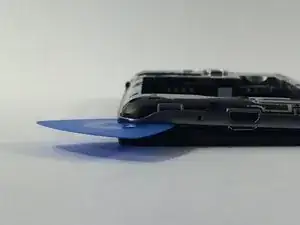
Carefully slide an opening pick between the the rear cover and the body of the phone.
-
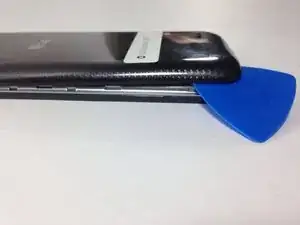
Using the pick, separate the cover from the back of the phone.
-
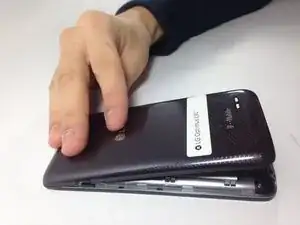
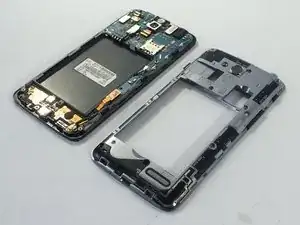
Remove the rear cover.
-
-
-
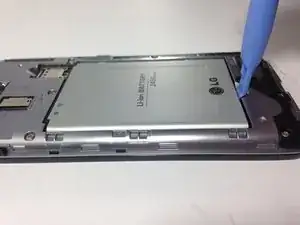
Insert a plastic opening tool int o the small recess at the bottom of the battery.
-
Use the plastic opening tool to lift up the bottom of the battery.
-
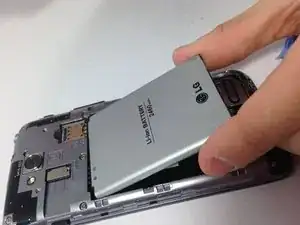
Remove the battery from the phone.
-
-
-
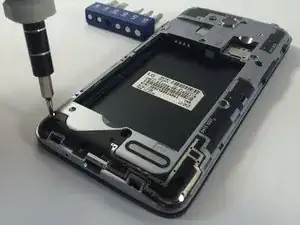
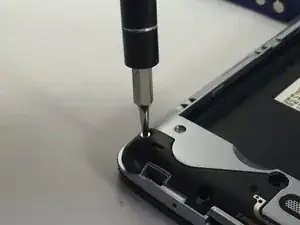
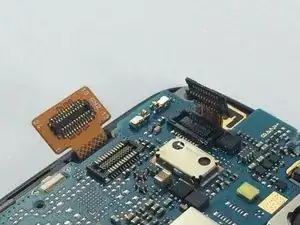
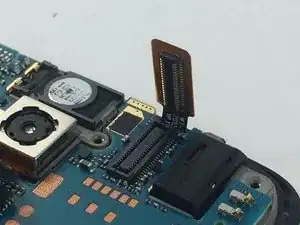
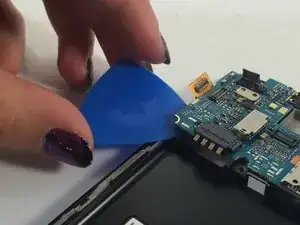
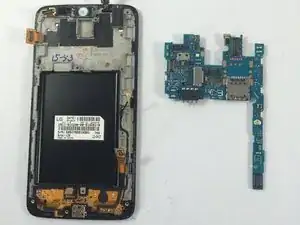
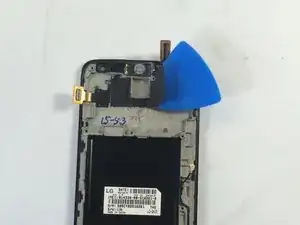
Once the motherboard is carefully removed, use your prying tool to remove the black tape that is located around the back camera. Place the tape off to the side when finished as you will need this later.
-
-
-
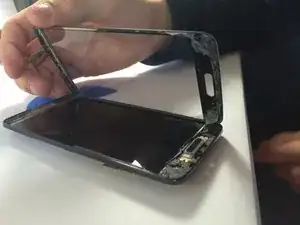
Once the tape is removed, use your heat gun to heat up the screen of the phone for 1-2 minutes. This will soften the adhesive that binds the screen to the phone.
-
-
-
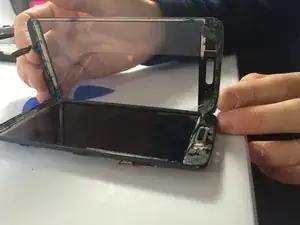
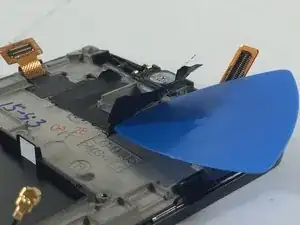
Once the screen is up to a decent temperature, use your prying tool to separate the screen from the body of the phone. Once the damaged screen is removed the new one is ready to be inserted.
-

To reassemble your device, follow these instructions in reverse order.