Introduction

If you need to repair or replace the microphone, this is the guide you need!

  1. FPSYFGVpnBWWKCml
    • Turn the phone so the back side is face up.

  2. 3jtirGF1luptY6rU
    3jtirGF1luptY6rU
    IafUZvK1aRu1NJIH
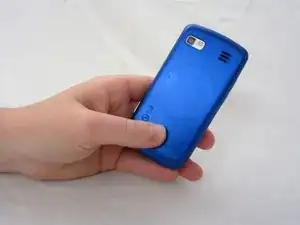
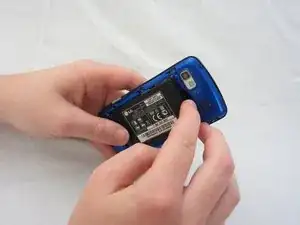
    • Use your thumb to press on the small ridge at the bottom of the phone, then push upward to slide off the back casing.

  3. ATqMoXmjyVouI11O
    ATqMoXmjyVouI11O
    1YERmLPBvXYeo5gg
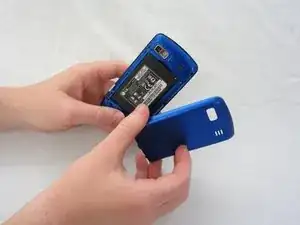
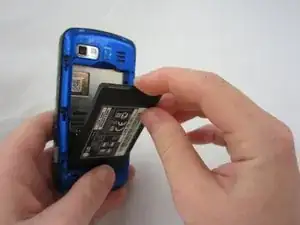
    • Use your index finger to pull the top of the battery out from the top center divot. Then pull the battery towards yourself to remove it from the compartment.

  4. f1X1H1MfB31LuI5M
    f1X1H1MfB31LuI5M
    UJhW2VLG52Oi3XQp
    • Use a Phillips #00 screwdriver to remove the six 2.4mm screws, which secure the back panel.

  5. PQ3bXk3XkJpN26Fu
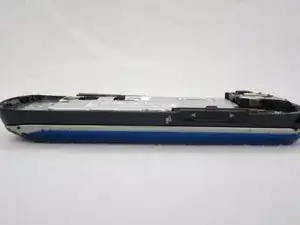
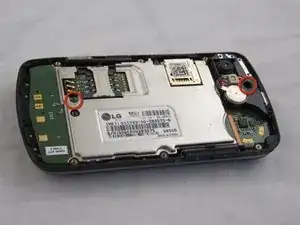
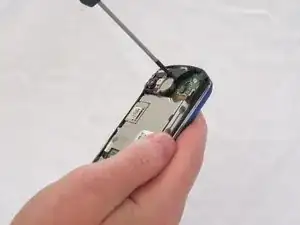
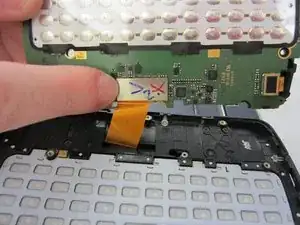
    • Push a spudger or small tool under the inner edge of the back panel and gently pry upward to separate it from the main body.

  6. oRtrSrQMF6W526JH
    oRtrSrQMF6W526JH
    inP4RPkbdRAnPHSR
    • Pop off the camera, lock, and volume buttons from the side of the phone using tweezers.

  7. NoWXBTZGEvHTRHnj
    NoWXBTZGEvHTRHnj
    bO3GTSj3m2jKaMeD
    • Use the Phillips #00 screwdriver to remove the two 3mm screws, which secure the motherboard.

  8. 4goxcRCtaCVER1Zw
    4goxcRCtaCVER1Zw
    uXOTr4ZCl2SPRblM
    • Carefully lift and remove the motherboard from the main body.

    • The connector cable will still be attached to the motherboard. Any damage to the connector cable may permanently disable the phone.

  9. QEldIy3u15NVT5fV
    QEldIy3u15NVT5fV
    kKTJOxWttQIBmBFr
    • Carefully unclip the metal tab to separate the connector cable from the motherboard.

  10. CY2wwoqPlEa1yoyB
    CY2wwoqPlEa1yoyB
    H26yDentZNtFP5pe
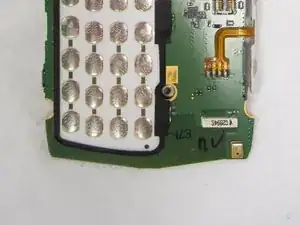
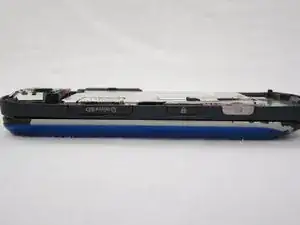
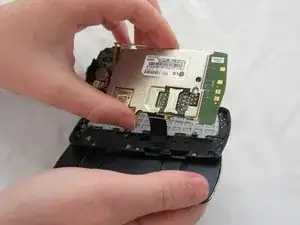
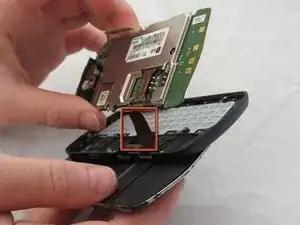
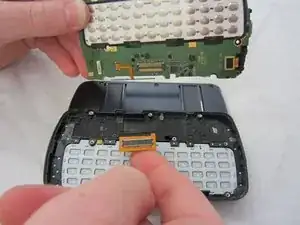
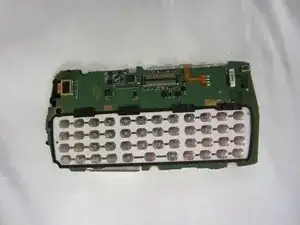
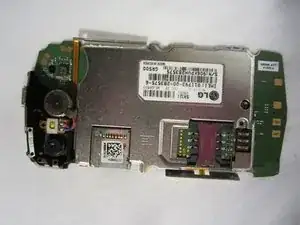
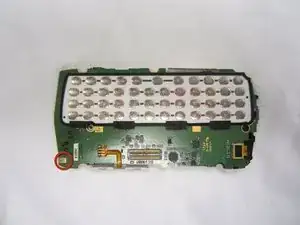
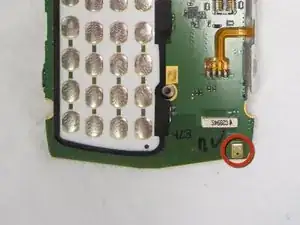
    • Once the connector cable is detached from the motherboard, you have successfully removed the motherboard from the phone.

  11. qe3WEU66bNIPaiLD
    qe3WEU66bNIPaiLD
    4LiaXdIV1UPJGYx1
    • The microphone is located on the bottom corner of the motherboard.

    • Take caution when repairing the microphone to not damage the motherboard.

Conclusion

To reassemble your device, follow these instructions in reverse order.

Katy Conlin

Member since: 17/04/12

145 Reputation

0 comments