Introduction

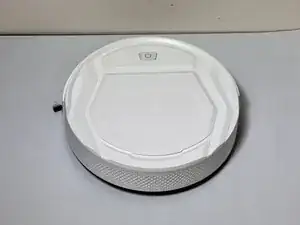
Robotic vacuum batteries generally last 2-3 years, depending on usage. Over time, you may notice that the battery holds less charge, requires more frequent recharging, or a decrease in cleaning performance. Use this guide to help replace your battery and restore your Lefant M210 robot vacuum to like-new performance.

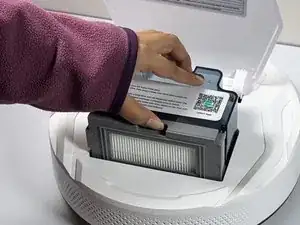
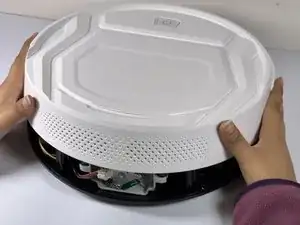
Before you begin this repair, turn off the vacuum.

  1. hxtPpCmZYRXByvvA
    hxtPpCmZYRXByvvA
    AoUSpFCeddAA2bIe
    • Flip the Lefant M210 over to have a clear view of the brushes.

  2. FIvpKF4GHYux2Urv
    FIvpKF4GHYux2Urv
    EpBeJrcoPnFBFdaW
    aWQxLHpaquDDGkkT
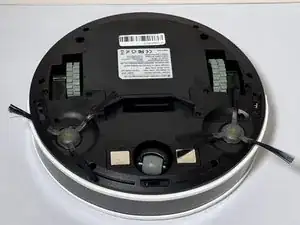
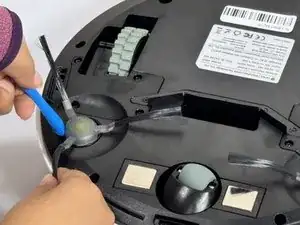
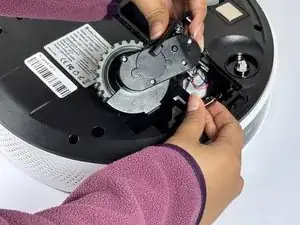
    • Place the blue tool under the circular part of the brush in the center

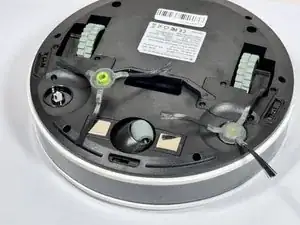
    • Push down the other end of the tool to pop out the brush component

    • When replacing, align the bottom of the brush with the connector on the vacuum and push down to set it in place.

  3. Zqk6gIHxJmdwCqpW
    • Use a Phillips screwdriver to remove four screws near each wheel.

  4. 15pWyj44ycVQtDyB
    15pWyj44ycVQtDyB
    sYBEsOhQWCBRXKZ5
    • Remove the plastic cover next to each wheel.

    • Grip both sides of the wheel and pull upwards.

    • The wheels of the device require some force to remove.

    • Don't pull the wheels too hard as they are attached to cables and may be damaged if yanked.

  5. BMWeYMhJZwUWDeMA
    BMWeYMhJZwUWDeMA
    mE5NGmcVusnICMlZ
    FjYfHF1xX3mP2xC6
    • Hold the wheel up and detach the connector to release it from the device.

  6. ImBkUWFIEY15OAIH
    • Open the dustbin compartment.

  7. ZRyOYW2jhldUCpVw
    ZRyOYW2jhldUCpVw
    bwJ6KwP35aTLjJYg
    • With your hands, gently pull the dustbin to remove it from its compartment.

  8. qebqO5l13mTZVylc
    • With your hands, pull off the filter compartment from the dustbin.

  9. PYuVoTZaqkqICegD
    • Pull off the filter from the filter compartment.

  10. ZZsdsaLDHZkPEbOm
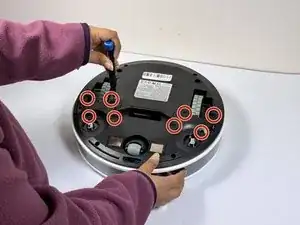
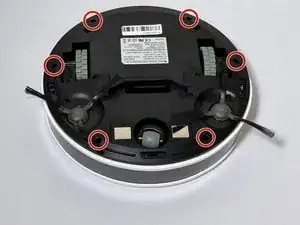
    • Use a Phillips #1 screwdriver to remove the six screws around the bottom edge of the device.

  11. 1u66IQtRrBDIqIgR
    1u66IQtRrBDIqIgR
    yXblhqapslZjM2PH
    • Carefully flip the vacuum back right-side-up, making sure you're holding it all together so that the bottom portion doesn't fall out.

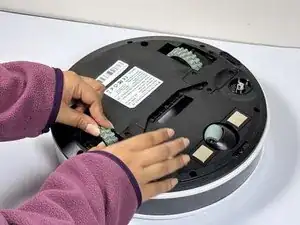
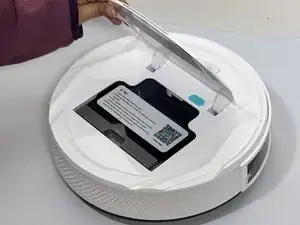
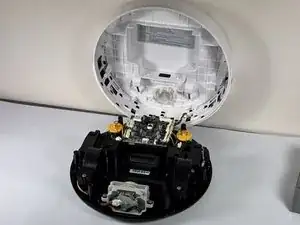
    • Rotate the vacuum so that the Lefant logo is facing you.

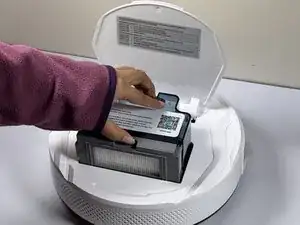
    • Carefully lift the white cover of the vacuum, opening it like a laptop, from front to back.

    • Rest the open cover something stable, like a wall.

  12. 1B5KuIXHMCdOAUxJ
    1B5KuIXHMCdOAUxJ
    dsLxogALyXySBKMq
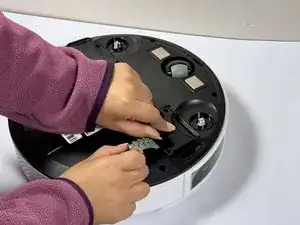
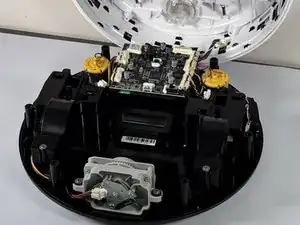
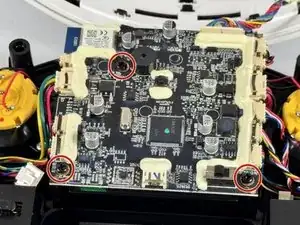
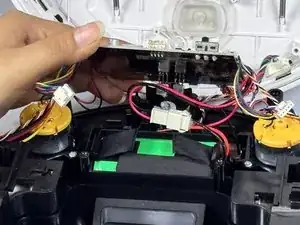
    • Use a Phillips #1 screwdriver to remove the three screws securing the motherboard to the device.

  13. Br6epXWXetcRZD5l
    • Carefully lift the motherboard, ensuring you don't rip any cables that are connected to it.

    • The battery should be under the motherboard.

  14. aSfSlRqYHKOEIN1p
    aSfSlRqYHKOEIN1p
    AuCLOVCfM14bPBGZ
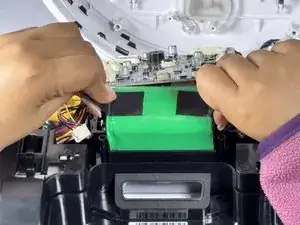
    • Push the two retaining clips away from the battery while pulling the battery up from the tabs attached to it to free it.

    • Retaining clips

    • Battery tabs

    • Work on freeing one side at a time so that it's easier to free the battery.

  15. P2axWn26vpMnvOgo
    • When the battery is free from it's housing, lift it out completely using its pull tabs.

  16. dvj1Y5IiAXARd1my
    dvj1Y5IiAXARd1my
    RYOqosqwvJuOGtFZ
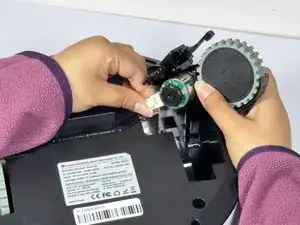
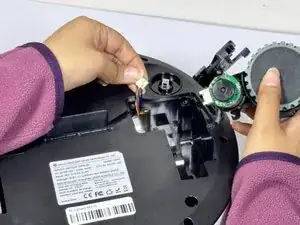
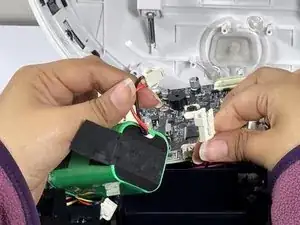
    • Locate the battery connection wire and carefully pull apart the connection.

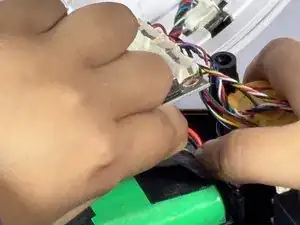
    • Pinch the motherboard's wire connector and pull the connection apart.

    • The connection is secured by a clothespin-like mechanism.

    • When you replace your battery with a new one, allow the robot vacuum to fully charge for a few hours before using it again.

Conclusion

To reassemble your device, follow these instructions in reverse order.

Darien Amador

Member since: 09/09/24

195 Reputation

0 comments