Introduction
Use this guide to replace the heat sink in the computer: Lenovo IdeaPad 3-15ADA05. This laptop is known for its efficiency and screen. The heat sink in a computer works to absorb and disperse the computer's heat. This instruction also includes removing the thermal paste.
Before removing the heat sink, make sure that the heat sink or thermal paste is the problem. To do this, refer to the troubleshooting page
To begin, check that you powered off the device. Then, begin the instruction and review the needed materials.
-
-
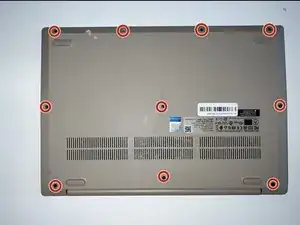
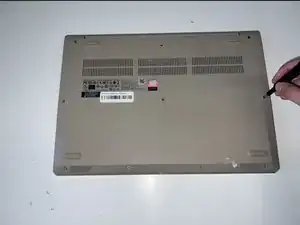
Remove the six M2 x 5mm screws that are located in the top half of the laptop using a #0 Phillips head. Do this by unscrewing each screw. Then, remove the four M2 x 2.5mm screws that are located in the bottom of the laptop using a #0 Phillips head.
-
-
-
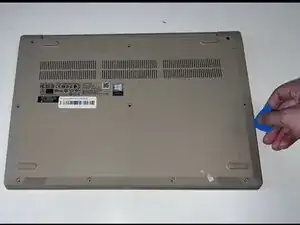
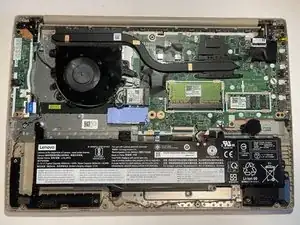
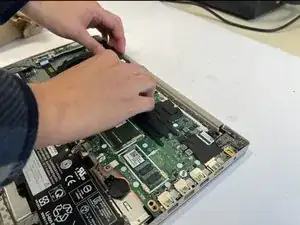
Insert the blue opening pick between the base plate and the bottom of the laptop. Then, carefully pry the clips loose around the edges until the base pops off.
-
-
-
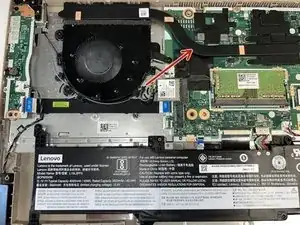
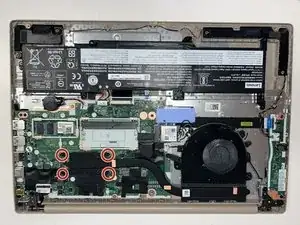
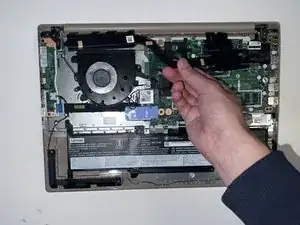
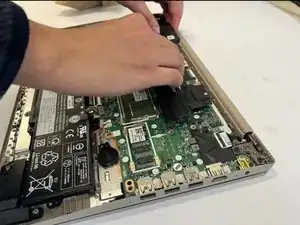
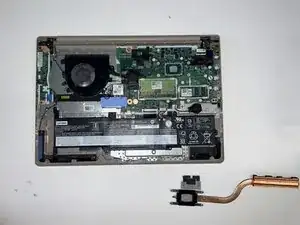
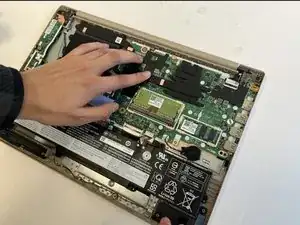
Locate the heat sink above the fan.
-
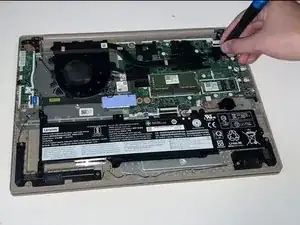
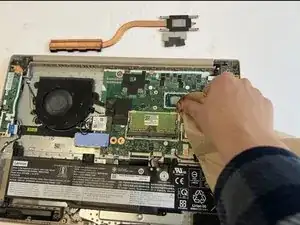
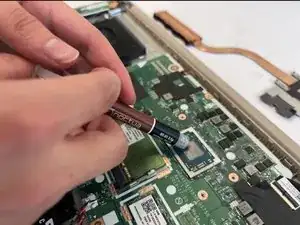
Using a #0 Phillips head, remove the four M2 x 3mm screws holding the heat sink in place.
-
-
-
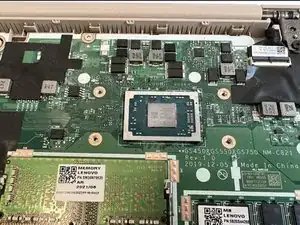
Using a paper towel, apply a small amount of of rubbing alcohol the paper towel. Then, remove the remaining thermal paste until none is left.
-
-
-
Apply a very small amount of thermal paste to the processor (around the size of a grain of rice) evenly. Then, replace the new heat sink and press down gently.
-
To reassemble your device, follow these instructions in reverse order.