Introduction

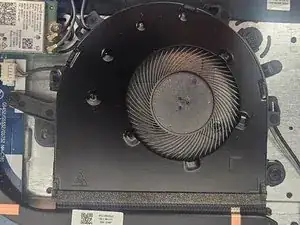
This guide will walk you through the process of replacing the fan in your Lenovo IdeaPad 3-15IML05. Over time, dust or a faulty fan can lead to overheating and system issues. By following these steps, you'll be able to replace the fan y and restore optimal cooling performance to your laptop.

Before you begin this repair, make sure that your laptop is off and disconnected from the power adapter.

  1. kdXV1uAnZ1TUTHpI
    kdXV1uAnZ1TUTHpI
    XcYw15i42mwJhNCZ
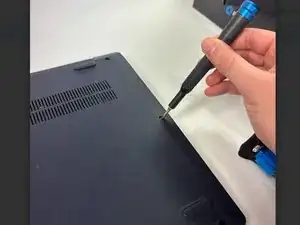
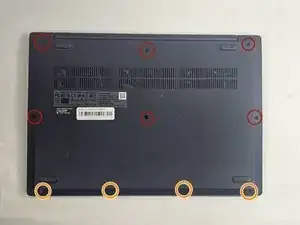
    • Use a Phillips #1 screw driver to remove:

    • Six 5.0 mm screws

    • Four 3.0 mm screws

  2. QRsI2XyFJ1mHIx1T
    QRsI2XyFJ1mHIx1T
    gCodV1XGRlOx3BoD
    LnTZDKGGWbSpkpKf
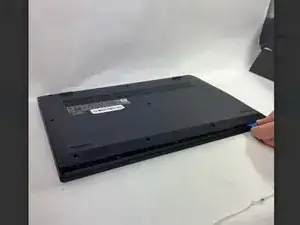
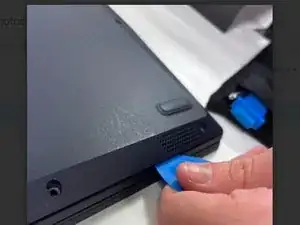
    • Use an opening tool to pry the bottom cover from the device.

    • Use the opening tool to go around the entire perimeter, releasing the tabs that secure the cover to the frame.

    • Insert opening picks between the bottom cover and the frame to prevent the case from reconnecting.

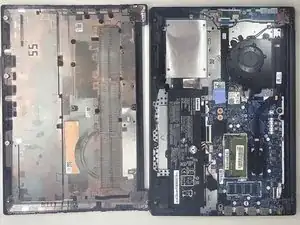
    • Carefully remove the cover.

  3. 1MLptKU3avPLWNx2
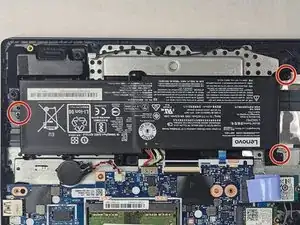
    • Use a Phillips screwdriver to remove the three screws securing the battery to the frame.

    • Be sure not to lose the screws, as you'll need them for the new battery as well.

  4. iKB3xNX4MUDtynTS
    iKB3xNX4MUDtynTS
    RkEPYqQsmiQH1AYJ
    42EsHh2TJ56vCgmZ
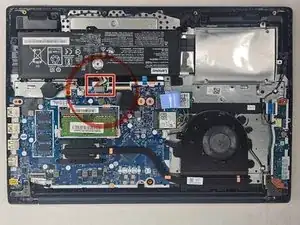
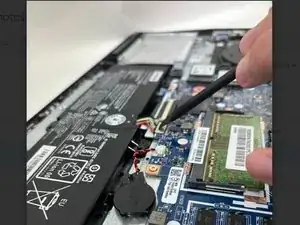
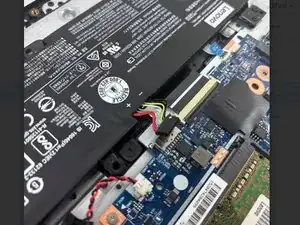
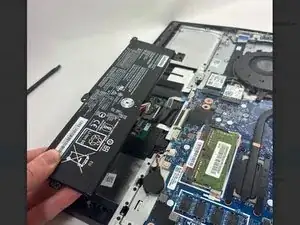
    • Use the point of a spudger to push on alternating sides of the sliding connector to "walk" it out of its socket on the motherboard.

    • It may take a lot of alternating before the connector comes out. Be patient, and don't pull on the cables.

    • To reconnect the cable, align the connector and use a spudger or clean fingernail to push it fully into the socket.

    • Don't push on the cables themselves, or you may damage the connector.

  5. HS1BGS3HMjHFPjJD
    HS1BGS3HMjHFPjJD
    IRbnhZB2ZAy6D64v
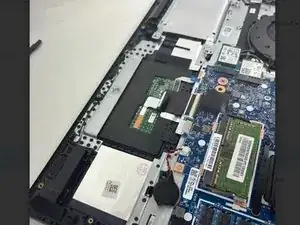
    • Remove the battery from the laptop.

  6. Tk6NRXpJmyX3KOhF
    Tk6NRXpJmyX3KOhF
    y5mnVZRb3nvDkbo5
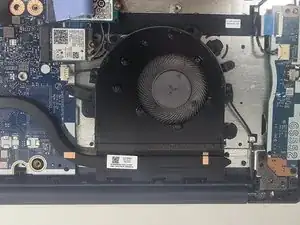
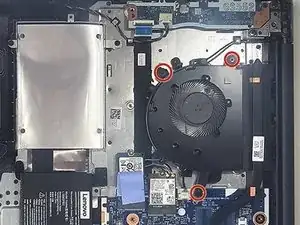
    • Use a Phillips screwdriver to remove the three screws securing the fan to the chassis.

  7. VM5ZOKixk6qKsiGE
    VM5ZOKixk6qKsiGE
    4ckBQC3VPnhQX1ZO
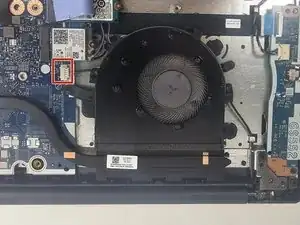
    • Grip the tab at the end of the bundle cable and pull the connector slowly and steadily out of its socket to disconnect the fan cable.

    • Be careful that you do not damage the socket on the motherboard when disconnecting the fan cable.

    • Disconnect the fan from the heat sink.

    • Gently unhook the black wire from the tabs around the edge of the fan.

    • Lift the fan from the laptop to remove it.

    • If there is any resistance, double-check that the screws and connections have been removed

Conclusion

To reassemble your device, follow these instructions in reverse order. Take your e-waste to an R2 or e-Stewards certified recycler.
Collin

Member since: 24/10/24

419 Reputation

0 comments