Introduction

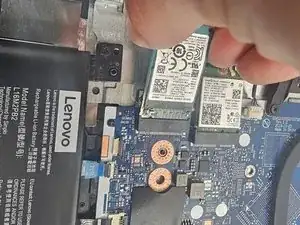
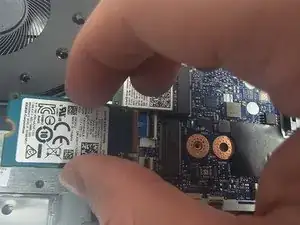
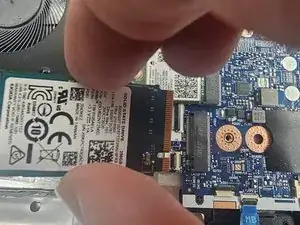
Use this guide to replace or upgrade a full or faulty solid-state drive or SSD in your Lenovo IdeaPad 3-15IML05 laptop.

The solid-state drive (SSD) is a crucial component of your laptop, responsible for storing and retrieving data quickly and efficiently. A faulty SSD can lead to a range of issues such as slow performance, system crashes, or even complete failure to boot. If you're experiencing problems like frequent freezes, slow load times, or error messages such as "disk not detected" or "boot device not found," it may be time to replace your SSD.

Before proceeding with this guide, ensure you've reviewed the troubleshooting page, as some issues might be caused by software problems such as corrupted files or malware, which can often be resolved without replacing the SSD.

If you're running out of storage or want to upgrade to a faster SSD, this guide will help you replace your existing SSD with a new one. The Lenovo IdeaPad 3-15IML05 supports M.2 NVMe and SATA SSDs. Be sure to back up your data before starting the replacement process to avoid any data loss. Always power off your laptop completely and disconnect it from any external power source before beginning the procedure.

  1. kdXV1uAnZ1TUTHpI
    kdXV1uAnZ1TUTHpI
    XcYw15i42mwJhNCZ
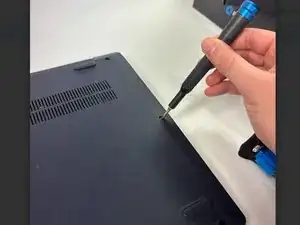
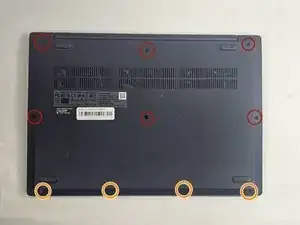
    • Use a Phillips #1 screw driver to remove:

    • Six 5.0 mm screws

    • Four 3.0 mm screws

  2. QRsI2XyFJ1mHIx1T
    QRsI2XyFJ1mHIx1T
    gCodV1XGRlOx3BoD
    LnTZDKGGWbSpkpKf
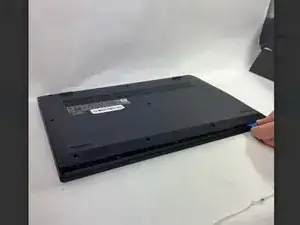
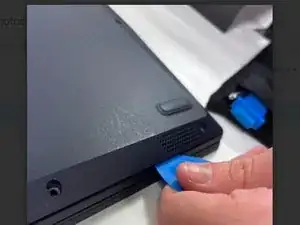
    • Use an opening tool to pry the bottom cover from the device.

    • Use the opening tool to go around the entire perimeter, releasing the tabs that secure the cover to the frame.

    • Insert opening picks between the bottom cover and the frame to prevent the case from reconnecting.

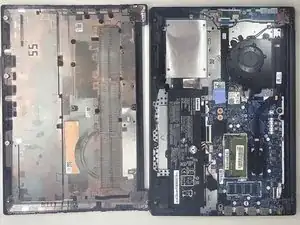
    • Carefully remove the cover.

  3. 1MLptKU3avPLWNx2
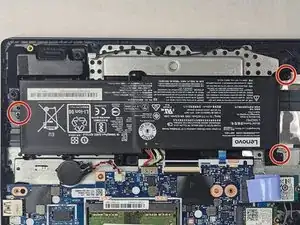
    • Use a Phillips screwdriver to remove the three screws securing the battery to the frame.

    • Be sure not to lose the screws, as you'll need them for the new battery as well.

  4. iKB3xNX4MUDtynTS
    iKB3xNX4MUDtynTS
    RkEPYqQsmiQH1AYJ
    42EsHh2TJ56vCgmZ
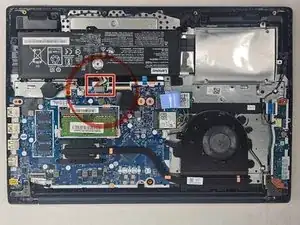
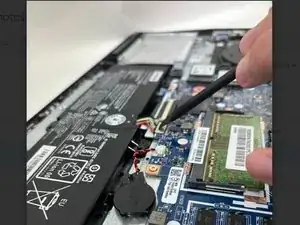
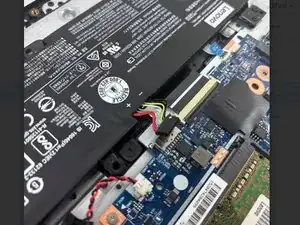
    • Use the point of a spudger to push on alternating sides of the sliding connector to "walk" it out of its socket on the motherboard.

    • It may take a lot of alternating before the connector comes out. Be patient, and don't pull on the cables.

    • To reconnect the cable, align the connector and use a spudger or clean fingernail to push it fully into the socket.

    • Don't push on the cables themselves, or you may damage the connector.

  5. HS1BGS3HMjHFPjJD
    HS1BGS3HMjHFPjJD
    IRbnhZB2ZAy6D64v
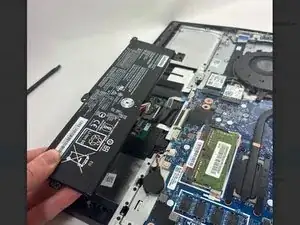
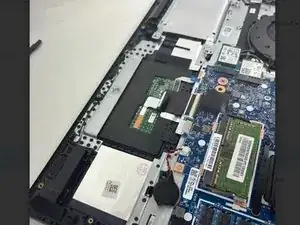
    • Remove the battery from the laptop.

  6. L1GZI15TdHPRjgSD
    L1GZI15TdHPRjgSD
    xZRYLXVmkBJRidgk
    FALvTJXOigpCkZKe
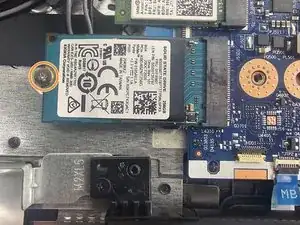
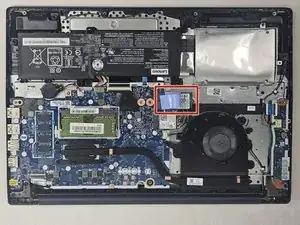
    • Locate the SSD.

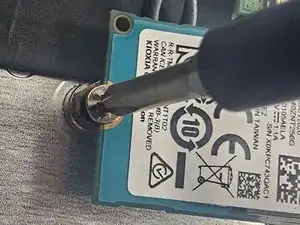
    • Use a Phillips #00 screwdriver remove the single screw securing the SSD to the frame.

    • Set the screw aside to use for the replacement SSD.

  7. VTpnPnY2uugnGHaB
    VTpnPnY2uugnGHaB
    mQ6qVXTB15JS4Dhq
    TqvN5HHuVpUIjXcZ
    • Gently slide SSD from the socket on the motherboard.

    • Hold the SSD by its edges, avoiding contact with any of the exposed circuits or connectors.

    • Be careful when removing the SSD that you don't bend the connecting pins.

    • When replacing the SSD, make sure the pins are aligned correctly with the socket before insertion. Avoid pushing on the drive too hard—once it’s lined up correctly, it should click into place without requiring excessive force.

Conclusion

To reassemble your device, follow these instructions in reverse order. Take your e-waste to an R2 or e-Stewards certified recycler.
Collin

Member since: 24/10/24

419 Reputation

0 comments