Introduction
If you are having trouble with your Lenovo IdeaPad 330S-15ARR hard drive or you want to upgrade to a faster one or a larger storage one, this is the best guide for you.
-
-
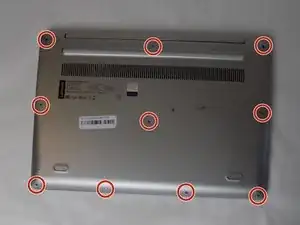
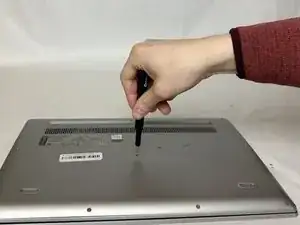
Remove the ten 3.3 mm screws securing the back panel using a Phillips #00 screwdriver.
-
Use a Jimmy or your fingernail to pry the back panel off.
-
-
-
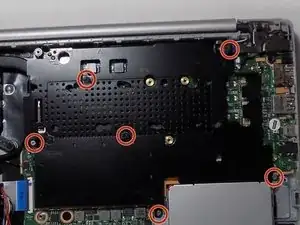
Use a Phillips #00 screwdriver to remove the two 3 mm screws that hold the hard drive down in place.
-
-
-
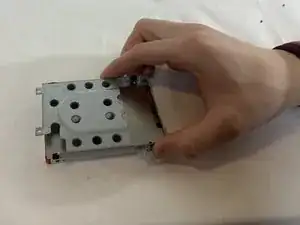
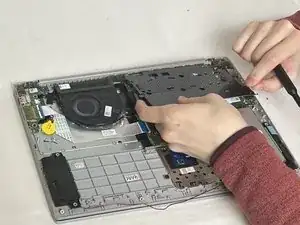
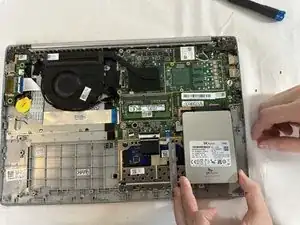
Use a Jimmy to remove the blue and black bracket that surrounds the hard drive.
-
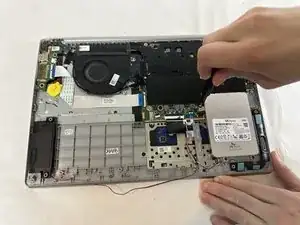
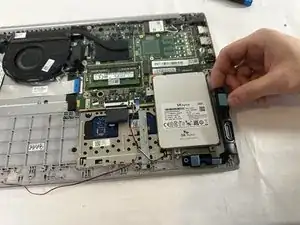
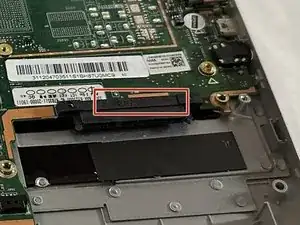
Pull the hard drive from the bottom to release it from its black port labeled S0712.
-
-
-
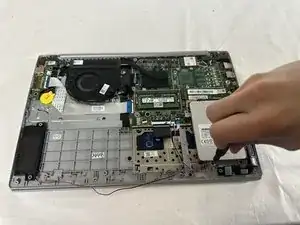
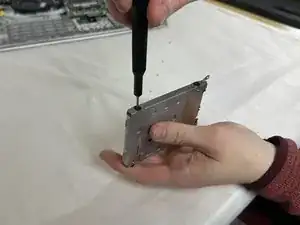
Remove the two 4 mm screws (four total) from each side of the hard drive bracket using a Phillips #00 screwdriver.
-


To reassemble your device, follow these instructions in reverse order.