Introduction
If you are struggling with the touch pad working and responsivity of the touchpad follow the guide below to replace the touch with a new one.
-
-
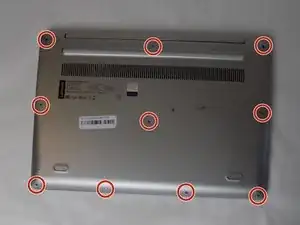
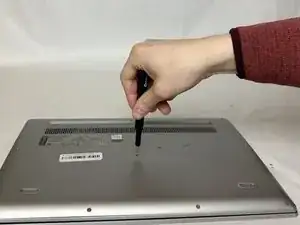
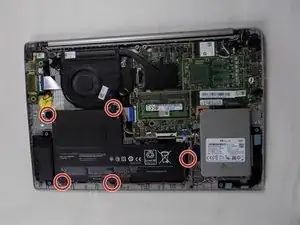
Remove the ten 3.3 mm screws securing the back panel using a Phillips #00 screwdriver.
-
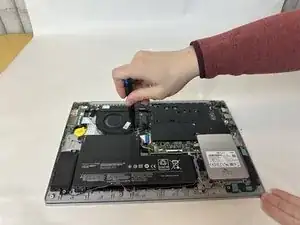
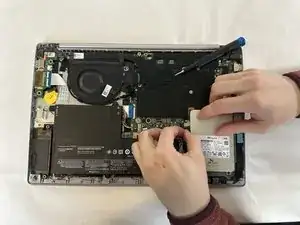
Use a Jimmy or your fingernail to pry the back panel off.
-
-
-
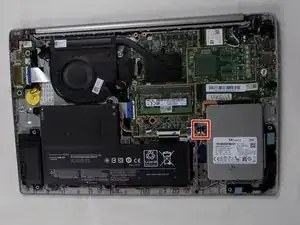
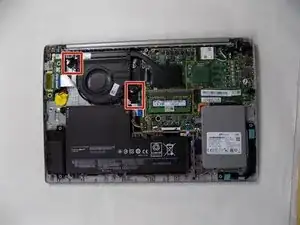
Gently disconnect the battery connector from the motherboard by pulling the plug straight out to avoid bending the pins.
-
-
-
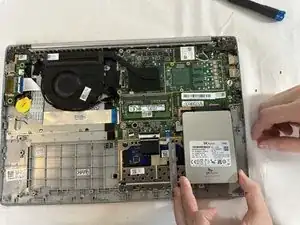
Use a Phillips #00 screwdriver to remove the two 3 mm screws that hold the hard drive down in place.
-
-
-
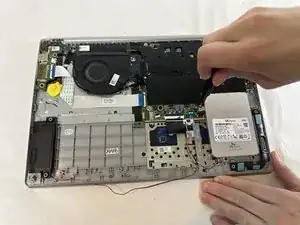
Use a Jimmy to remove the blue and black bracket that surrounds the hard drive.
-
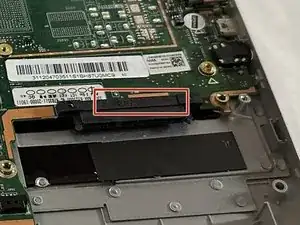
Pull the hard drive from the bottom to release it from its black port labeled S0712.
-
-
-
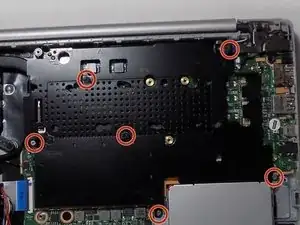
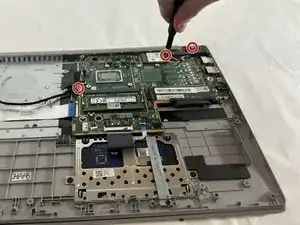
Remove the six 3 mm screws from the black board using a Phillips #00 screwdriver.
-
Remove the black board.
-
-
-
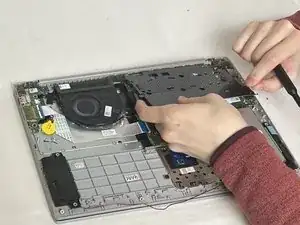
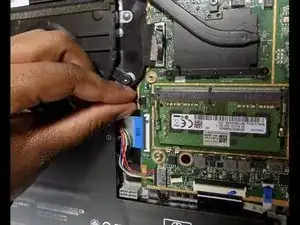
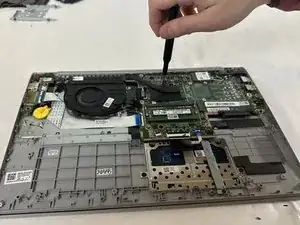
Disconnect the fan from the circuit board by pulling on the plastic part of the wire towards the fan.
-
-
-
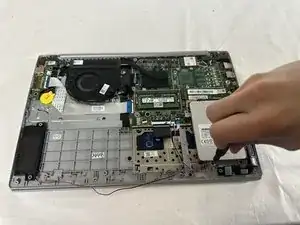
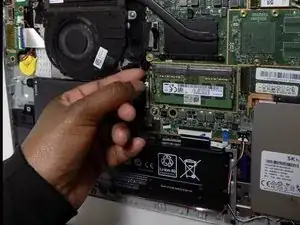
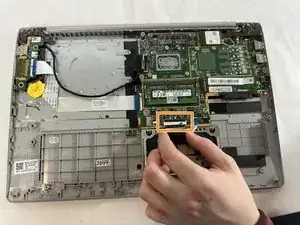
Remove the Wi-Fi card by pulling it out to the right.
-
Detach the black cable from the motherboard.
-
-
-
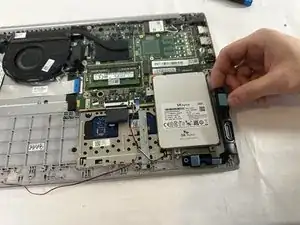
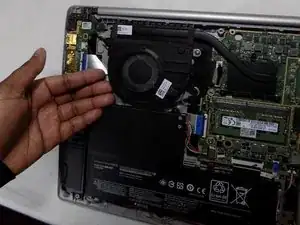
Push the top right of the motherboard down and left.
-
Make sure there is enough clearance for the USB ports on the right to not be damaged as they can interfere with the case if not pushed in enough.
-
-
-
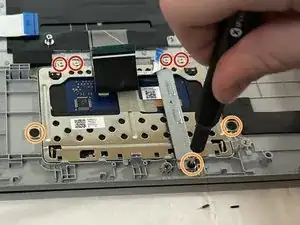
Remove the four 1.5 mm silver screws using a Phillips #00 screwdriver.
-
Remove the three 1.5 mm black screws using a Phillips #00 screwdriver.
-
-
-
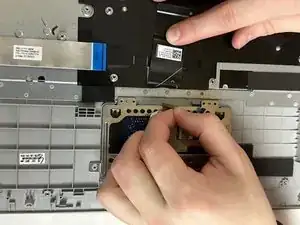
Disconnect the silver bar holding down the frame to the touchpad, and remove the gold tape.
-
Remove the frame and pull straight up on the touch pad to remove it.
-


To reassemble your device, follow these instructions in reverse order.