
Introduction
-
-
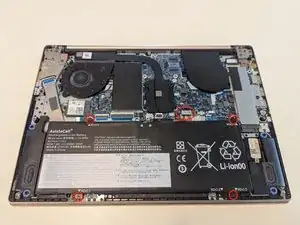
Unscrew all 10 T5 screws. The screws are all the same length.
-
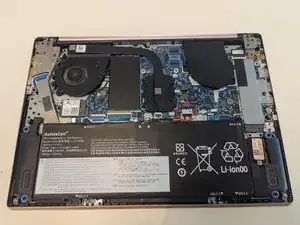
Remove the bottom cover carefully. Maybe it is necessary to use a pick or spudger.
-
-
-
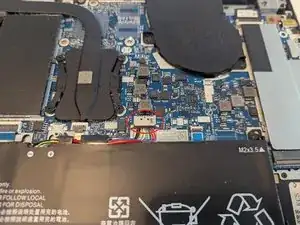
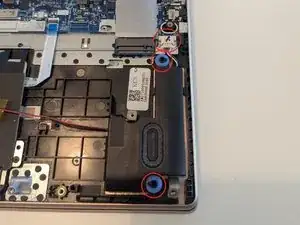
Pull up on the left speaker.
-
Untangle the cable connecting the left and right speakers (the pass under the protector covering the touchpad).
-
Disconnect the right speaker from the mainboard and pull it up to remove the two speakers.
-
-
-
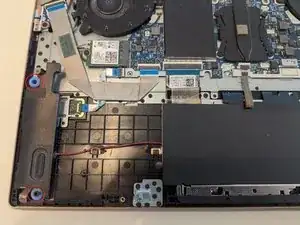
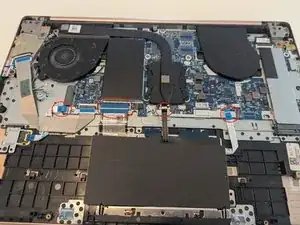
Disconnect the antenna cables by pulling them upwards. You might find this easier using tweezers.
-
Remove the screw holding the WiFi module and remove the module.
-
-
-
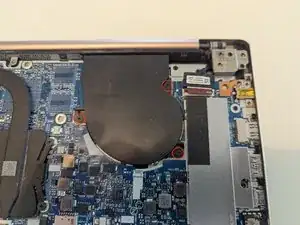
Flip up the plastic tabs holding the ribbon cables.
-
Pull out the ribbon cables horizontally. Do not pull on the ribbon cables vertically or with any significant force.
-
-
-
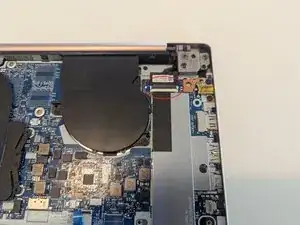
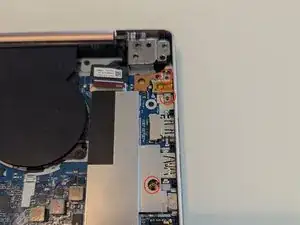
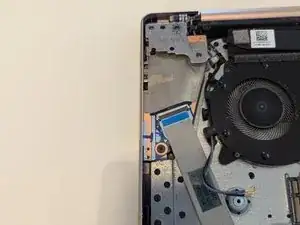
Flip the plastic tab holding the display cable up.
-
Pull the display cable out horizontally. Do not pull on the cable vertically or with great force!
-
-
-
Remove the 4 PH0 screws (all the same length) holding the display assembly to the keyboard assembly.
-
-
-
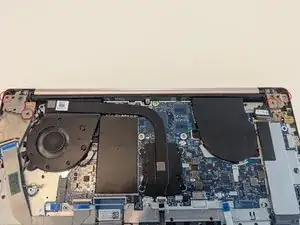
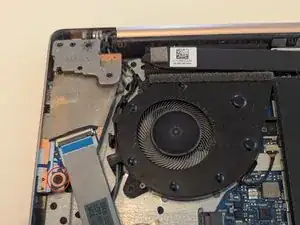
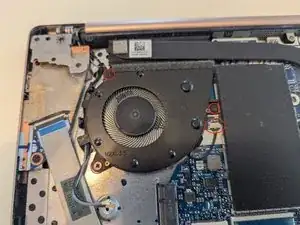
Remove the 3 screws holding the fan.
-
Disconnect the fan from the mainboard.
-
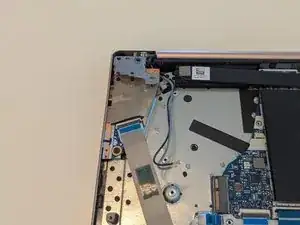
Untangle the antenna cables from the fan and remove the fan.
-
-
-
Open the laptop hinges to a 45-60 degree angle. This can be done the easiest by carefully opening and then closing the laptop.
-
Untangle the network antenna (on the left) and the display cable (on the right) from the keyboard assembly.
-
Remove the keyboard assembly and put in the replacement one.
-


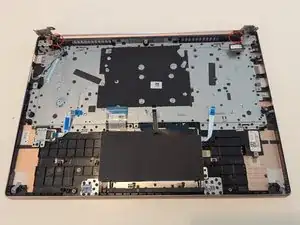
To reassemble your device, follow these instructions in reverse order.