Introduction
If you are having trouble with Lenovo IdeaPad Flex 5 Chrome (13ITL6) overheating, it could be from a worn-out fan not working properly. Use this replacement guide to remove the fan from the Lenovo IdeaPad Flex 5 Chrome (13ITL6).
The fan helps keep the laptop cool by circulating heat generated by the processor and other components. Without the fan, the laptop would overheat and potentially be damaged.
Before starting, make sure the power of the laptop is turned off and any power cords are disconnected. Make sure you are using ESD-safe tools to ensure you do not damage any components.
-
-
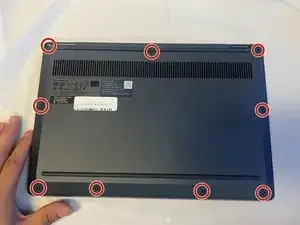
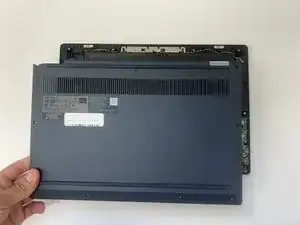
Orient the laptop so that the underside is facing up.
-
Use a T5 Torx screwdriver to remove the nine 6.3 mm screws that secure the lower case.
-
-
-
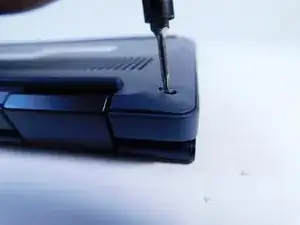
Wedge three opening picks into the seam between the back panel and the laptop: One in the bottom edge and one on either side of the laptop.
-
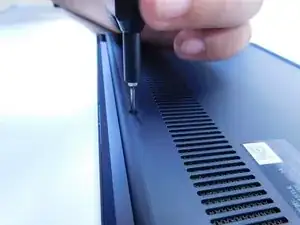
Slide the picks around the perimeter until the lower case fully releases.
-
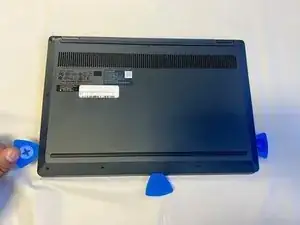
Remove the lower case.
-
-
-
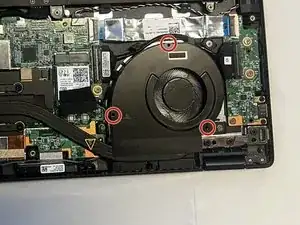
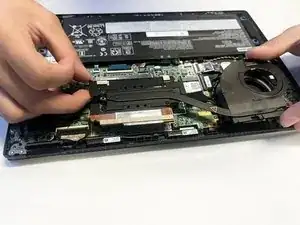
Remove the four 3.6 mm screws that secure the heat sink with a Phillips #000 screwdriver.
-
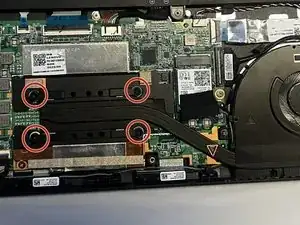
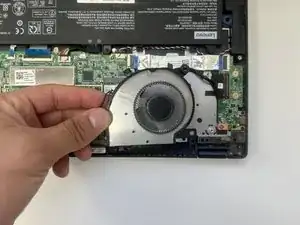
Gently lift the heatsink and fan cover out.
-
-
-
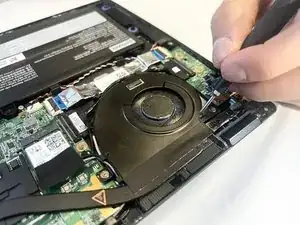
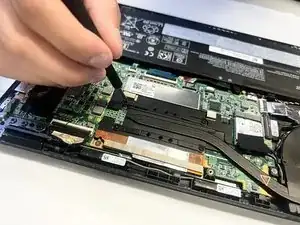
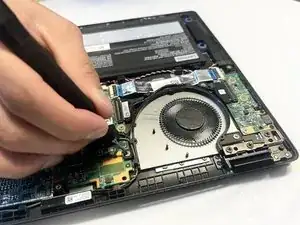
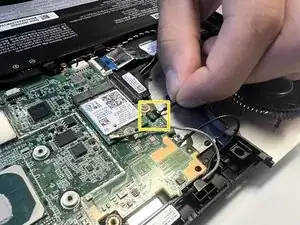
Use the tweezers to guide the wire free from the fan.
-
Use the tweezers to free the grey wire from the fan.
-
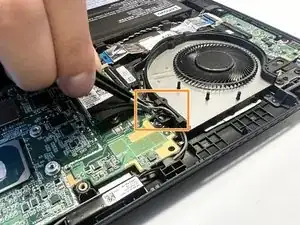
Use your fingers to disconnect the fan connector from its motherboard socket.
-


To reassemble your device, follow the above steps in reverse order.
Take your e-waste to an R2 or e-Stewards certified recycler.
Repair didn’t go as planned? Try some basic troubleshooting or ask our Answers community for help.