Introduction
If you notice your computer is running louder than it usually is, or that it is giving a performance output that is lesser than what you are used to, you likely have a dust problem inside the computer's cooling system. However, there is no need to worry, as this guide can help you easily disassemble your computer and clean the dust out of the fan and heatsink.
Tools
Parts
-
-
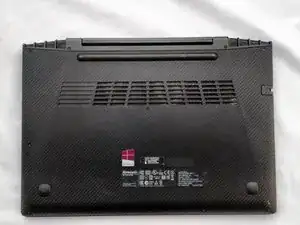
Turn off the computer and close the lid.
-
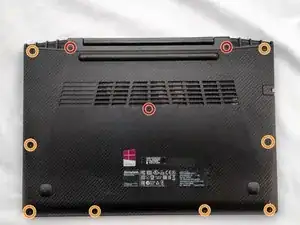
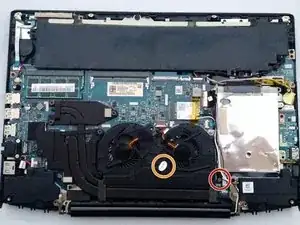
Remove the three M2.0 x 11mm screws circled in red.
-
Remove the eight M2.0 x 5mm screws circled in orange.
-
-
-
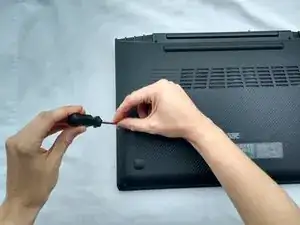
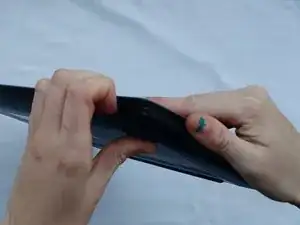
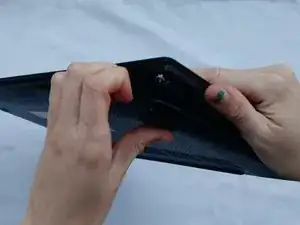
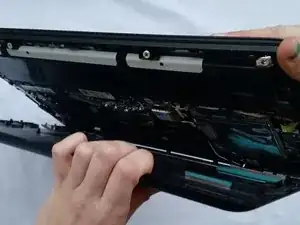
Carefully remove the back cover by pulling up on the edges from all sides.
-
Place the cover to the side.
-
-
-
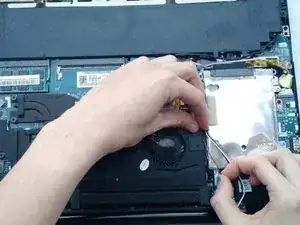
Use a small M2.5 Phillips screwdriver to remove the two M2.5 x 4.45 mm screws surrounding the fan.
-
This screw has a warranty seal covering it. You may void the warranty by disassembling the system further.
-
-
-
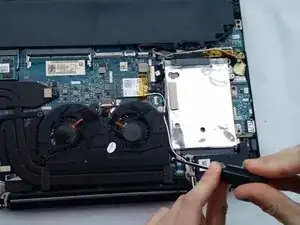
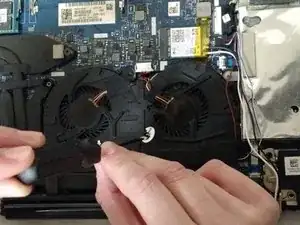
Remove the wires from the side of the fan.
-
Carefully unhook each grouping from the small black tabs on the fan.
-
-
-
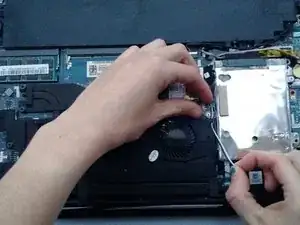
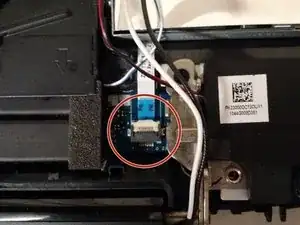
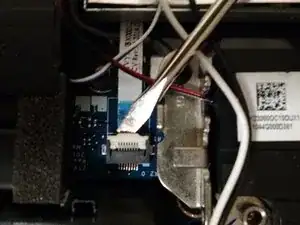
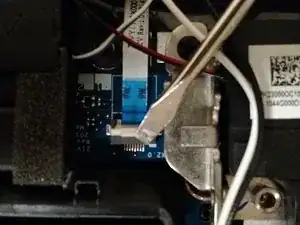
Use a small flathead screwdriver to pull upwards on the tab connecting the white ribbon wire to the board. Unhook the white wire from the black latch.
-
-
-
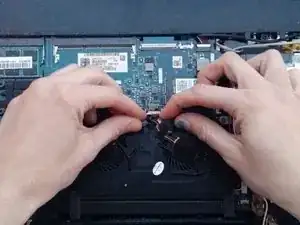
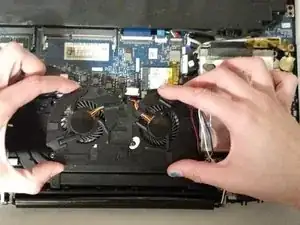
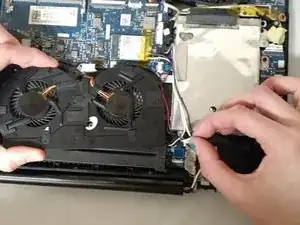
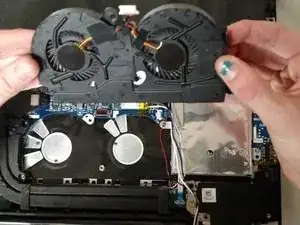
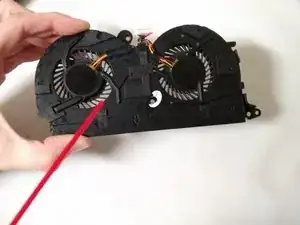
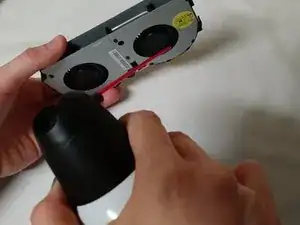
Carefully lift the fan out of the computer and place it on a clean surface.
-
As you lift up the left side, you will have to apply some force to overcome the adhesive on the bottom.
-

To reassemble, complete the steps in reverse order. Make sure you fully close the back panel of the laptop before turning it on.