
Introduction
Replacing the Wi-Fi card is a semi-invasive repair and should only be attempted if your computer is not recognizing a wireless antenna. This symbol in the hot-bar on the bottom right that normally indicates a wireless connection will appear to be a small box with a wire coming out.
NOTE: It is VERY important to make sure to check that Wi-Fi is NOT DISABLED on your device before attempting this repair, as this may be the problem and a repair attempt will only increase the chances of causing damage.
-
-
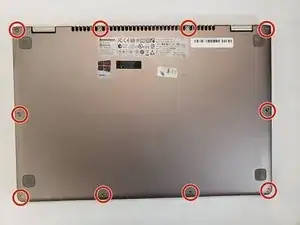
Remove the ten screws on the back panel of the laptop using the T4 Torx screwdriver.
-
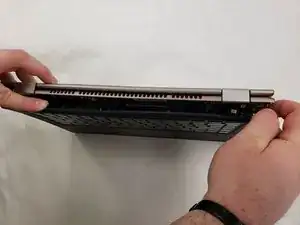
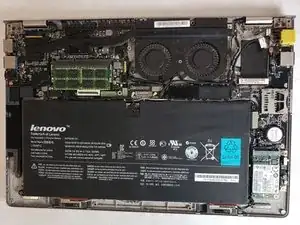
Remove the back panel from the device.
-
-
-
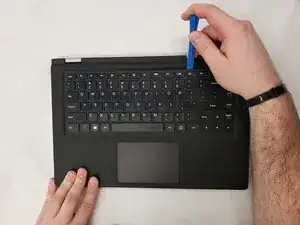
Use blue the opening tool to gently further separate the keyboard bezel.
-
Carefully apply pressure to the keyboard. It should easily pop out.
-
-
-
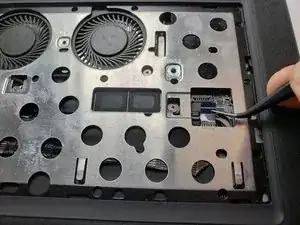
To remove the keyboard bezel (black cover containing the mouse pad) remove the five screws using the Phillips #0 screwdriver.
-
-
-
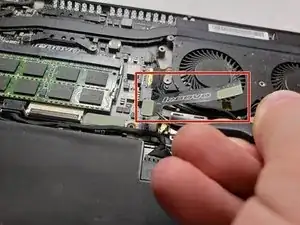
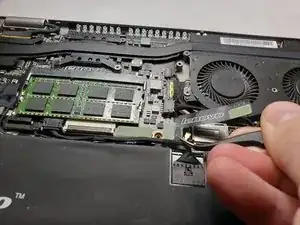
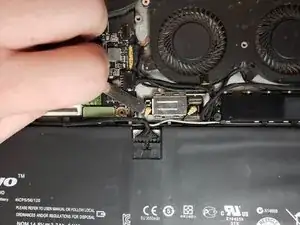
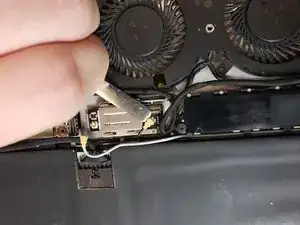
Remove the ribbon cable covering the card by disconnecting the two connection points on either side.
-
-
-
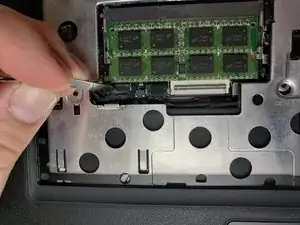
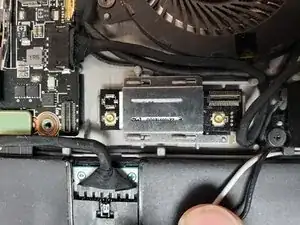
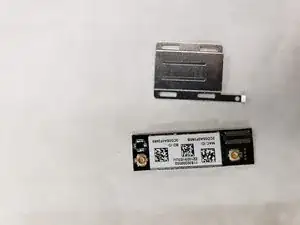
Lift up the bottom right lever on the WiFi card metal bracket.
-
Slide the bracket to the left to disconnect it from the 4 plastic legs holding it down.
-


To reassemble your device, follow these instructions in reverse order.