Introduction
This guide will show the steps for replacing the hard drive for your Lenovo Ideapad 320-17IKB laptop. The hard drive is the memory storage system for the laptop, and contains all the laptop's applications, files, and operating system. The hard drive may need to be replaced if the laptop has difficulty starting up, is running slow due to lack of storage space, or frequently crashes when accessing applications. The hard drive may also be replaced with a solid state drive for improved performance.
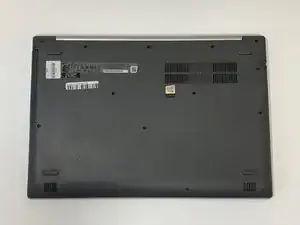
Before you begin this repair, turn off your laptop and unplug it from the charger.
-
-
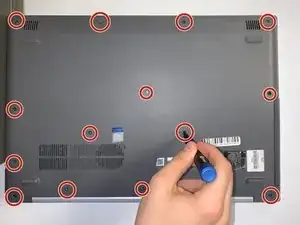
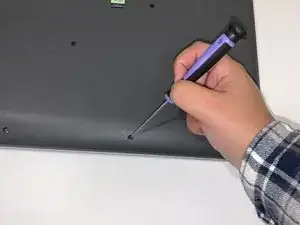
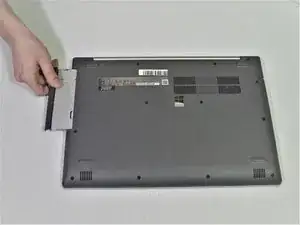
Use your fingers or an opening tool to gently remove the back panel from the bottom of the laptop.
-
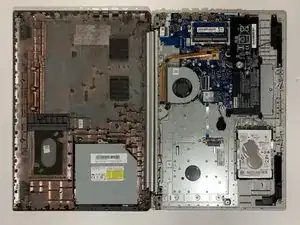
Lay both sides of the laptop next to each other.
-
-
-
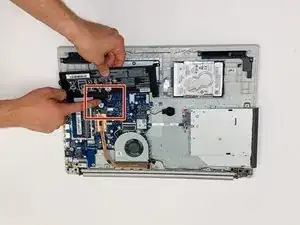
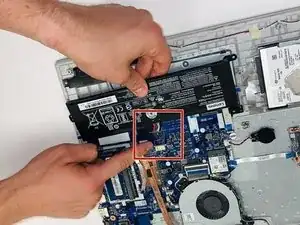
Pinch the connecting cord with one hand and pry the battery connector with the other hand, while gently pulling the connector straight out and towards the bottom edge of the base.
-
-
-
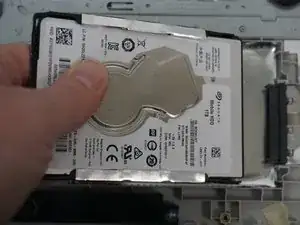
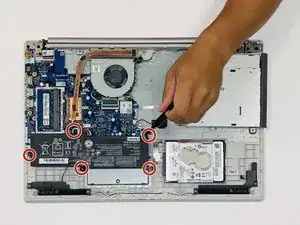
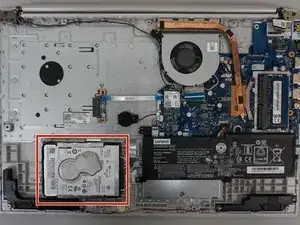
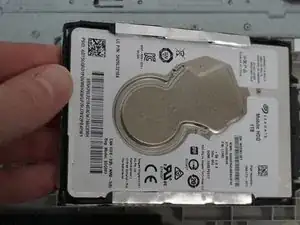
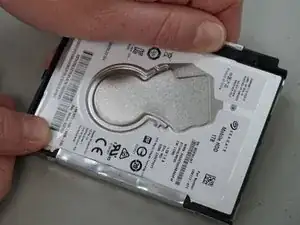
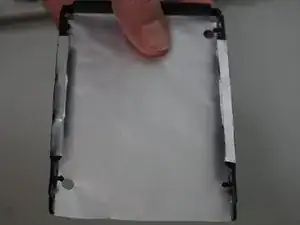
Use your hands to gently pull the edges at each corner away from the hard drive to remove the hard drive adapter.
-


To reassemble your device, follow these instructions in reverse order. Take your e-waste to an R2 or e-Stewards certified recycler.