Introduction
This guide is for the Lenovo Legion Y520-15IKBN Touchpad Button Board replacement. The Touchpad button board allows the mouse pointer to travel around the screen via touch. It may need to be replaced if your laptop cursor no longer detects movement from your finger or the right and left click button does not fully press down.
Before you begin this repair, turn off your laptop and unplug it from the charging adapter. It is also a idea to remove or disconnect the battery from the motherboard to reduce the chance of damage to your device. Additionally, take anti-static precautions such as using an anti-static wristband and mat to prevent damage to electronic component
-
-
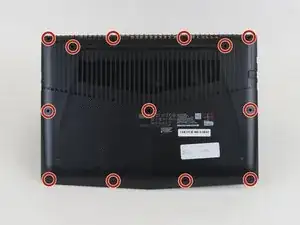
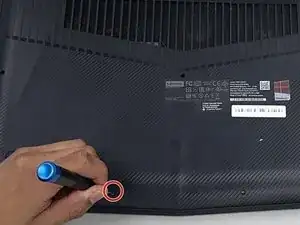
Flip the laptop on its side and wedge a spudger between the base panel and chassis, then pry around the perimeter until the base panel releases.
-
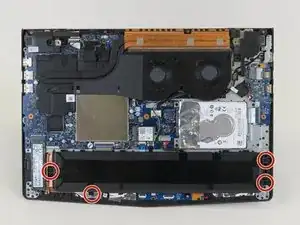
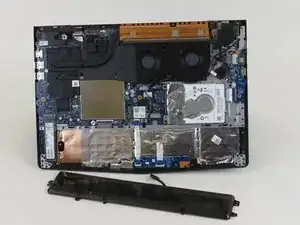
Lift the bottom panel off of the chassis.
-
-
-
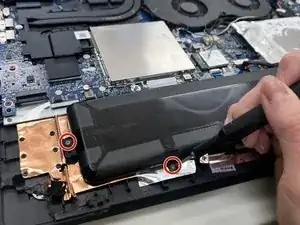
Disconnect the battery connector by pulling the battery cable directly out of its port, toward the battery.
-
-
-
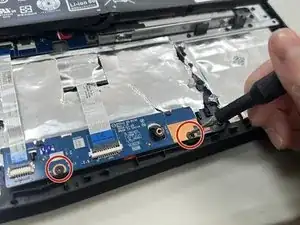
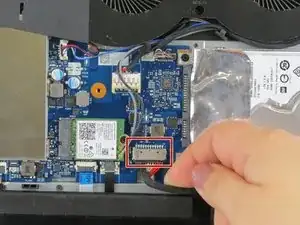
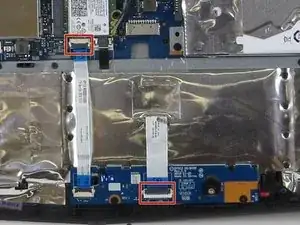
Use a spudger or a clean fingernail to flip up the locking flap on the two ZIF connectors securing the touchpad button board to the motherboard and touchpad.
-
Once the flaps are in the unlocked position, use tweezers or your fingers to gently pull the cables out of their sockets using the blue pull tabs.
-
-
-
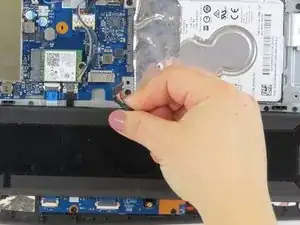
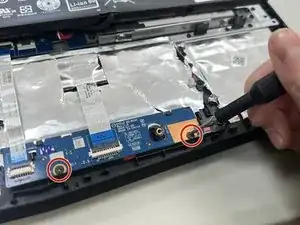
Use a Phillips #00 screwdriver to remove two 6.5 mm screws from the blue touchpad button board.
-
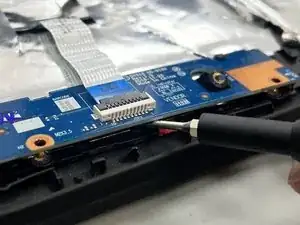
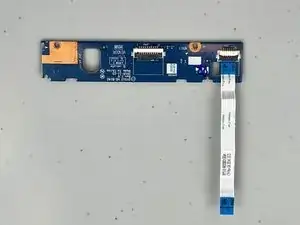
Remove the touchpad button board.
-

To reassemble your device, follow these instructions in reverse order. Take your e-waste to an R2 or e-Stewards certified recycler.