Introduction
-
-
Open the laptop to access the power button.
-
Hold the power button in the top right until the computer powers off.
-
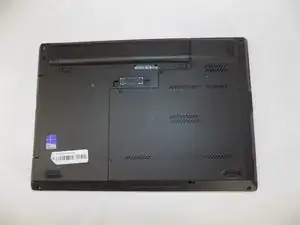
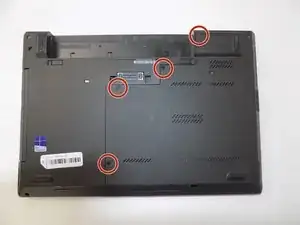
Turn the computer over so that the bottom of the computer is facing up
-
-
-
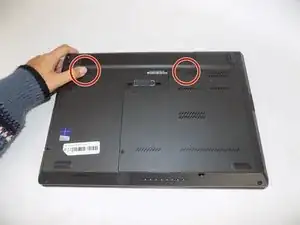
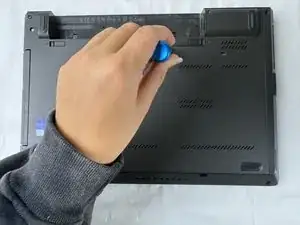
On the left side under the raised surface, move the tab to the left towards the unlocked symbol. Repeat this on the right side and move the tab to the right towards the unlocked symbol.
-
-
-
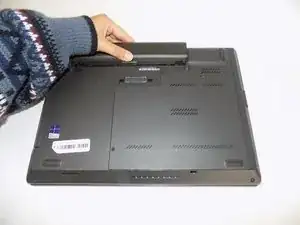
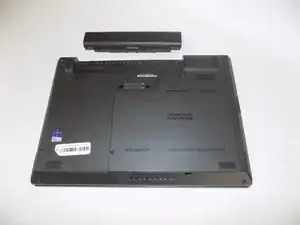
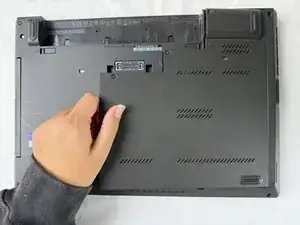
From the top of the laptop, slide the raised surface away from the rest of the laptop and out of its slot to remove the battery from the computer.
-
-
-
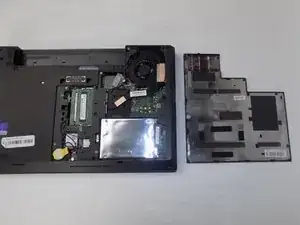
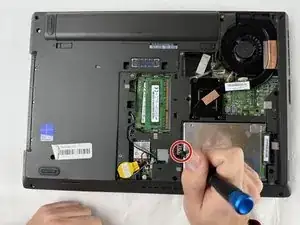
Remove the single 3.5 mm screw next to the hard drive using a Phillips #00 screwdriver.
-
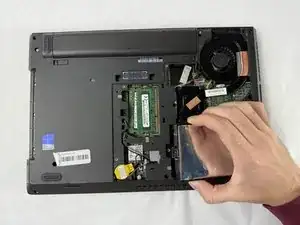
Remove the hard drive from the laptop.
-


Conclusion
To reassemble your device, follow these instructions in reverse order.